SKU Details
On the Inventory Search screen, there is a box called SKU Details. This box is where you can find details about a SKU highlighted in the SKUs box to the left.

Go to Inventory
Click the links to jump to sections below:
- SKU Profile
- Vendor Update
- SKU Tab
- Purchasing Tab
- Stock Adjustments and Transfers
- Active Customer Transactions
- Discontinue a SKU
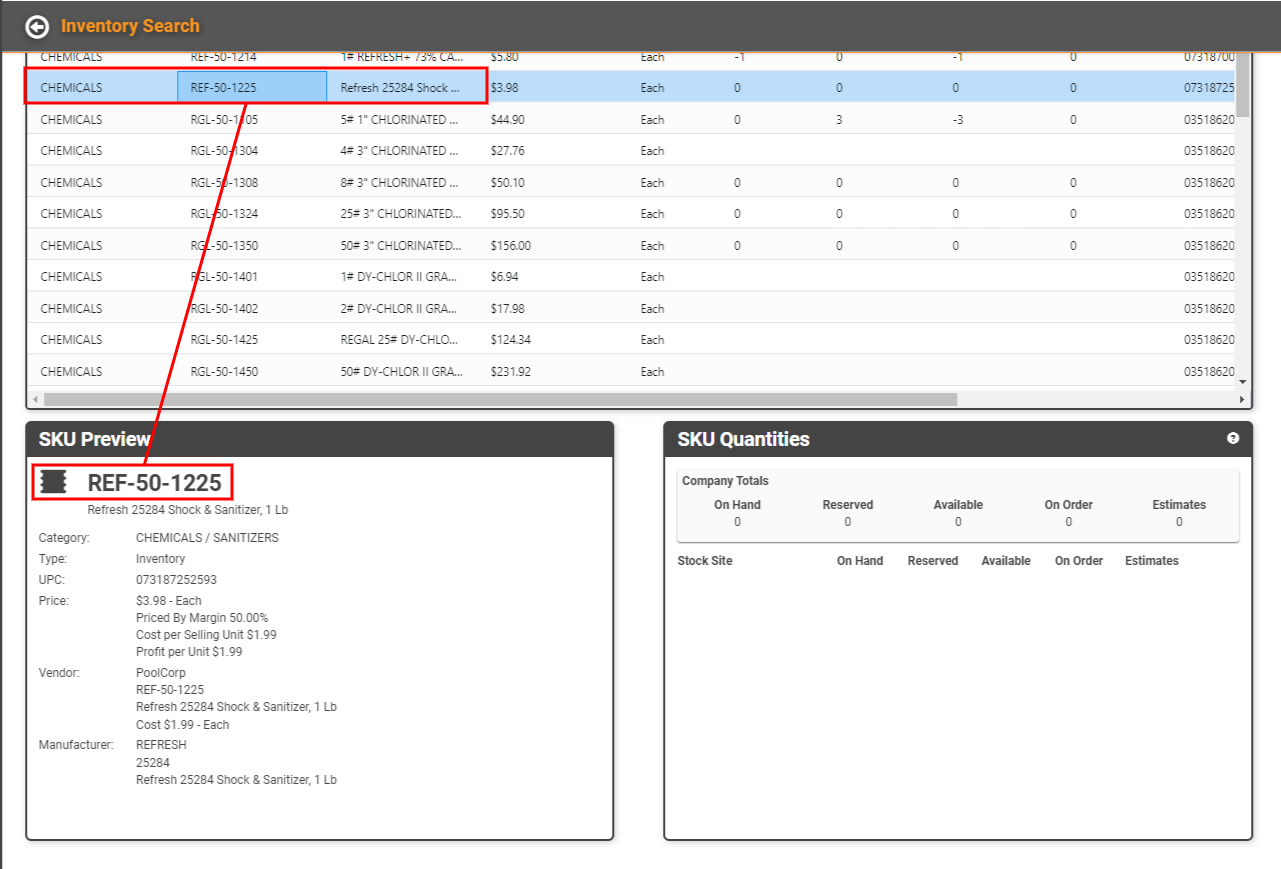
The SKU Details box will provide quick, at-a-glance information on the SKU.
- Category: The full SKU Category hierarchy for the SKU will be listed here.
- Type: SKU Type
- UPC: UPC Code
- Price: The Sell Price and Unit of Measure, as well as Priced By, Cost per Sell UOM, and Profit per Sell UOM
- Vendor: Default Vendor. If the SKU has multiple Vendor relationships, the SKU is searchable by those additional Vendors, but only the Default Vendor will display here.
- Manufacturer: Manufacturer Name, SKU, and Description
SKU Profile
Double-click the SKU or click the Actions link and select Profile to access the SKU Profile.
REMEMBER! If you have chosen to create SKUs by using the Save and Add feature, you must come back to this SKU Profile for the SKU and complete the information to ensure the SKU is fully created and set up correctly. For example, Bin Relationships need to be created before the SKU can move through Inventory correctly.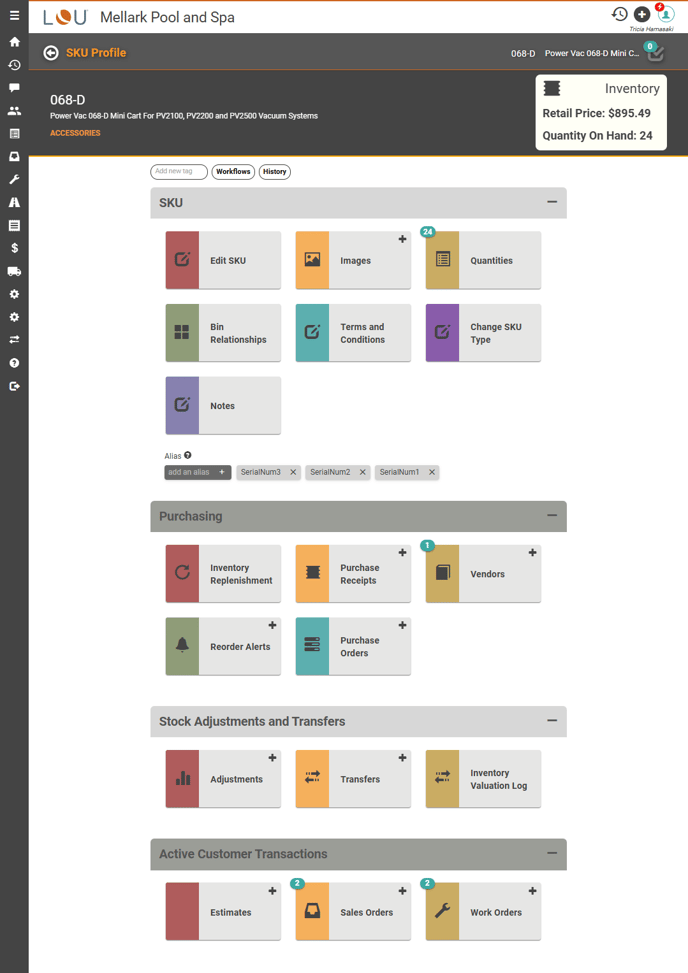
The SKU Profile page contains several action items for managing SKUs.
Vendor Update
Among the several tiles available in the SKU Profile is the Vendors tile. This updates the SKU/Vendor relationship. You can Add Vendors or Update the existing Vendors.
IMPORTANT! When there is an Active Pending Purchase Order for a SKU, you cannot Update SKU Vendor. When you click on a Vendor, the Vendor dropdown will be grayed out, preventing you from making changes.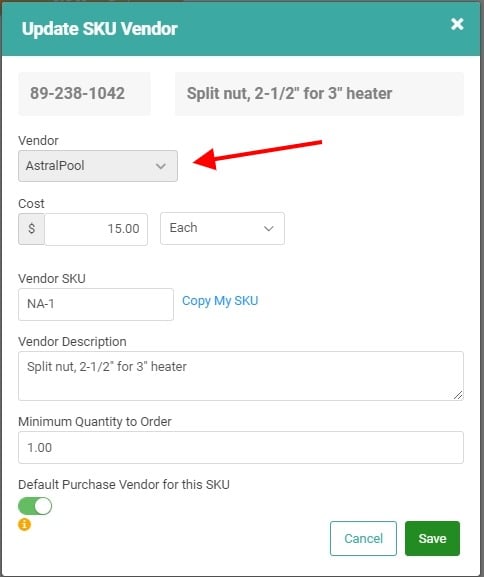
SKU Tab
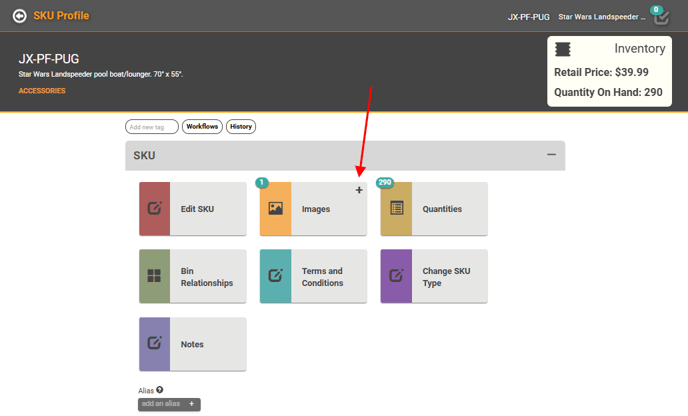
Under the SKU tab, you can access tiles related to this specific SKU’s configuration.
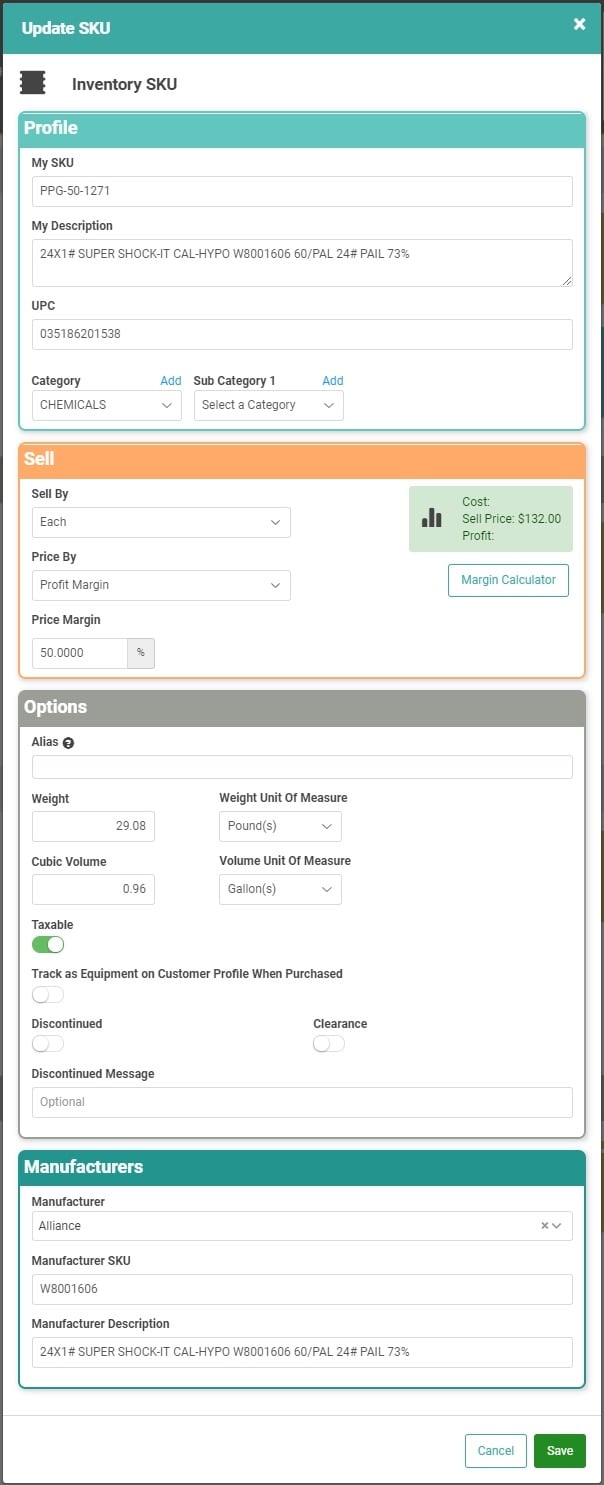
- Edit SKU: This tile allows you to update some basic information about the SKU. This is also where you would go to Discontinue a SKU. REMEMBER! This is not where you would update information about the Vendor. We’ll get there!
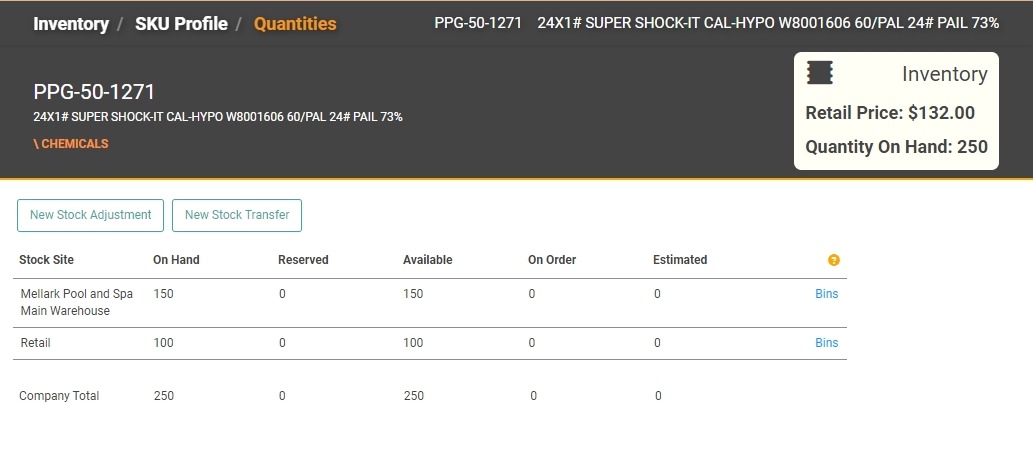
- Quantities: This tile shows the same detail shown on the Inventory Search page’s SKU Quantities box. Just as in the SKU Quantities box, click the Bins link to access information about Bins for each Stock Site.
- Images: You can add images related to your SKU here. You can browse for images on your computer and upload them to the SKU Profile here. You can also view and delete images.

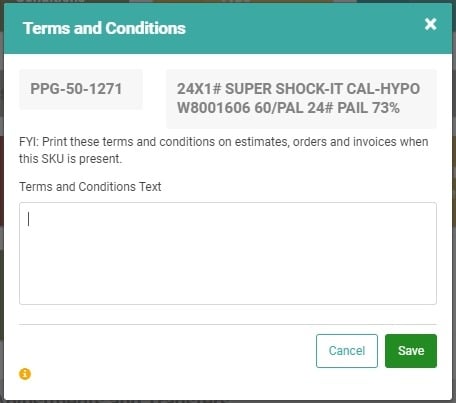
- Terms and Conditions: This is where you can create and manage Terms and Conditions specific to this SKU. If there are important Terms and Conditions that apply to your specific SKU, you can enter them in this pop-up and they will be printed on Estimates, Orders, and Invoices whenever the SKU is present.
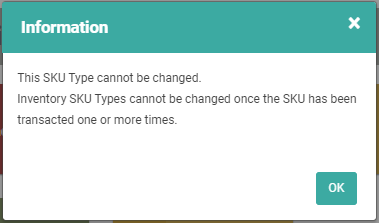
- Change SKU Type: This allows you to change the SKU Type only when the SKU does not have quantities or transactions associated with it. Transactions include Stock Adjustments, Sales, Beginning Balances, etc. Once the SKU has been transacted, you cannot change the SKU Type. If you attempt to change the SKU Type after the SKU has been transacted, you’ll receive an error message:
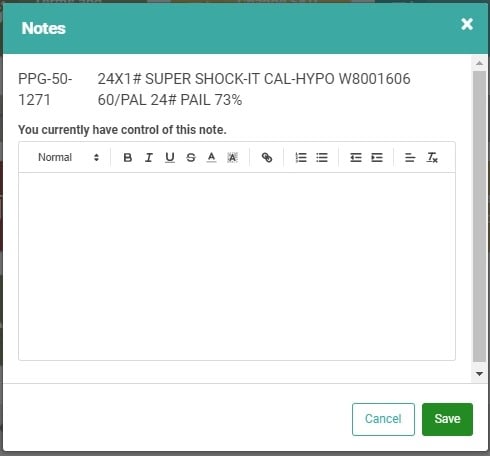
- Notes: In the Notes tile, you can jot down notes related to this SKU. The notes pop-up is like a whiteboard. The notes are not permanent. They will remain until you delete them. The Notes box is like a whiteboard. You can add notes, change, or delete at will. If you delete all the notes and save, the next time you open the Notes, it will be blank. There are currently no timestamps on notes.
Purchasing Tab
This tab contains tiles relevant to purchasing the SKU.
- Vendors: The Vendors tile will show you the Vendor information for the SKU and allow you to create new Vendor relationships. The Vendor tile on this page will show the SKU, indicate whether they’re the Default Vendor, and the Sell By UOM.

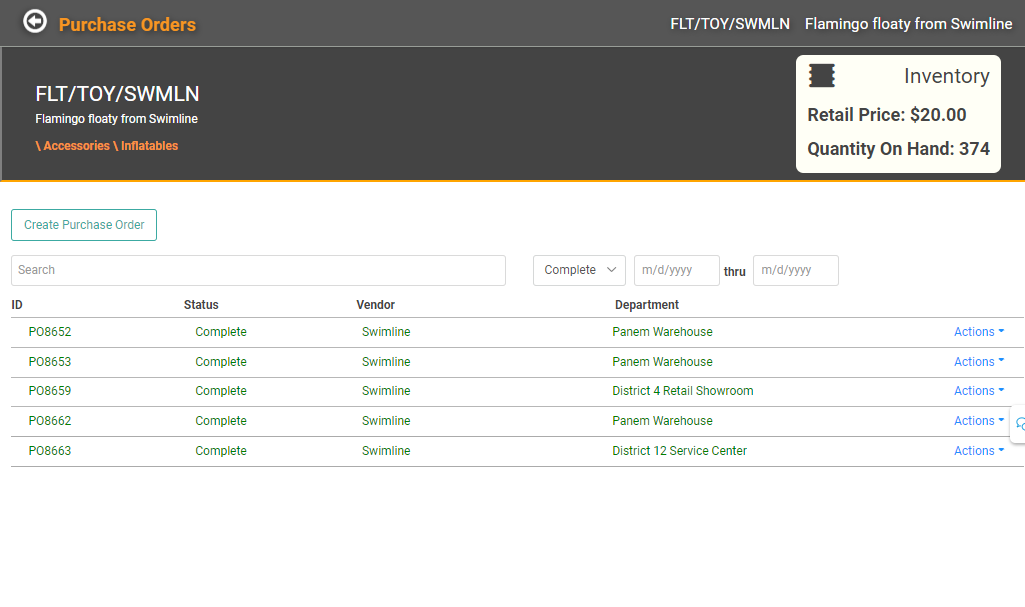
- Purchase Orders: This tile takes you to a list of Purchase Orders that contain this SKU. It will also allow you to create a new PO for the SKU. This page will default to Pending Purchase Orders, but you can filter to Any Status, Complete, Void, or Expired as well.
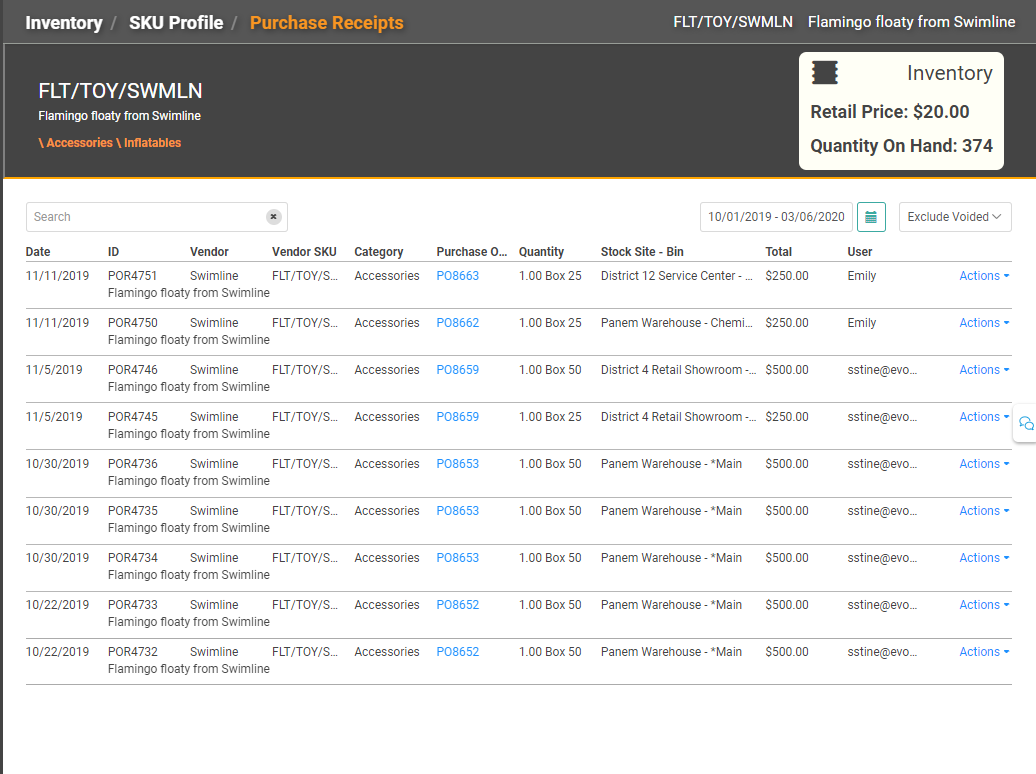
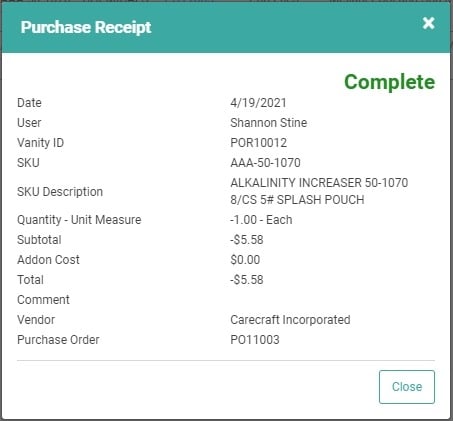
- Purchase Receipts: These are not receipts for Customer Transactions. Instead, they are the receipts for your purchases from the Vendor – receipts generated by Completed POs.
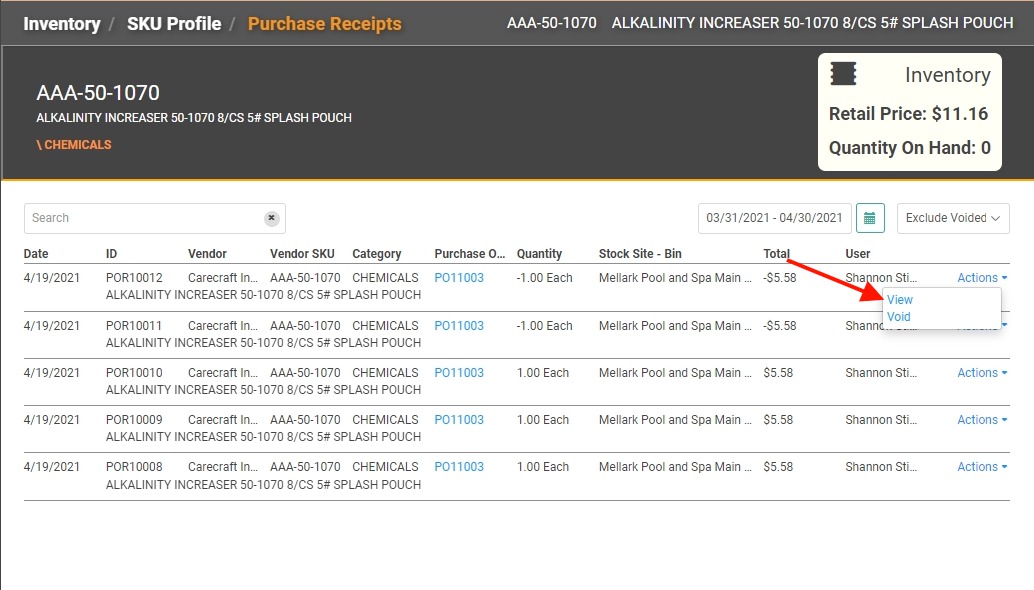
You can use the Actions link on any line item to View the Purchase Receipt.
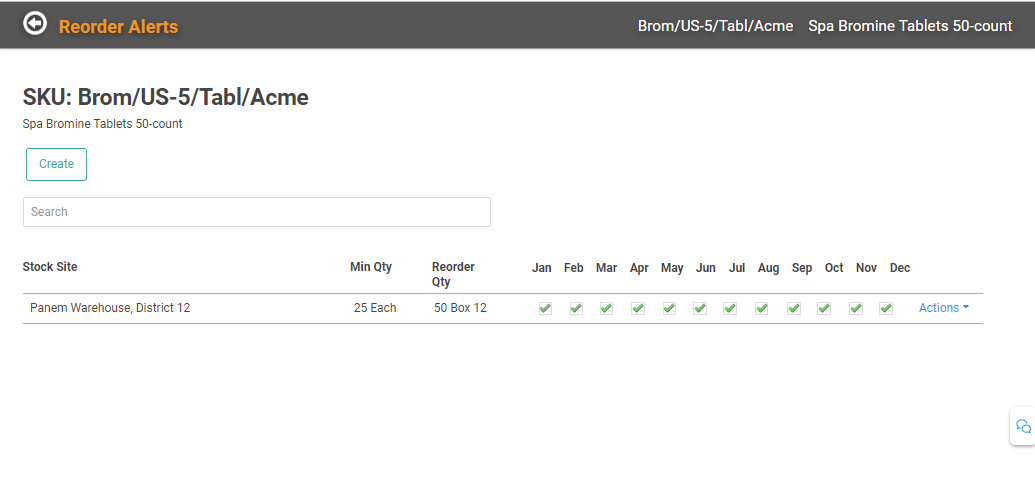
- Reorder Alerts: You can view the Reorder Alerts set up for this SKU. Check out Reorder Alerts for more information.
- Replenishment: This functionality is coming soon!
Stock Adjustments and Transfers
This tab contains information related to Inventory movement.
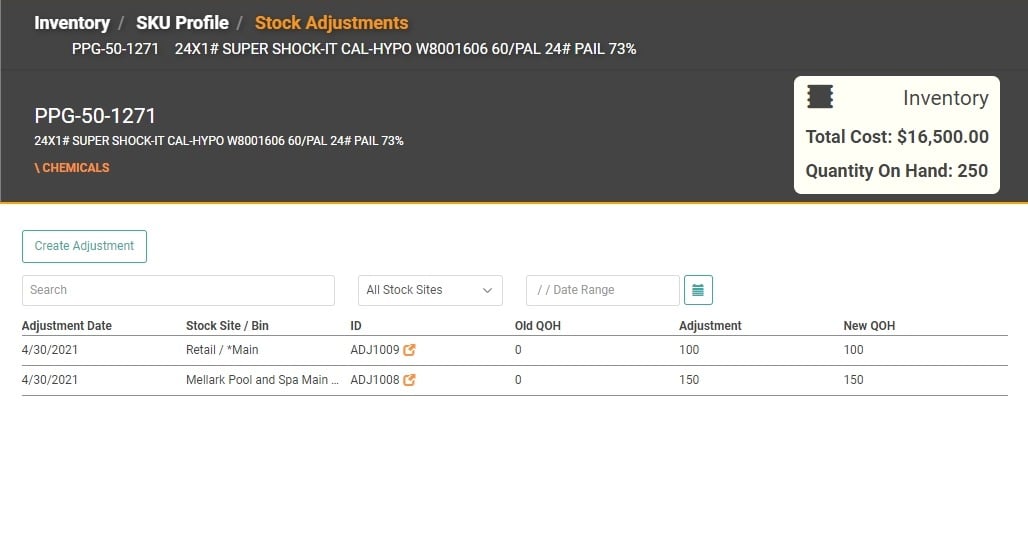
- Adjustments: You can access Stock Adjustments through this tile. You can view previous Adjustments as well as create new Stock Adjustments.
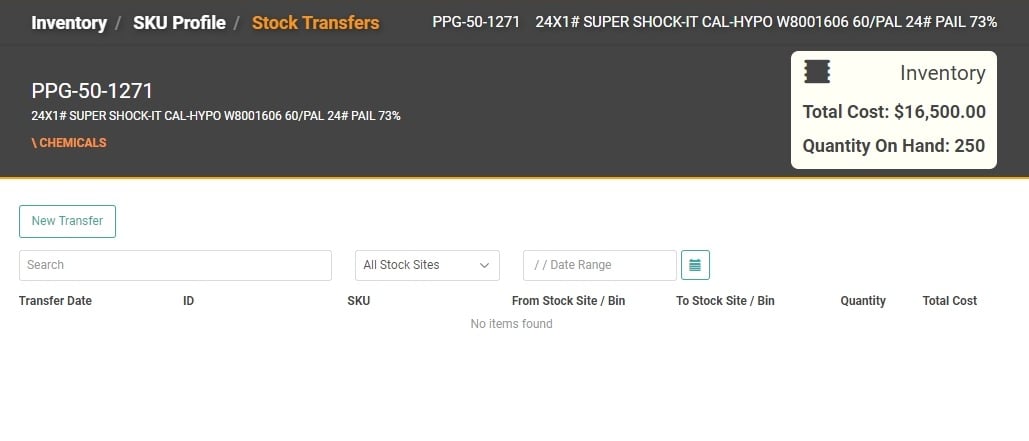
- Transfers: You can access Stock Transfers through this tile.
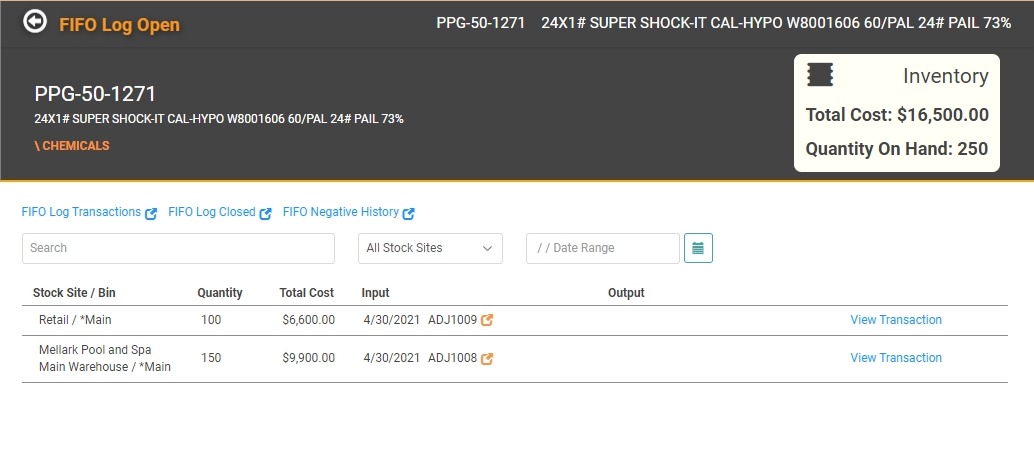
- FIFO Log: This is where you can access the FIFO Log for the SKU.
- Stock Movement: This functionality is coming soon!
Active Customer Transactions
The three tiles under this header are Estimates, Sales Orders, and Work Orders. Using these tiles will show you each of those documents which contain the SKU you’re viewing.
Discontinue a SKU
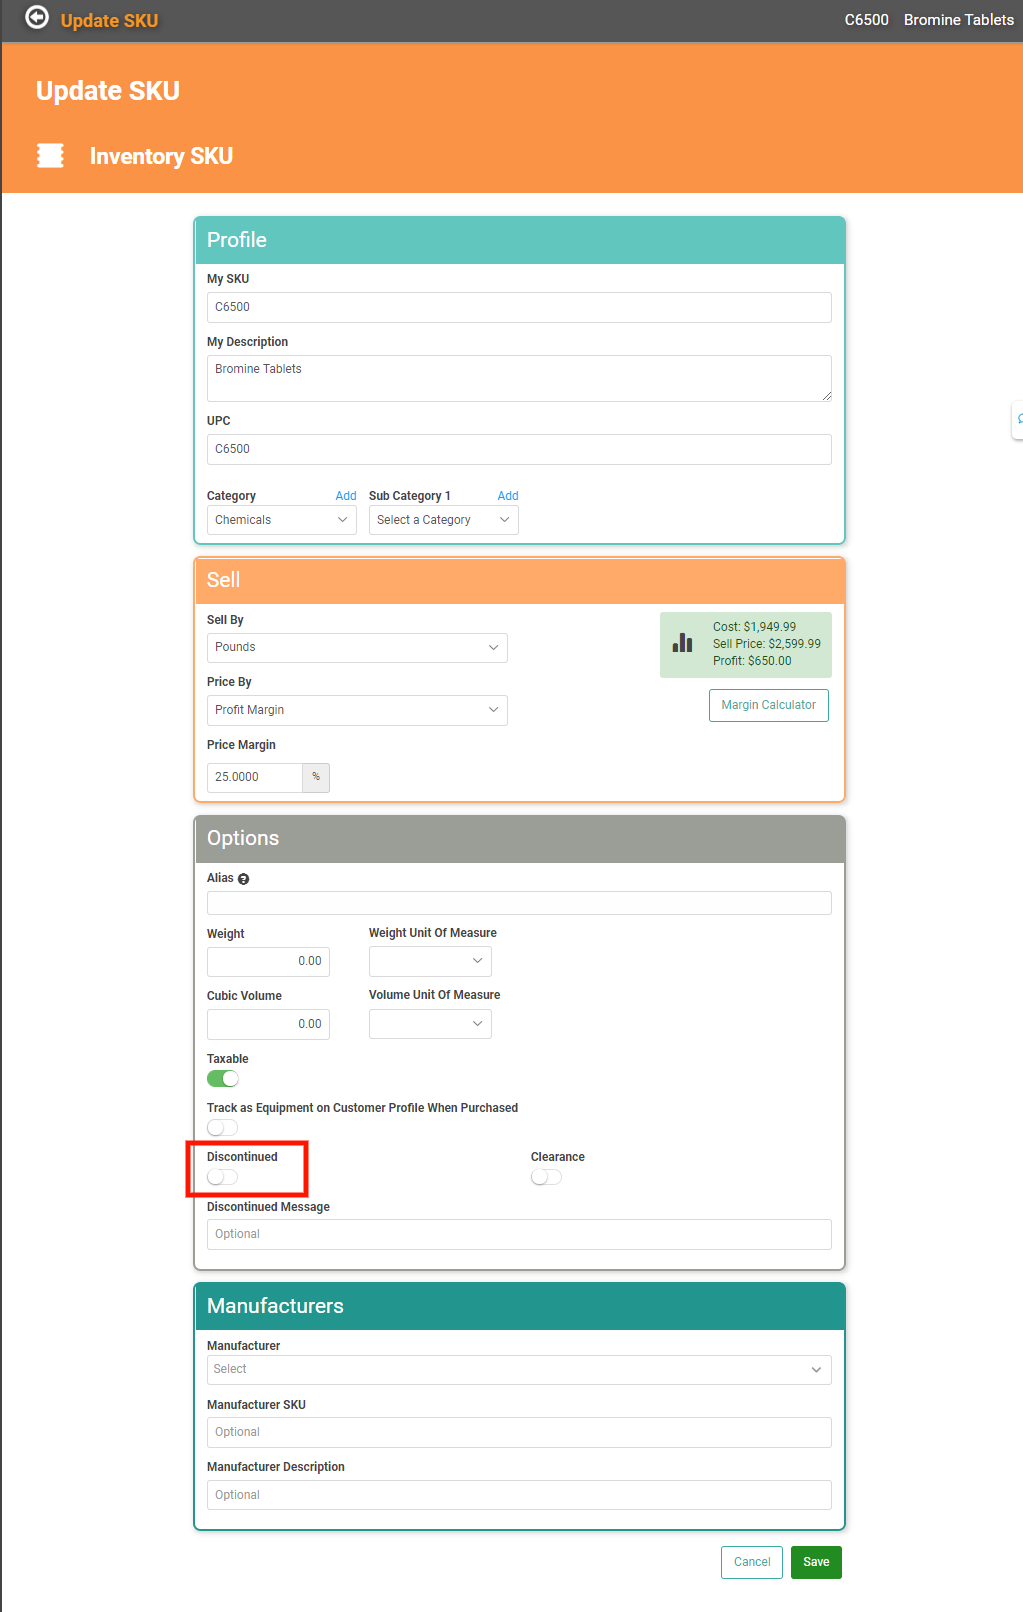
From time to time, you may determine you’re not going to carry a product, or maybe the Vendor discontinues a product. In those cases, you will need to Discontinue the SKU so it doesn’t show in your Active Inventory and isn’t selectable for POs or Sales. To do this, go to the SKU Profile and click Edit SKU. In the Options box, locate the Discontinued button and toggle on.
When you toggle the Discontinue button on for a SKU that still has Quantity on Hand, LOU will mark the SKU as Clearance to allow the remaining the QOH to be sold while preventing the SKU from being added to a new Purchase Order. Once the QOH is reduced to zero, LOU will remove the SKU from active Inventory.
REMEMBER! Marking a SKU as Clearance does not impact the Sale Price.
You will get a message warning you you’re about to deactivate a SKU. 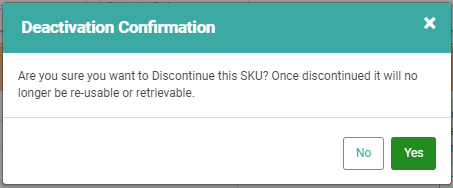
Click Yes to accept.
Back on the Edit SKU screen, you can enter a Discontinue Message if you want. Once you’re done, click  .
.
IMPORTANT! Once you discontinue a SKU, you cannot add it to Purchase Orders, Estimates, or Orders any longer. All financial history will be maintained.
If you try to create a the SKU as a new entry, you will receive an error message telling you the SKU is already in use.
