
WAIT! If you haven’t already set up your Customer Types, head there now!
REMEMBER! While you’re setting up your Customer Types, don’t forget to create a Walk-In Customer type. We’ll discuss that here when you get back.
Already have your Customer Types set up? GREAT! Let’s look at creating and managing customers.
Go to Customers
Jump to specific topics in this article by clicking the links:
- Create a New Customer
- Walk-In Customers for LOU Retail POS
- Customer Search
- Customer Profile
- Customer Information
- Add Payment on File
When you create a Customer, they are given a unique identifier with the same prefix defined for Customers in Document Prefixes.
- Click the
- Select the Customer Type from the dropdown
- Enter Customer’s Name
- Last Name OR Company Name are required
- If you enter a First and Last Name, Company Name is optional
- Once you enter the Customer’s Name, the Display Name appears automatically. You can change this Display Name to anything you like. This Display Name must be unique. For example, if you have four John Smiths, the Display Names must all be unique while their First and Last Names can remain their proper names.
- Display Names will appear throughout LOU, including Customer-facing Documents and Reports.
- Enter Contact Information
- If the Primary Phone number is a Mobile number, toggle the button for Mobile on.
- Enter an Email Address
- Select the Customer's Message Preferences.
- IMPORTANT! “Send Both Messages” is intended only for the Service Messages (On my way, Arrived, Departed, etc.) and Digital Door Hangers. With this option selected, the Customer Documents will only be sent to your Customer via Text. To have Documents Emailed to the Customer, you must select “Email Message”. This will cause the Service Messages and Digital Door Hangers to only be Emailed as well. *There is currently no way to configure messaging so that it “Sends Both Messages” for Documents, Service Messages, and Digital Door Hangers.


- IMPORTANT! “Send Both Messages” is intended only for the Service Messages (On my way, Arrived, Departed, etc.) and Digital Door Hangers. With this option selected, the Customer Documents will only be sent to your Customer via Text. To have Documents Emailed to the Customer, you must select “Email Message”. This will cause the Service Messages and Digital Door Hangers to only be Emailed as well. *There is currently no way to configure messaging so that it “Sends Both Messages” for Documents, Service Messages, and Digital Door Hangers.
- Location: Enter the Address in the Billing Address.
- If there is a separate Shipping/Service Location address, toggle the Shipping Address is Different button on and enter that address there.
- If you want to give the Customer an alias, enter that information.
- You can enter the Customer ID from your previous system in the Legacy Customer ID field.
- Once you have entered all the relevant Customer information, click
 .
.

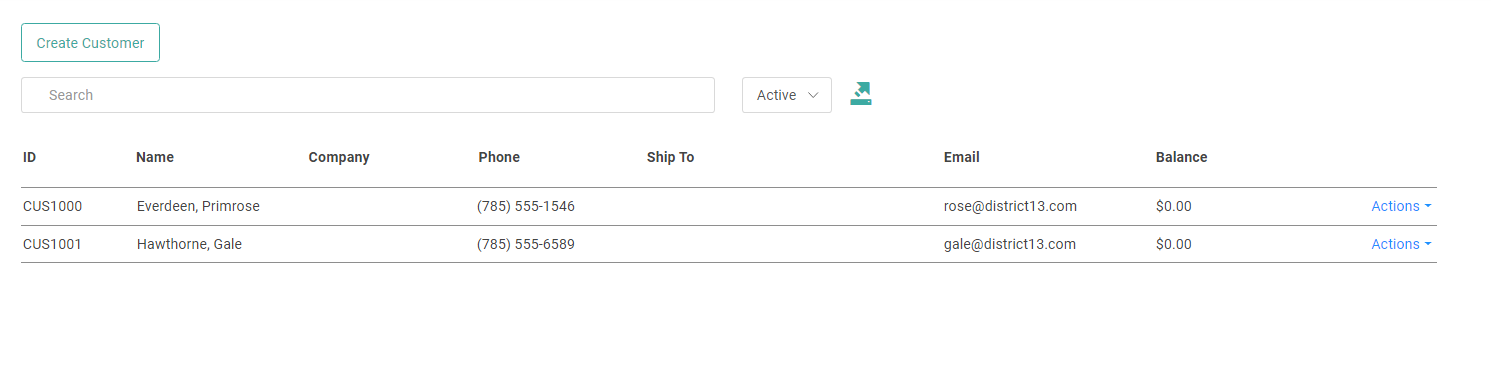
Once you’ve created the Customer, they will appear on the main Customers screen and be available to select in various Documents. Walk-In Customer for LOU Retail POS

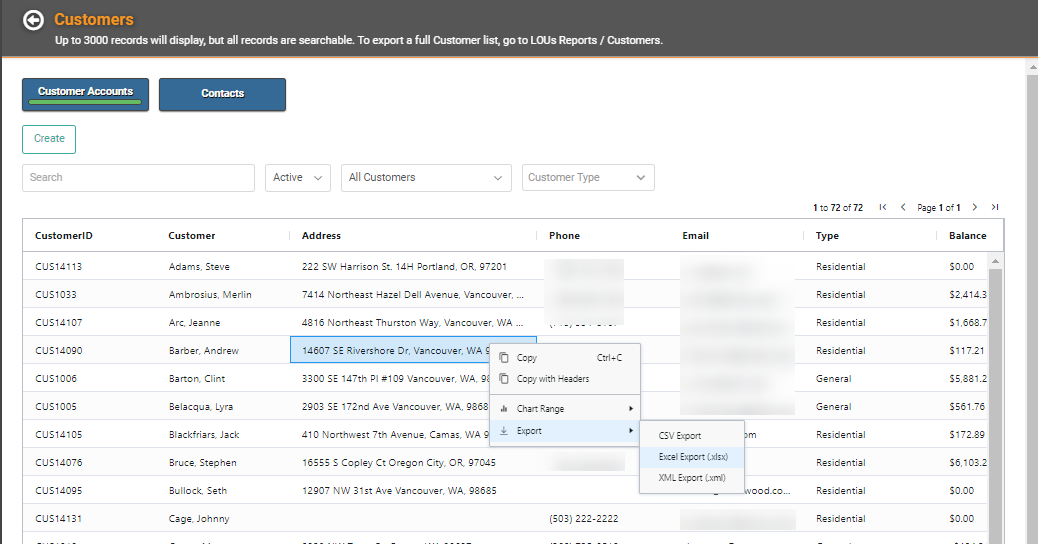
When typing a name in the Search box, it’s important not to use special characters such as apostrophes and commas or you will receive an error. You can search for Customer ID, Name, Address, Phone Number, or Email. As you enter alphanumeric characters in the Search, LOU will begin filtering results that contain that grouping of characters anywhere in each of those fields, just like a standard web search.
Searching for Rob, as an example, would return all Customers with “Rob” somewhere in their Name. Robert Smith, Becca Roberts, Jenna Carob, etc. It will return all Customers with “Rob” in the Address as well. Carrie Jones at 1234 Robbie Road, Matt Rogers at 546 SW Robb Ave, etc. To return narrow results, you need to type in enough of the Customer ID, Name, Address, Phone Number, or Email to be truly unique.
To see a list of All Customers regardless of balance, toggle the Active dropdown next to the Search box from Active to All.
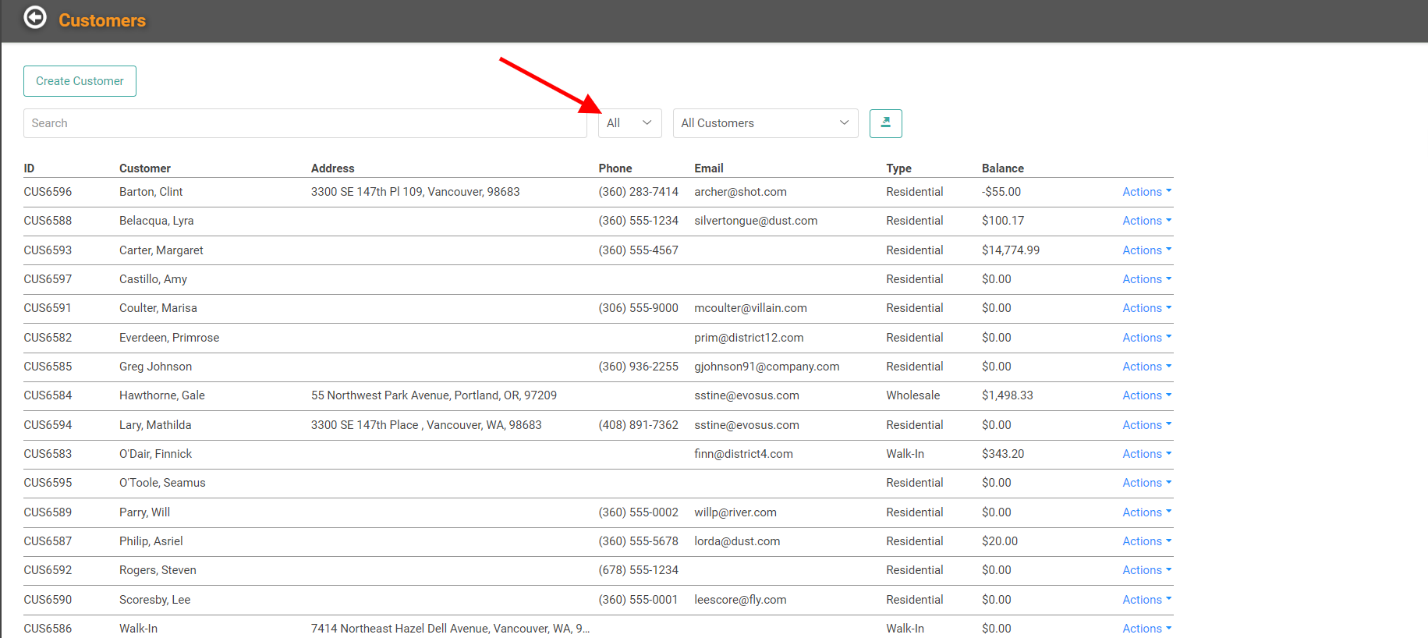
You can delimit your Customer Search by using the All Customers dropdown to filter for specific groups of Customers.
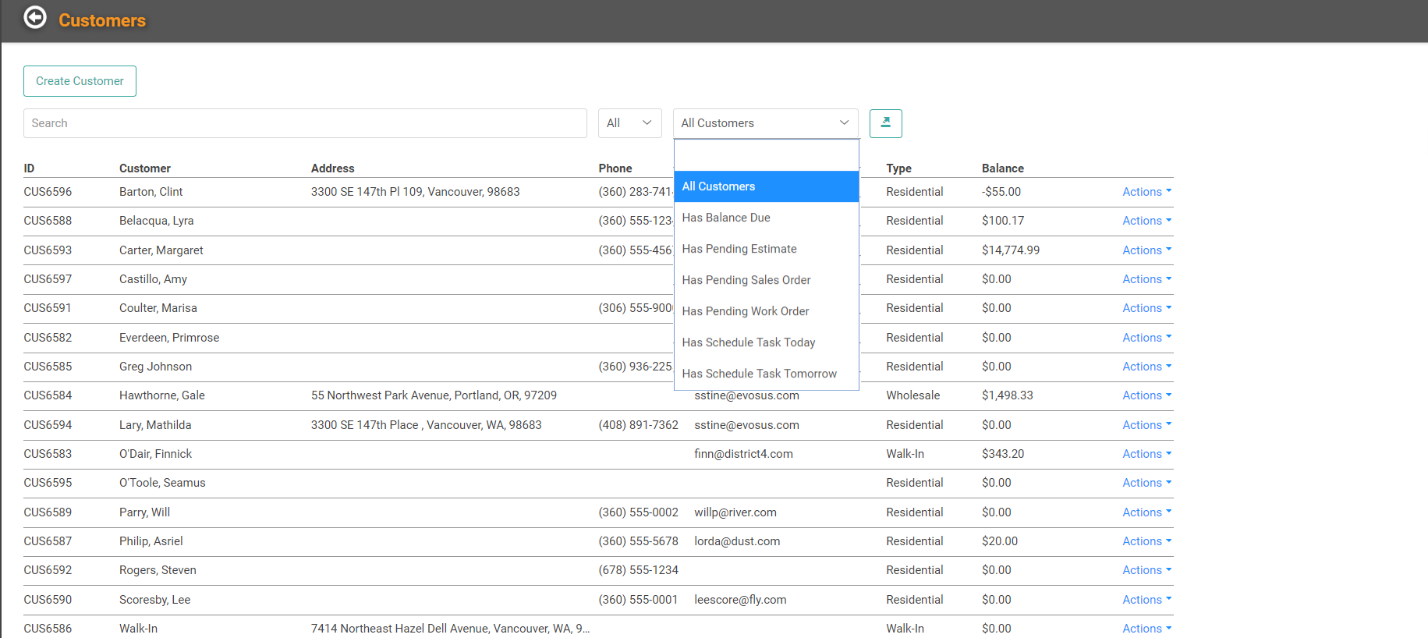
Using the dropdown, you can filter for the following:
- All Customers
- Has Balance Due
- Has Pending Sales Order
- Has Pending Work Order
- Has Scheduled Task Today
- Has Scheduled Task Tomorrow
Finally, you can right-click anywhere in the Customer list to export the list to an excel file.
Manage Existing Customers
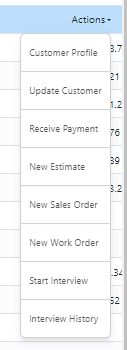
Once you’ve got Customers created, there will be times when you will need to update information, add additional information, or perform other tasks in LOU related to the Customer. You can perform many of those tasks by going to Customers, locating the Customer, and using the Actions link to access the Customer Profile and Update Customer links. From this Actions link, there are several other links to processes in LOU.
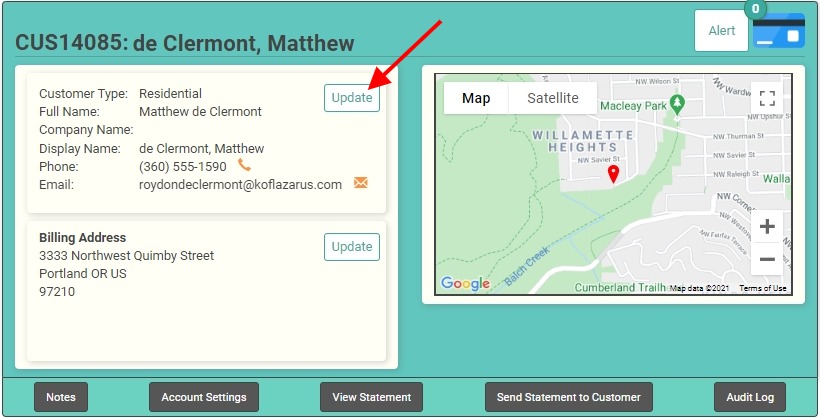
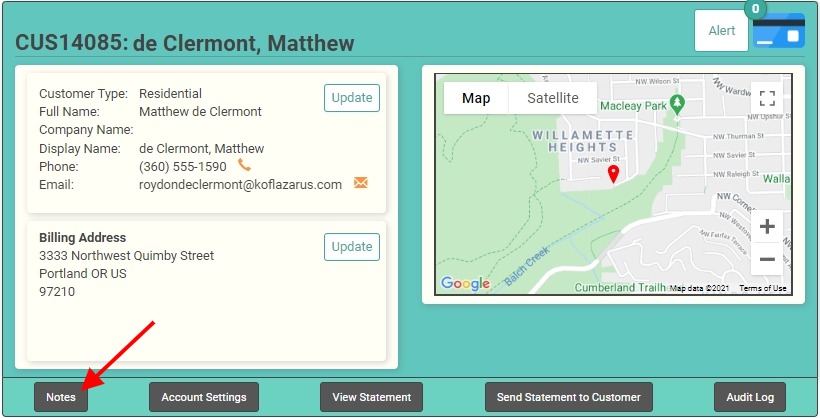
Customer Profile

At a glance, you can see the customer’s demographic information as well as a map of their location. You can also see whether the customer has an outstanding balance. You can access various Documents for the customer by selecting the appropriate tile.
Customer Demographics
To update the customer’s demographic information from this page, click the Update button next to the Customer’s Demographic information.
This will pop up a window like the one when you create a customer.
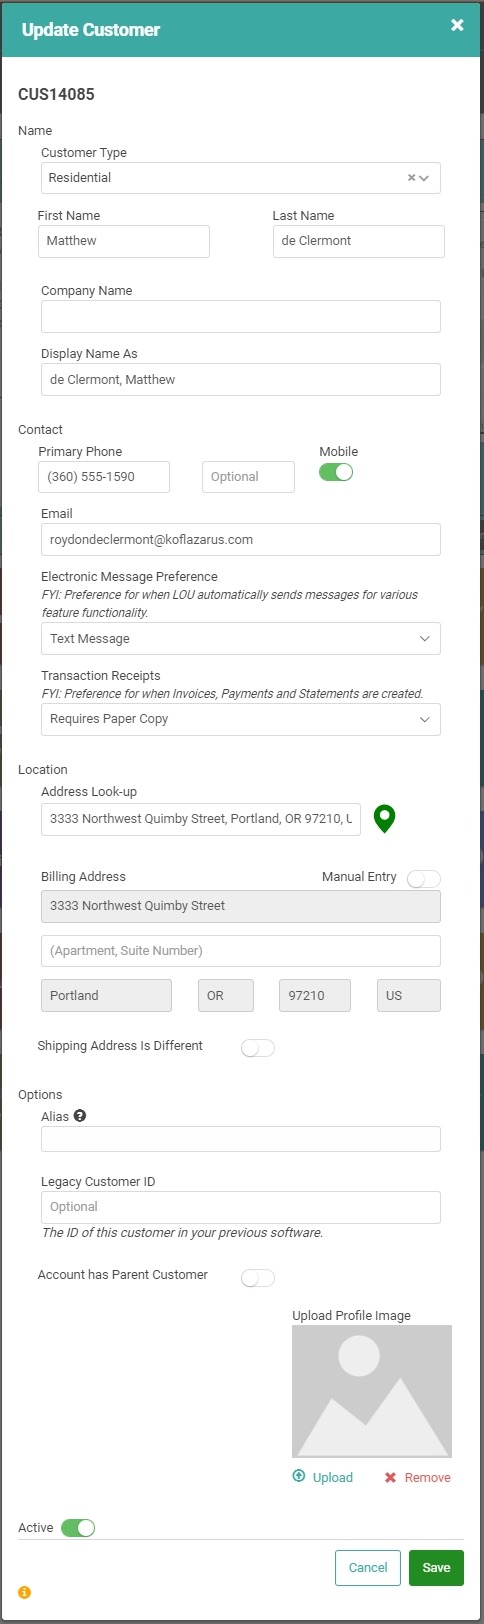
You can update and add the information and save changes.
Customer Billing Address
To update the Customer’s Billing Address, click the Update button next to the Billing Address information.

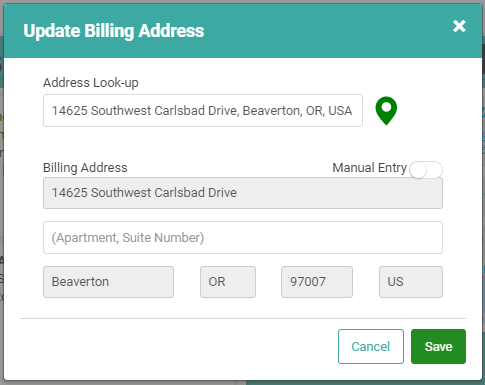
You can use the Address Look-up or manually enter the address and save changes.
Customer Notes
You can add Notes to the Customer Profile.

Notes are not permanent. The Notes box is like a whiteboard. You can add to it, change, or delete at will. If you delete all the notes and save, the Note page will be blank next time you open it. There are currently no timestamps on notes. These notes are not visible in the LOU Schedule Mobile App.

- POS: You can toggle the button to Allow Bill Me Later, which will allow the Customer to be billed for purchases made rather than paying upon receipt at the POS terminals. You can limit the amount which can be added to the customer’s “tab” by imposing a Credit Limit.
- This Credit Limit takes both the current POS sale and the Customer’s existing Balance Due into account.
- Tax: You can create a Tax Exemption for the customer that will override taxes due. This Tax Exemption would override any applicable tax rules defined for the POS station. This can be handy if the customer has a specific reason to be exempt from taxes otherwise collected through the POS transaction.
View Portal and Send Portal to Customer
These buttons allow you to View or Send a link to your Customer’s Customer Portal right from the Customer’s Profile.
Audit Log
This will allow you to see the Audit Log for this Customer without leaving the Customer Profile to go to Operations / Reports / LOU Audit Log.
Customer Information
There are several tiles on the Customer Profile that allow you to add and track important Customer Information.
You can View and Edit existing Site Profiles or Create new Site Profiles from this page.
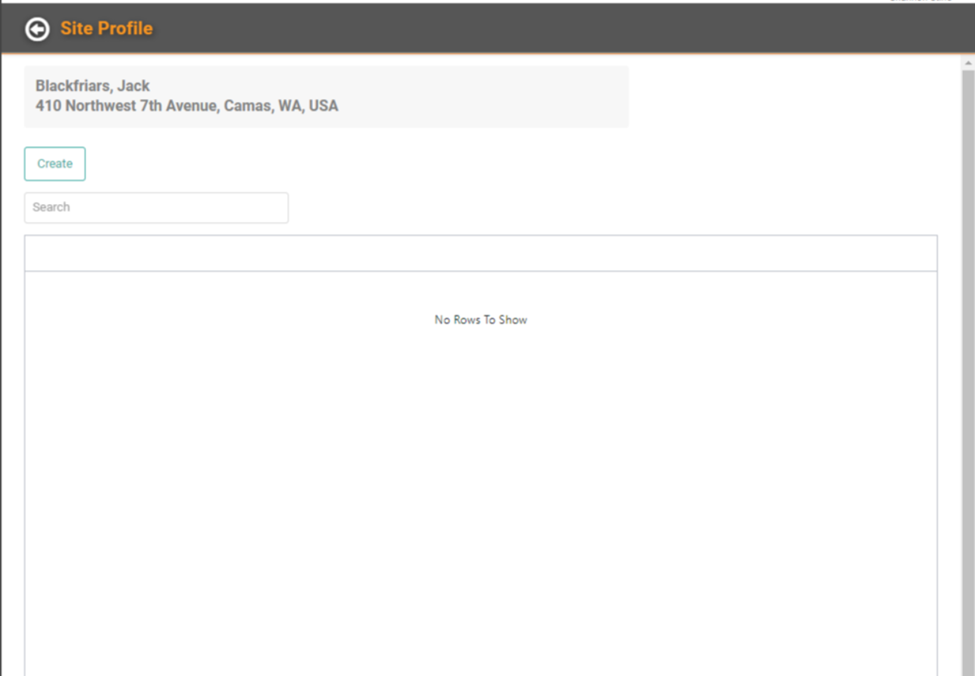
To Create a Site Profile, click Create .

A pop-up displays, allowing you to enter Attributes and Values for the Site Profile. Attributes are things such as gate codes, animals the techs may encounter, and anything else your techs may need to know about the site. You can add or remove rows as needed by using the red X to remove a row or the ![]() at the bottom to add a row.
at the bottom to add a row.
REMEMBER! You do not have to remove empty rows to save the Site Profile. This option is simply to allow you to keep the Site Profile organized and clean. Empty rows can remain without an issue.
There is a field at the top of the pop-up for Water Volume in cubic feet. This works with the Water Test feature through LOU Schedule.

The Attributes you create on a Site Profile may be common to many Site Profiles for your Customers. You can save time by checking the box called Save as Template and this will allow you to quickly add the Attributes to a new Site Profile on any Customer Profile on your system by clicking the ![]() button. Then add the Values specific to that Customer Profile for each of the copied Attributes.
button. Then add the Values specific to that Customer Profile for each of the copied Attributes.

Click the Equipment Tile to View, Add, or Edit Equipment.
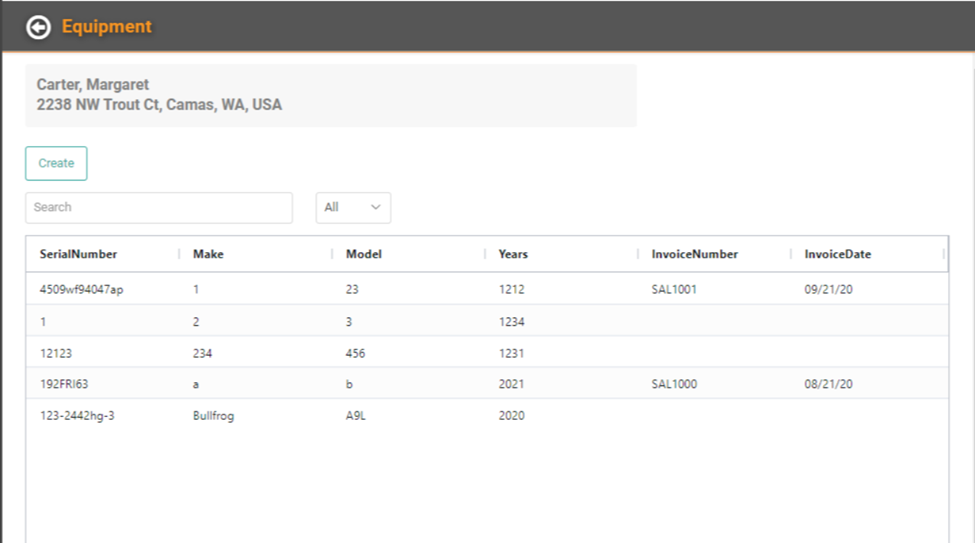
You can add equipment to the Customer Profile by clicking Create. A pop-up will display, allowing you to add information about Customer Equipment.

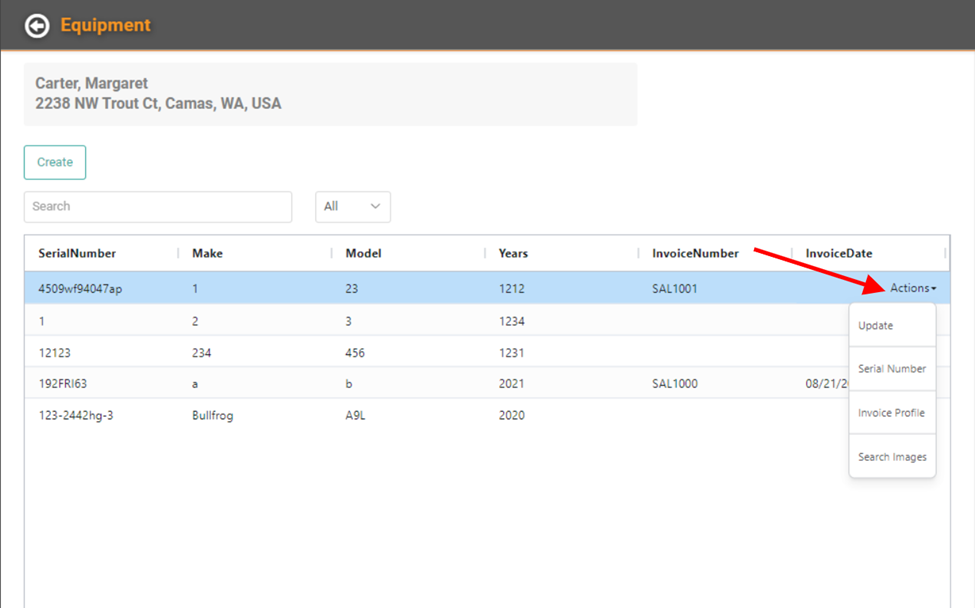
Once you’ve entered the information, click Create. The Equipment will now be listed in Customer Equipment. You can use the Actions link to Update, view and Update the Serial Number, see the Invoice Profile if the Equipment was purchased through LOU, and Search Images associated with this Equipment.
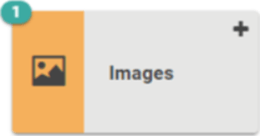
You can View, Edit, and Add Images by clicking the Images tile. The badge on the upper left indicates how many images are associated with the Customer.
IMPORTANT! Pictures and Videos must be less than 8mb. All other file types must be under 10mb. File sizes in excess will not be uploaded.
Click ![]() and either drag and drop the image or click the field to open a Search on your Device.
and either drag and drop the image or click the field to open a Search on your Device.

Once you’ve selected the image, click Upload.

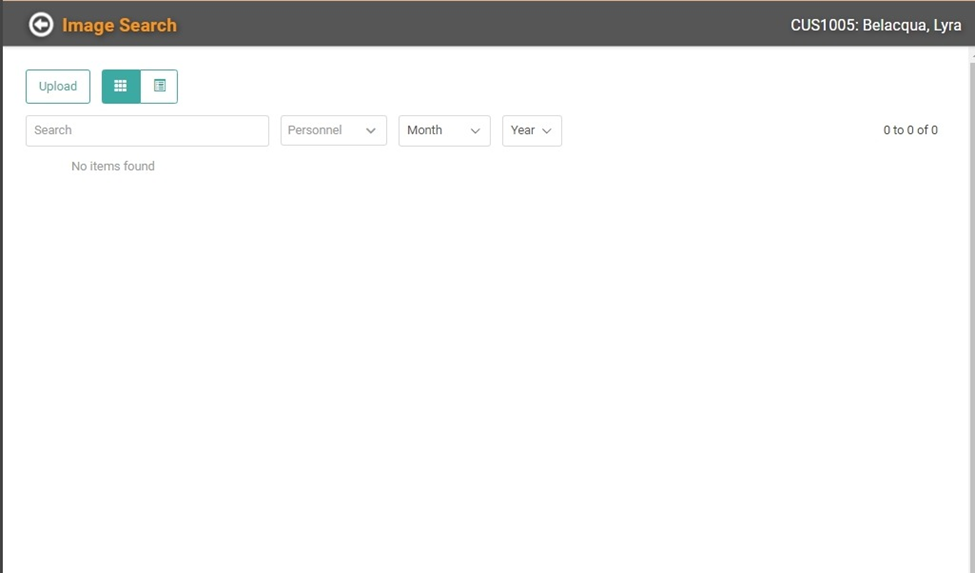
This image will now appear on the Customer Profile and is searchable through Image Search.
TIP! Before you upload images, rename them something descriptive to the image. That way, they will be easier to search throughout LOU.
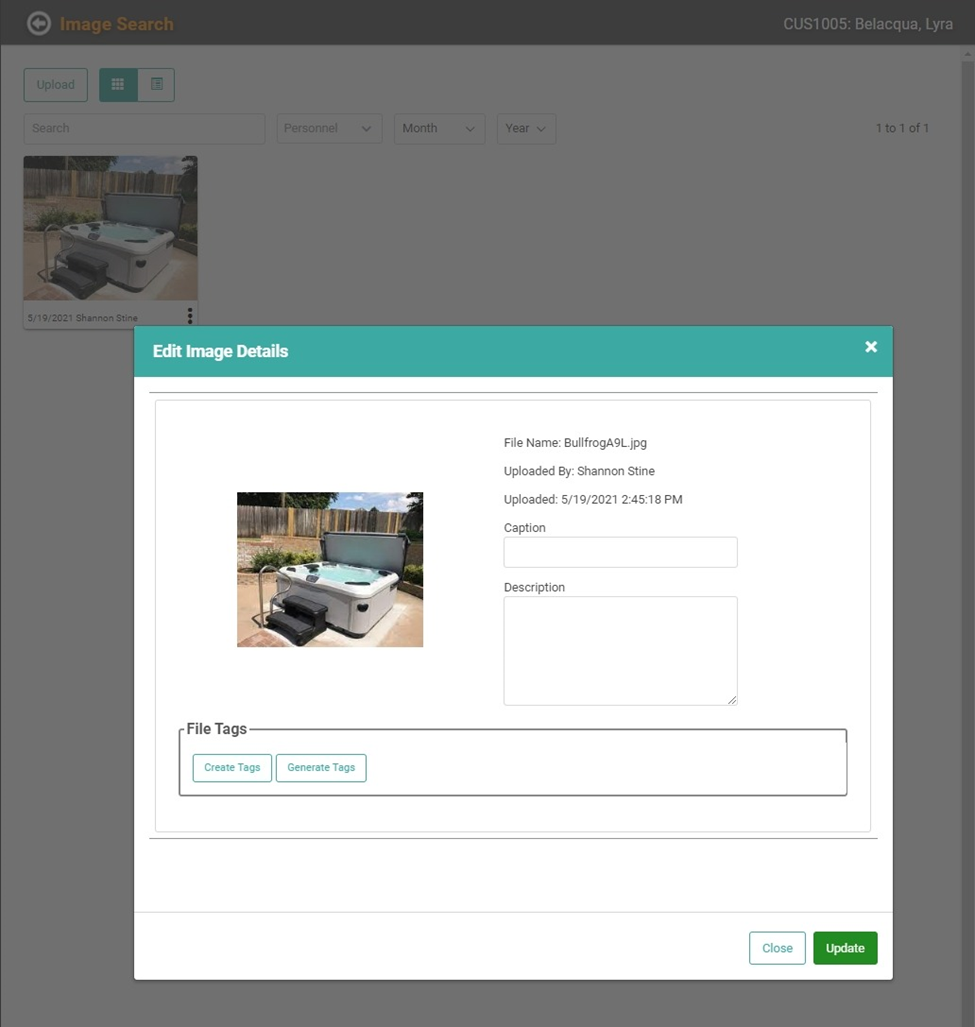
After you click Upload, the Edit Image Details box will pop up, allowing you to generate and create tags for easy searching, add a short Caption about the picture, and even a detailed Description. Nothing in this box is required. If you prefer to skip it, click Close.
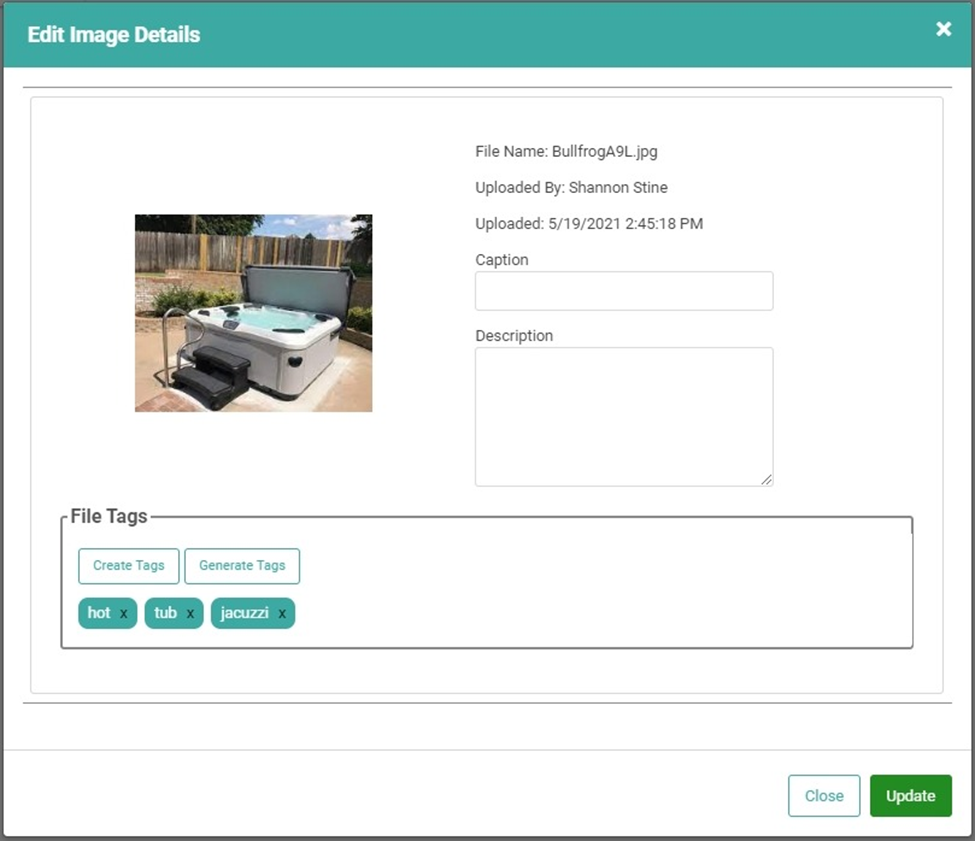
If you choose to click Generate Tags, LOU will use Amazon’s photo tagging technology to recognize the image and create tags using keywords it believes are relevant. You can click the X next to the tag to remove any tags you don’t like.
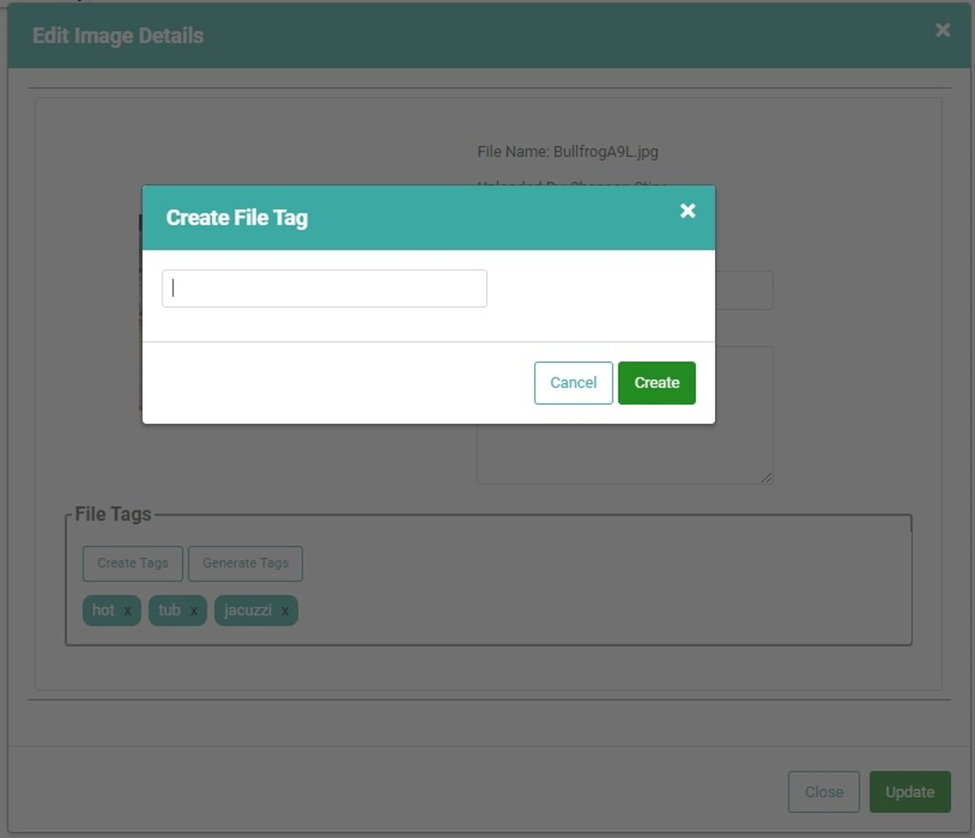
Clicking Create Tags will allow you to enter keywords you want to associate with the image.
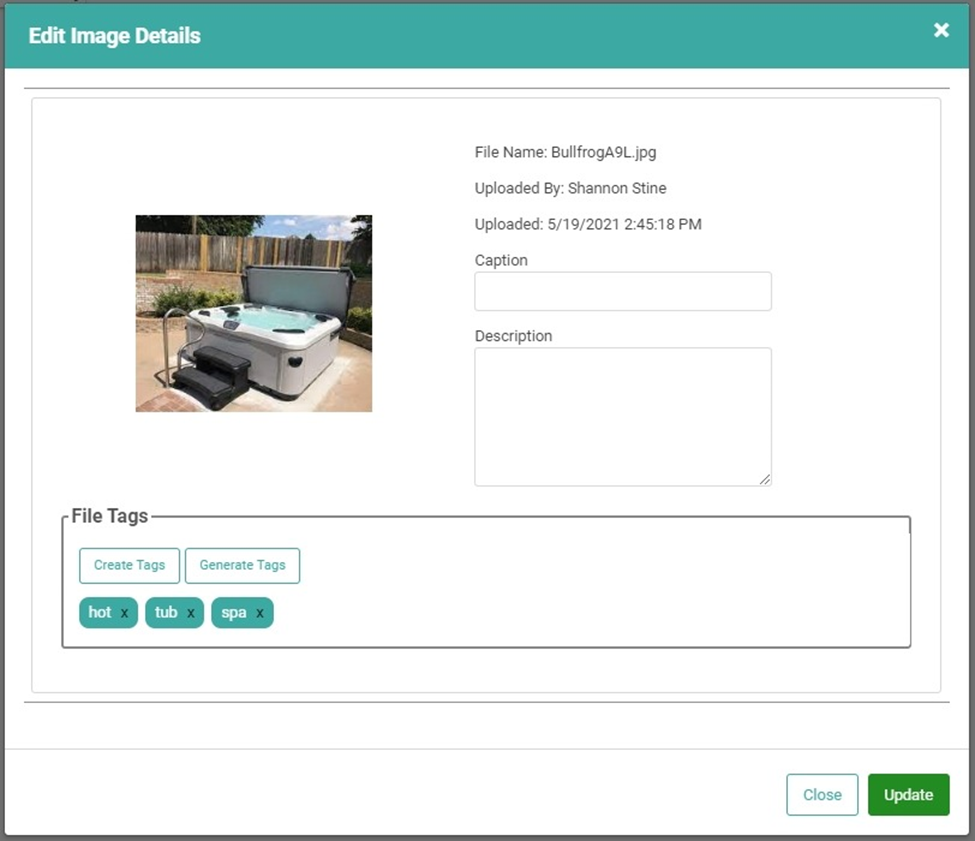
For this image, we removed the tag “jacuzzi” and added the tag “spa”.
IMPORTANT! Valid photo file types are compatible to be viewed in LOU. These include .png, .jpg, .tif, and iOS photo types such as HEIF. Standard video and .pdf extensions can be uploaded and viewed within LOU as well. Document extensions such as .xlsx are storable but must be downloaded to view.
On the Image Search page, you can click the 3 vertical dots (called a "kebab" button)  on an image to access an Actions menu for the image.

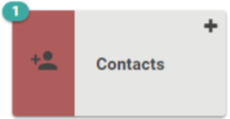
You can View, Add, or Edit additional contacts through the Contacts tile. The badge on the tile will indicate how many additional contacts are associated with this Customer. These will be additional people authorized to use the account. Business customers may have a manager and an assistant manager. Residential customers may have spouses.
To create a new Contact, click the ![]() button.
button.

You can enter the First and Last Name, add a relevant comment, Phone, and Email. Use the ![]() under Phone and Email to add additional Phone Numbers and Email Addresses. Use the Mobile and Default Toggles to define a Phone Number as Mobile and one Phone Number and one Email as the Default for this Contact. When you’re satisfied with the data entered, click the
under Phone and Email to add additional Phone Numbers and Email Addresses. Use the Mobile and Default Toggles to define a Phone Number as Mobile and one Phone Number and one Email as the Default for this Contact. When you’re satisfied with the data entered, click the ![]() button.
button.
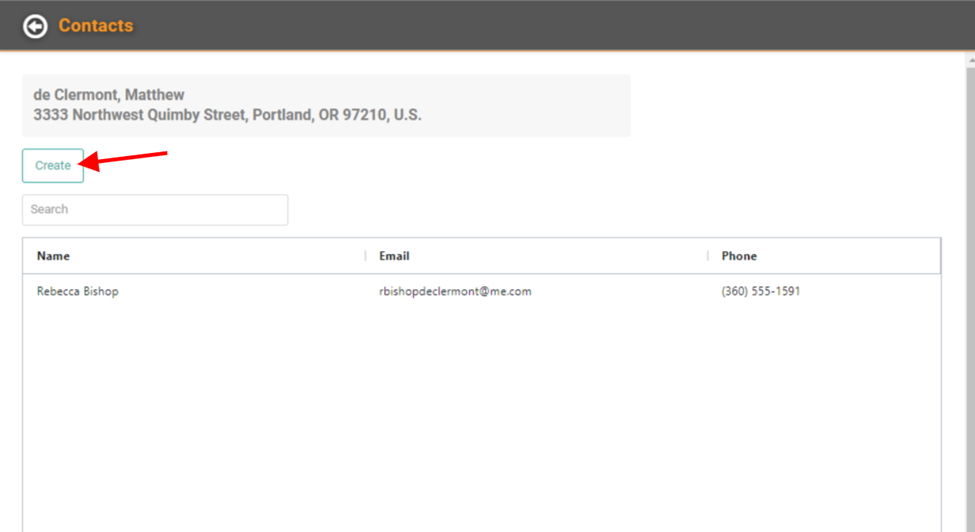
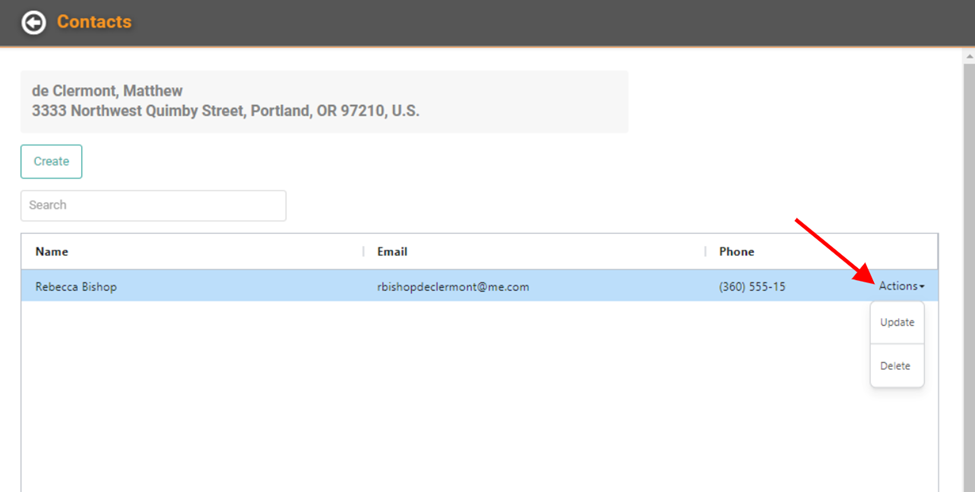
Once you’ve added the Contacts to a Customer Profile, they will appear on the Contacts page. You can use the Actions link to Update or Delete the Contacts.
REMEMBER! You can view and search all Contacts in LOU by going to the Contacts page from the Customers tile.


Purchase History is, as the name suggests, where you can find a history of everything the Customer has purchased in LOU. This can help you make recommendations for products or services, quickly find that product they bought last year and really enjoyed, and track purchase dates if you need to for warranty and return purposes. Whatever reason you need to see a Customer’s purchase history, it’s right here on the Customer Profile for you!

You can export this information and perform sorts, filters, and configuration on this page just as you would a report. You can also use the Actions link on each line item to view the Invoice or SKU Profiles, create an Order for the SKU by clicking Buy Again, or create a Return Order by clicking Return.

All this Purchase History information is also available for your Customers to review on their Customer Portal under Purchase History.
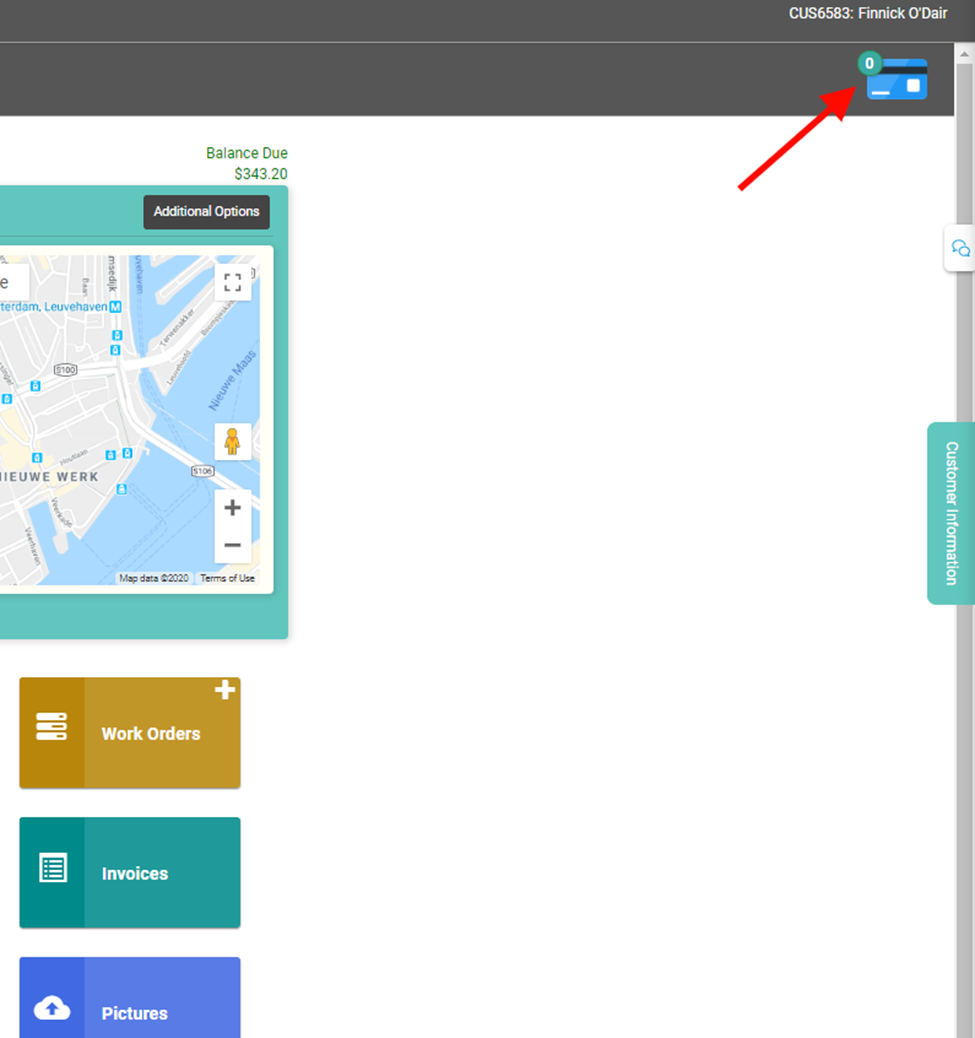
Add a Payment on File
To add a credit card to the Customer Profile, click the credit card on the right of the page.
Important Information about Payments on File
You should never add a credit card to a Customer’s Payment on File without asking permission to do so first. Customers should be made aware that LOU encrypts the account information so that even LOU users (you) cannot see the whole account number once stored. Also, keeping a Payment on File allows you to automatically pay Invoices quickly and easily. If a Customer prefers not to auto-pay Invoices, you may choose not to keep a Payment on File.
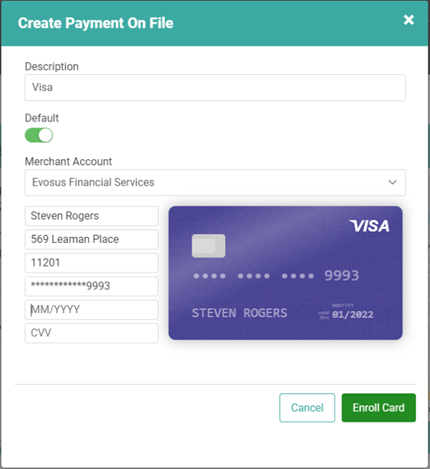
A pop-up will open, allowing you to enter card information.
IMPORTANT! You will be asked to enter the Customer's Name and Billing Address information. This information is required by the merchant account payment processor as part of the encrypted data stored to process future payments.
Including this information helps reduce fraud and ensure accuracy when processing payments.

Add Credit Card
- Click Add Card
- If you have Terms and Conditions configured in Payment on File Settings, click the checkbox to accept them and click Next.

- Enter a Description for the card.
- Choose your Merchant Account
- Enter Demographic information for the card, including Name, Address, Zip Code
- Enter Card Number, Expiration Date, and CVV
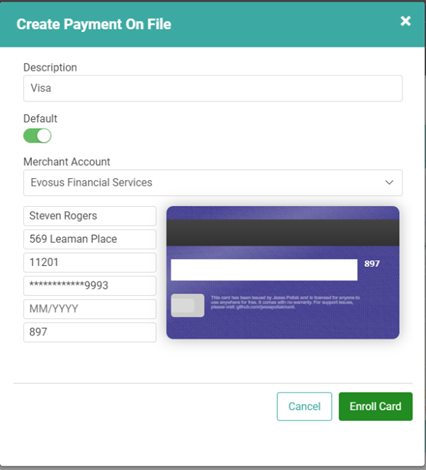
- Once everything is correct, click
 .
.
This card will now be listed for this customer.
IMPORTANT! The full card number is encrypted for security and only the last 4 digits will be visible. The full card number will not be visible anywhere in the system, but the card on file can be accessed and used for payment processing throughout LOU, wherever you see the credit card icon  .
.
Add Bank Account for ACH
- Click Add Bank Account
- If you have Terms and Conditions configured in Payment on File Settings, click the checkbox to accept them and click Next.

- Enter Account Holder First Name.
- Enter Account Holder Last Name
- Enter Account Nickname (this is used to identify the Payment Method when multiple Payment Methods are on file)
- Enter Routing Number
- Enter Account Number

- Once everything is correct, click
 .
.
This Bank Account will now be listed for this customer.
IMPORTANT! The full Account and Routing information is encrypted for security and only the last 4 digits of the account number will be visible. The full account number will not be visible anywhere in the system, but the payment on file can be accessed and used for payment processing throughout LOU, wherever you see the credit card icon  .
.
Customer Authorization for Storing Payment Methods
Some states require you to get signed authorization from your Customers before accepting and storing payment information for use on future transactions. You can create your own template or form to have Customers sign a paper or digital copy of this authorization and save it as one LOU’s accepted image and file types to upload on the Customer Profile.
A simple online search will give you several examples of authorization forms. Check out this one we found:
