
Monthly Customer Statements are an important part of a lot of businesses. Customers need to know how much they owe you each month, after all.
LOU automatically creates AR Customer Statements for any customer who has a balance on their account. This statement is updated monthly.
IMPORTANT! There are two setup tasks that must be completed before you can effectively use Customers Statements.
Go to Operations / Accounting / Customer Statements
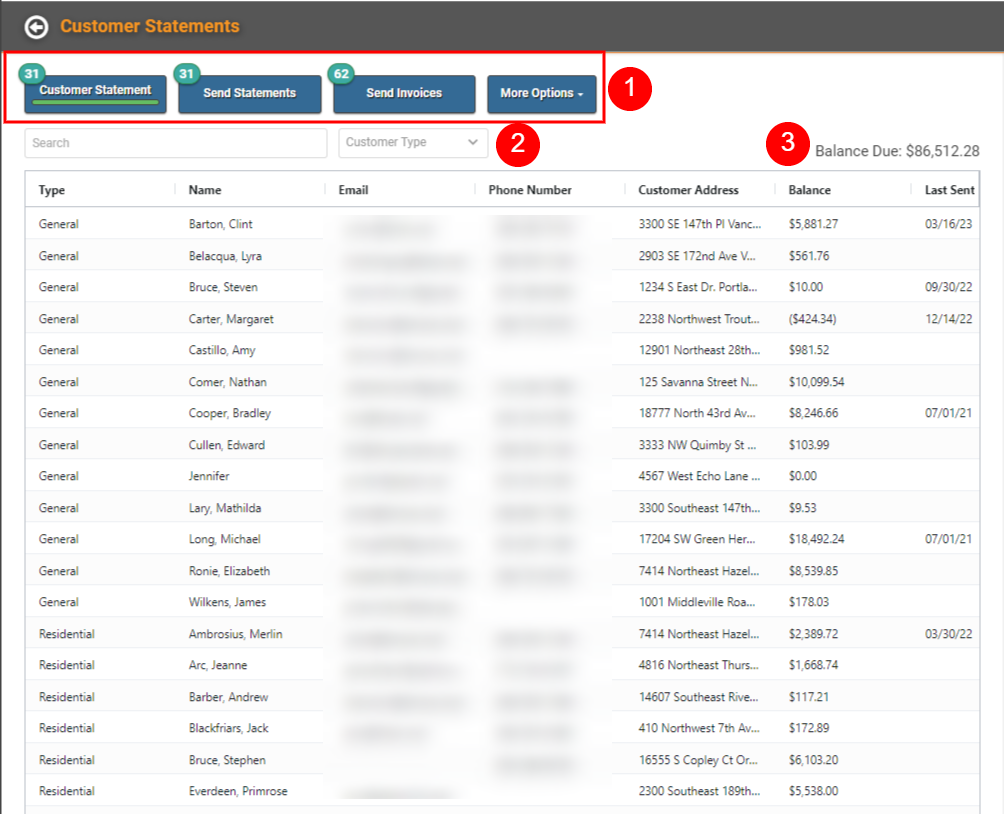
On the Customer Statements page, you will see a list of the available statements.
 Monthly Customer Statements are an important part of a lot of businesses. Customers need to know how much they owe you each month, after all.
- These Buttons allow you to access different pages related to Statements.
- Customer Statement: This page is the default and shows the available Customer Statements.
- Send Statements: This page displays Customer Statements that have not been sent, allowing you to Print or Send Statements en masse or individually.
- Send Invoices: This page allows you to see all Pending Invoices and Print or Send Invoices en masse or individually.
- More Options: Quickly access additional features such as Unapplied Payments, Recurring Order Mass Invoice, Review & Invoice, Customer Search, Accounting Dashboard, and Product Setup.
- Search Keywords and Filter the page for Customer Type
- Total Balance Due (sum of all Statement balances)
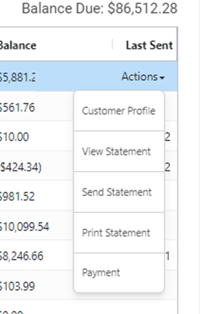
Next to each line item is an Actions link with several actions you can take.

- Customer Profile: View the Customer Profile associated with this statement.
- View Statement: View the Customer Statement
- Send Statement: Send this Customer Statement
- Print Statement: Print this Customer Statement
- Payment: Take a Payment
View the Statement
To view the Customer Statement, click View Statement on the Actions link.
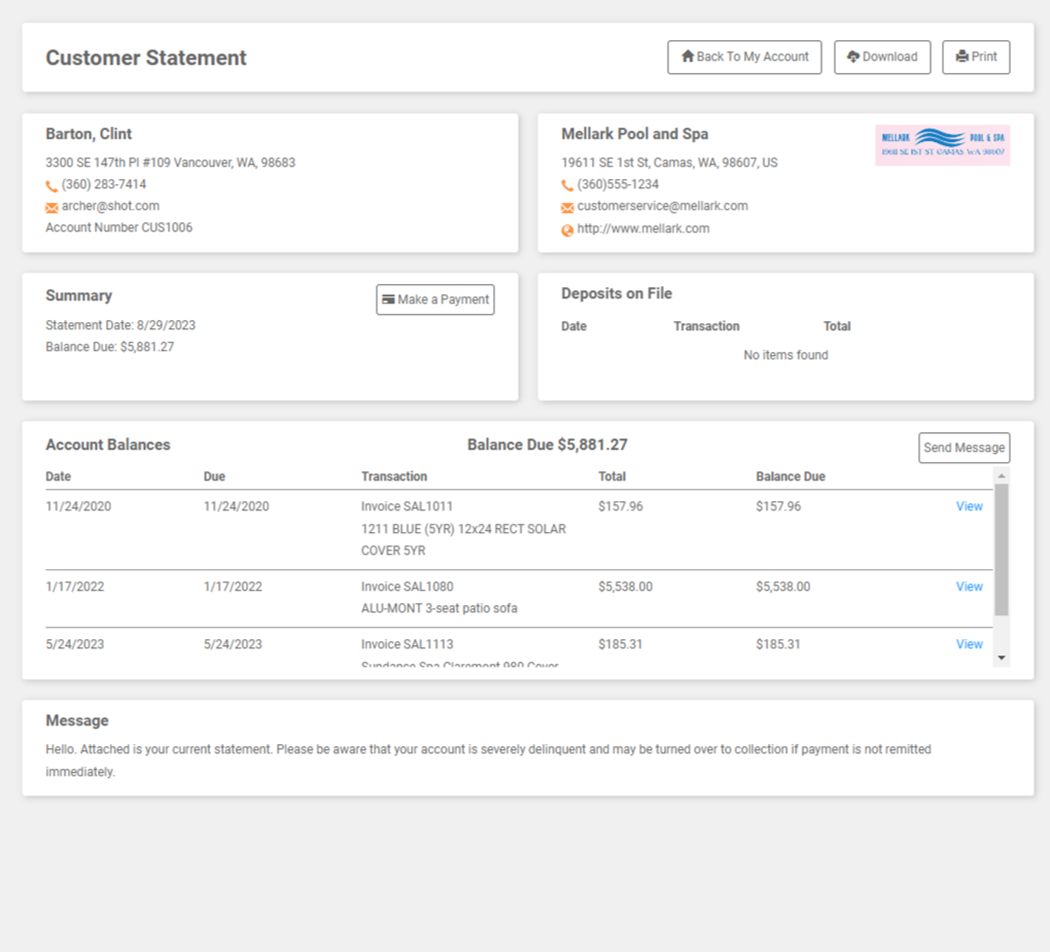
All the information your customer needs about their balances is available here on the Customer Statement. This view is the same one they will see when you electronically send their statement or they access the page through the Customer Portal.
You and your Customers can Download or Print the Statement right from this page.

The top two boxes will display the Customer’s information and your company’s information.
REMEMBER! Your Company information is defined in My Company Details.

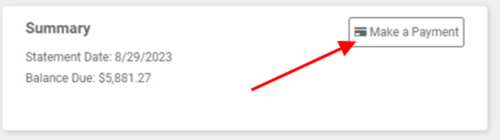
The next row contains a quick Summary of the Statement Balance and the Statement Date. If you have chosen to allow online payments, there will also be a Make a Payment button. The Deposits on File box will list any Deposits the Customer has on file – these are unapplied Deposits for Open Orders.
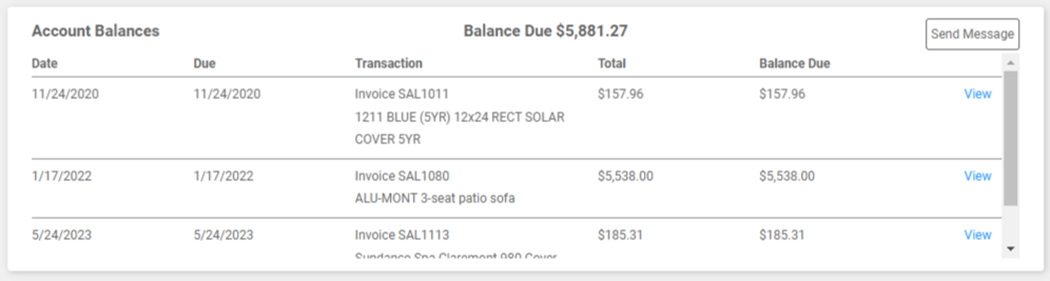
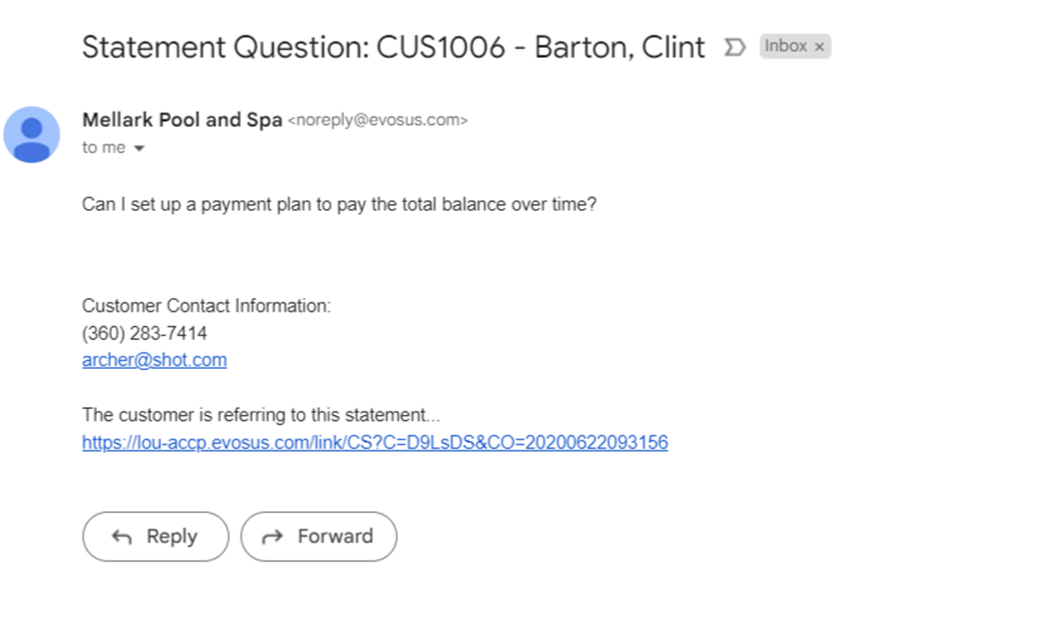
The next row will list all open Invoices included in the Statement Balance. You can View an individual Invoice by clicking the View link on that line item. You can allow your Customers to use the Send Message button to message you about their statement by entering an email address in Customer Statement Settings.
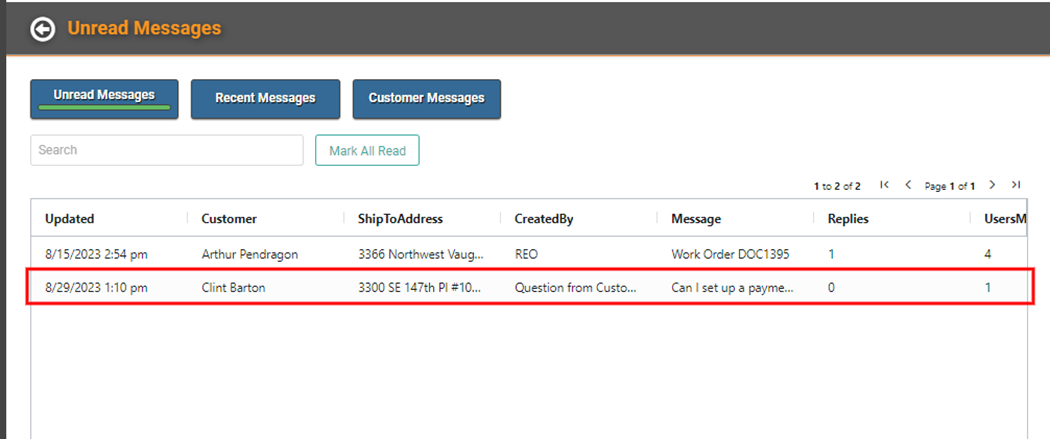
When the Customer sends an email, you will receive the email in your email provider’s mailbox. Additionally, Mentioned Users (Document Owners, user associated with the email address configured to receive the messages) will receive the email in LOU under My Messages.
Email Received from Customer
Email Received from Customer in My Messages
The messages based on the age of the balance which you configured in Customer Statement Settings appear here.

Email or Text the Customer Statement
Before you can email or text the Customer Statement, you need to configure Customer Email Messaging. When you’re ready to send the Statement, click Send Statement in the Actions link on that Customer.
You will see a confirmation message asking if you’re sure you want to send the Customer their statement.
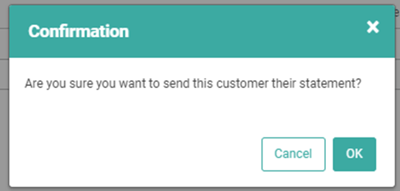
Once you click OK, the Customer Statement will be sent via email and/or text message according to how you’ve configured Customer Messaging.
Alternatively, you can use the Send Statements button at the top of the page to go to a list of Statements available to Send or Print. From here, you can send the statement individually or en masse.
Online Payments for Customer Statements
You can activate a feature that allows your customers to make online payments directly from their Statement. This requires that you first set up a POS Station configured to auto open and which does not track cash. If your Back Office POS Station is used to track cash or check payments accepted by your Accounting staff, you will need to create a dedicated POS Station for Online Payments. See How to Access POS Station Management for instructions on creating a new POS Station.
Once you have the POS Station, you need to go to Customer Statement Settings and toggle the button to Allow Online Payments and assign the POS Station.
With those important setup tasks completed, you are able allow your customers to make payments online with a credit card straight from their Statement. A Make a Payment button will appear on the Summary box on the right side.
The payment will process through the POS Station you’ve designated exactly the way card payments are processed through LOU Web.
The Customer Payment Process
This is what the online payment process looks like.
- Customer has received their statement via email or text message.
- Customer clicks that Make a Payment button.
- They will receive a pop-up that includes the Balance Due and allows them to select a Payment Method and enter a Payment Amount.
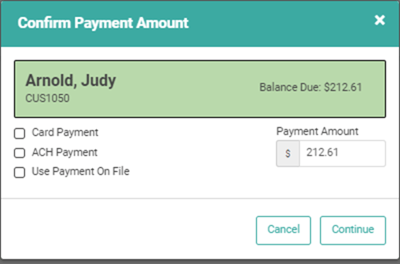
- Customers can check the box next to the Payment Method they want to use and click Continue. The appropriate Payment Details window will open to enter Payment information.
- Customers can choose a one-time credit card payment, one-time ACH payment (if ACH is enabled for your company), or use Payment on File.
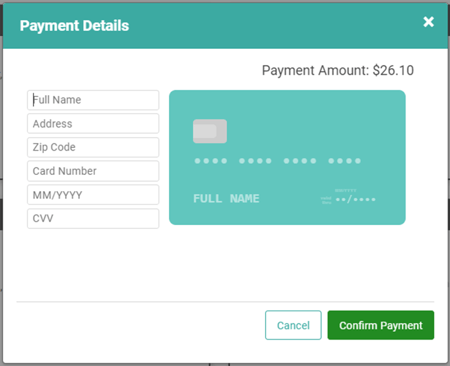
- Card Payment: Enter commonly requested Credit Card information required for payment processing.
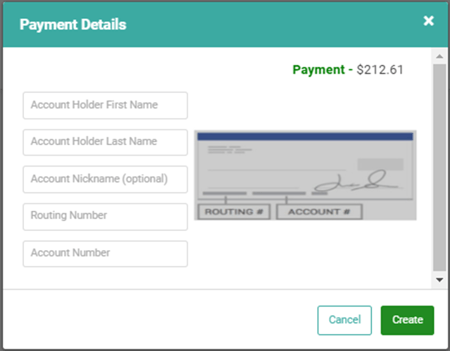
- ACH Payment: Enter commonly requested Bank Account information required for payment processing.
- Payment on File: Select the Payment on File to process this payment.
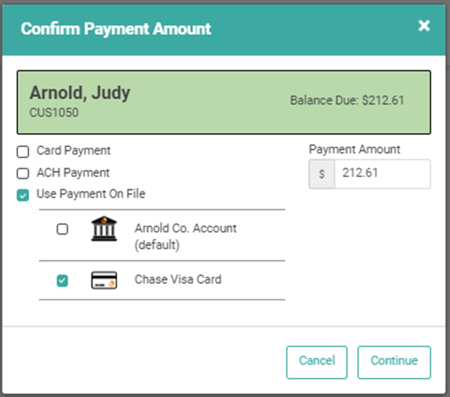
- After they’ve filled in their details, they will click Confirm Payment, Create, or Continue, depending on the chosen Payment Method, and the payment will process.
- They should see a “Payment Successful” message in green. They can click Close.
They will be returned to the Statement screen which will update to reflect the Payment. If they paid the Balance in full, the Summary will update to show $0 due and the Account Balances box will be blank.