
For those of you who have been in business prior to getting started with LOU, you already have Inventory and financials related to your business which need to be accounted for in LOU. This is where Beginning Balances comes in.
LOU has three categories for Beginning Balances:
- Inventory Valuation: Allows you to add your existing Inventory Quantities and Value
- Accounts Receivable: Allows you to add your Customers’ existing balances due.
- Customer Deposits: Allows you to add your Customers’ Credits on Account.
You can add Beginning Balances individually OR you can create Spreadsheet Imports for your Beginning Balances. Head over to these resources for more information:
- Create an Inventory Valuation Import
- Import AR Beginning Balances
- Import Customer Deposit Beginning Balances
IMPORTANT! This is not where you enter Customer Credits on Account.
IMPORTANT! Beginning Balances must be entered during Onboarding. Once you’re live, you will not be able to create these balances. If you want these balances tracked and accounted for in LOU, they must be entered during Onboarding. Otherwise, you will have to track and maintain those balances outside of LOU.
LOU Accounting - If you go live with LOU Accounting, you do have the ability to create Journal Entries after go-live that can capture changes to, or additional, Beginning Balances.

In the Product Setup Tool, go to Beginning Balances
You can add Beginning Balances individually OR you can create Spreadsheet Imports for your Beginning Balances. Head over to these resources for more information:
Create an Inventory Valuation Import
Import Customer Deposit Beginning Balances
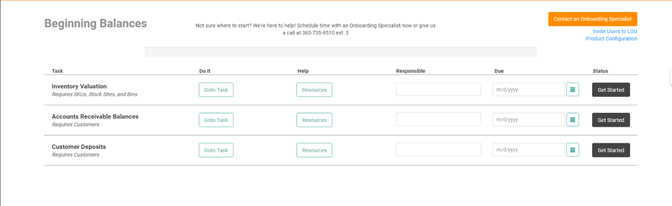
Inventory Valuation
This is the process for manually creating your Inventory Beginning Balances.
Before you can enter your current Inventory quantities and value, you must set up your SKUs, Stock Site(s), and Bin(s). Once you’ve done so, you can click  next to Inventory Valuation.
To create a new Balance, click  .
.
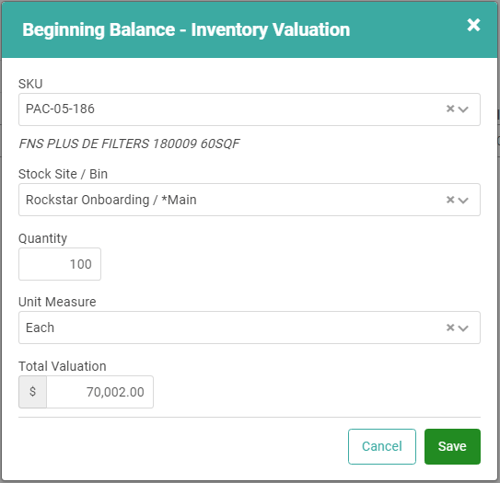
Use the dropdowns to select the SKU for which you want to create a Balance and the Stock Site/Bin location of the SKU. Enter the quantity you have on hand, select the correct (Sell By)Unit of Measure, and enter the total Value. When you’ve entered all the information, click  .
.

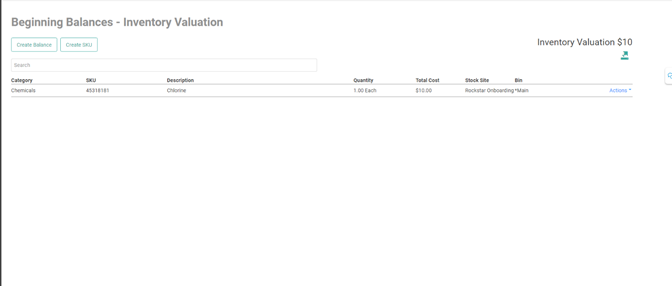
You should see your new Balance listed on the main Inventory Valuation page along with a total Inventory Valuation on the upper right.
Repeat this process for each Balance you wish to create.
You can Export a spreadsheet of these balances by clicking the Export icon.
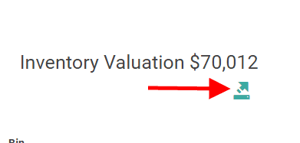
This will create a spreadsheet of the data you entered.
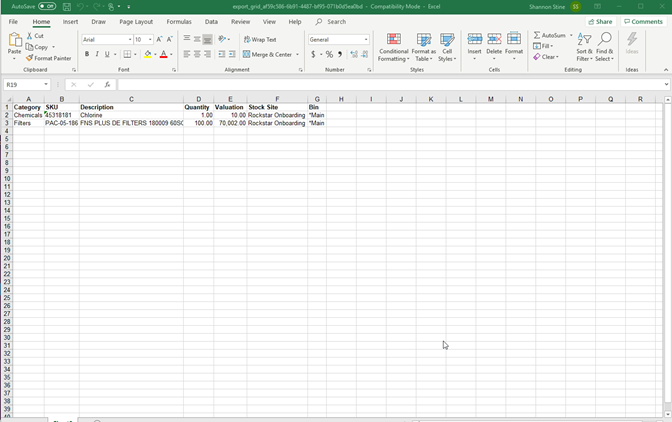
TIP! We recommend exporting your Beginning Balances after you’re finished creating them an keeping the file in your records as an audit trail.
When you Go Live
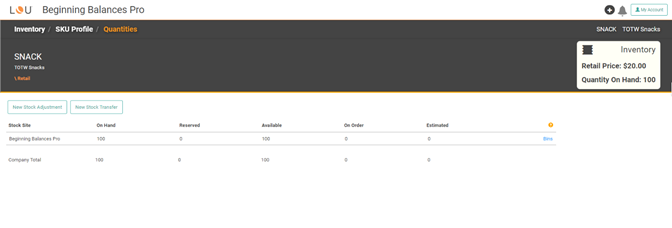
Once you go live, you cannot change or update Beginning Balances. Once you are live, a few things will happen with your SKUs on which you have a Beginning Balance.
- These SKUs will have Quantities on Hand correctly reflected.
- These SKUs will have a FIFO Log entry clearly marked as LOU Beginning Balance.
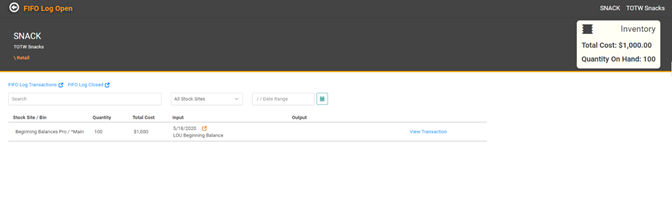
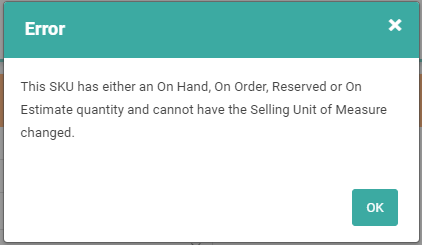
- Adding the Beginning Balance is a transaction. You cannot change the SKU Type on the SKU. The UOM cannot be changed without performing Stock Adjustments to remove the QOH first.
Accounts Receivable Balances
Before you can enter these balances, you must create your Customers. Once you’ve done so, click  .
.
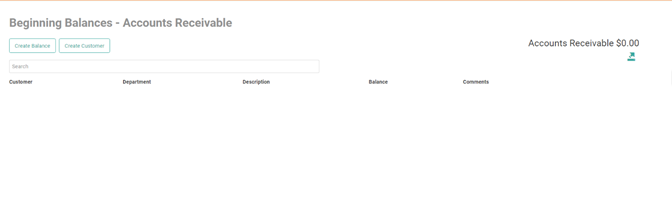
This is where you will enter outstanding Balances your Customers have. Click  to create a new Balance.
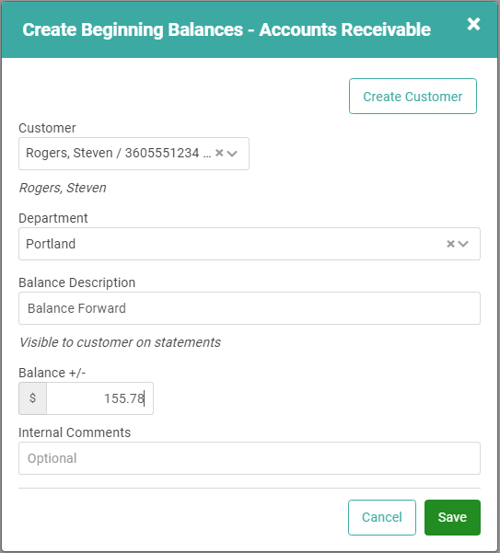
Select the Customer and Department from the dropdowns and add a Balance Description. We default the description as Balance Forward, but you can change that to whatever makes sense for you. Enter the balance. Finally, you can include optional internal comments. Click  when you’re finished.
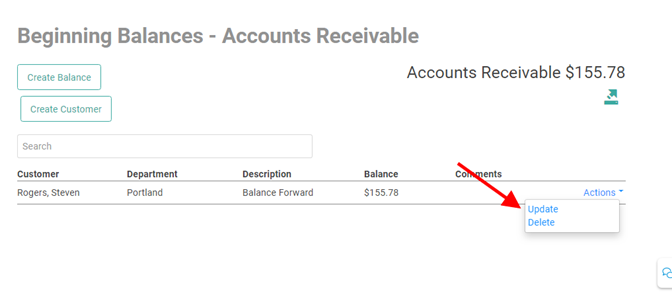
The balance you created will now appear on the Beginning Balances – Accounts Receivable page. Repeat these steps for each balance you want to create.
You can use the Actions link on the line item to Update or Delete the Balance created.
As with Inventory Balances, you can Export these Accounts Receivable Balances for your records when you’re finished.
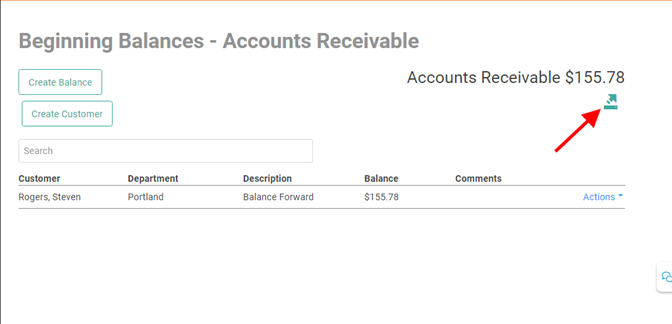
TIP! We recommend exporting these balances and saving the file for your records as an audit trail.
When You Go Live
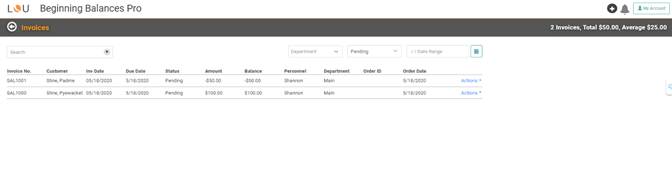
When you go live, these balances will have Invoices associated with them. They do not have Orders associated with them. The Invoices will be in Pending Status as they do not have Payments applied to them, since they are open balances. They will have all the same Actions to choose from as an Invoice created from an Order. This Beginning Balance process will not create GL entries.
When you use the Actions link to select Update, the Invoice Update screen will show the Invoice just as any other Invoice generated from an Order. The Description will clearly identify it as a LOU Beginning Balance.
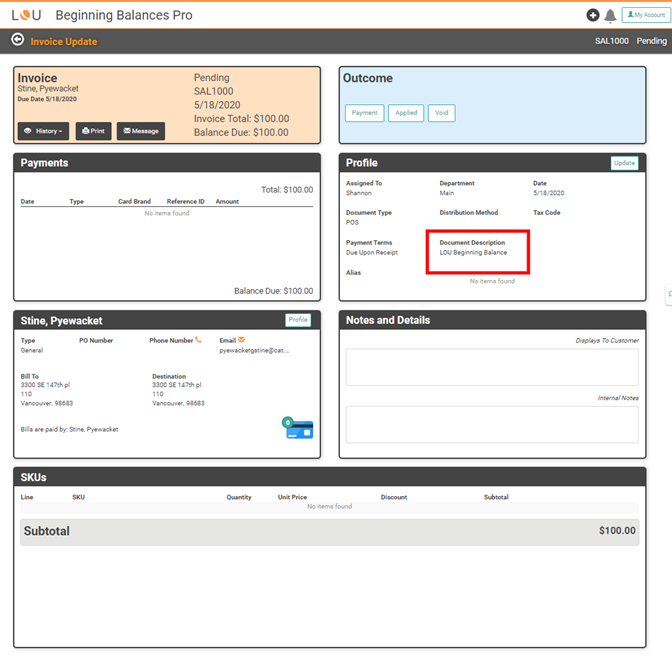
You can use the buttons on the top right to take a Payment, Apply this Invoice to another Invoice, or Void.
Best Practice for Customer Credit Invoices
The Pending negative Invoice will remain Pending until a Refund Payment is processed on it or the Invoice is applied to a future Invoice. As Credits are typically used for future purposes, best practice is to use these Invoices to apply to future purchases. When the entire balance of the Invoice has been applied, the Invoice will update to Complete.
Customer Deposits
Before you can enter these balances, you must create your Customers. Once you’ve done so, click  .
.
This is where you will create your Customer Deposits. This screen performs the same as the Accounts Receivable Balances.
To create a new Deposit, click  .
.
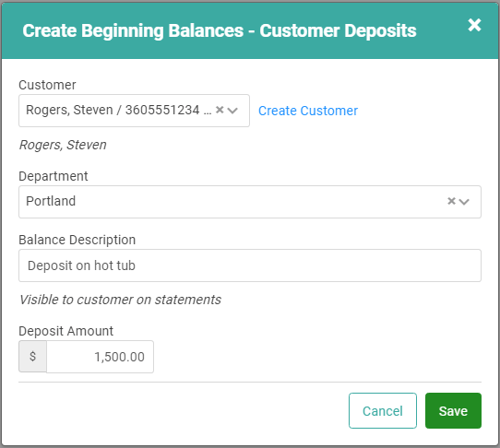
Choose the Customer and Department from the dropdowns, enter a Balance Description, and enter the amount. When you’ve entered all the information, click  .
.
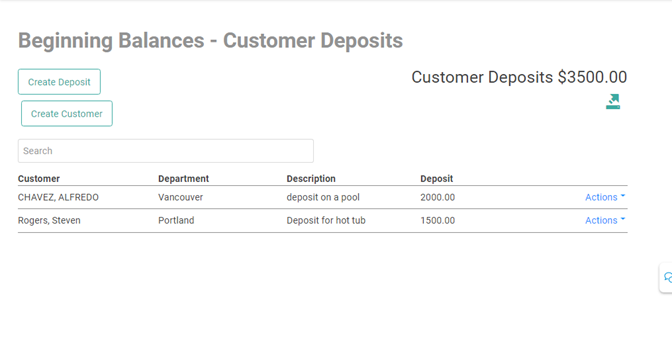
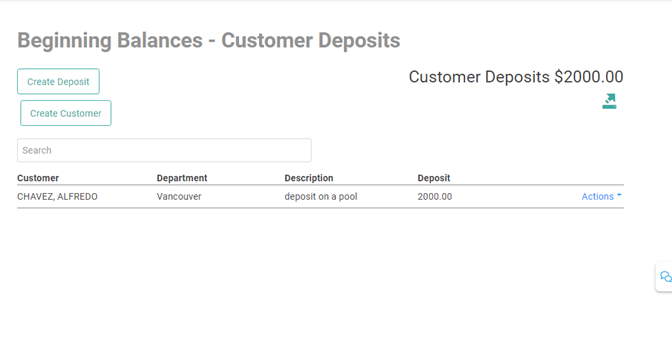
The new Deposit will display on the Beginning Balances – Customer Deposits screen. Repeat these steps for each Deposit you want to create.
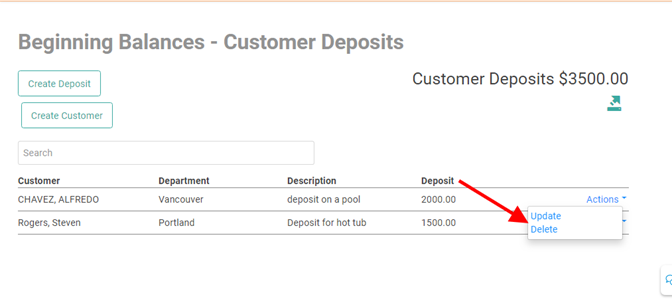
You can use the Actions link to Update or Delete the Deposit line item.
Just like the others, you can export these Balances to a spreadsheet for your records.

TIP! Because these Beginning Balances cannot be entered after go-live, we recommend using the Export function available on each Balance Type to create a record of all the Balances you entered for reference.
When You Go Live
As with AR Customer Beginning Balances, the Beginning Balance process does not create GL entries for these Deposits. However, two things will happen:
- A Sales Order will be created without any SKUs attached, showing the Deposit was taken.
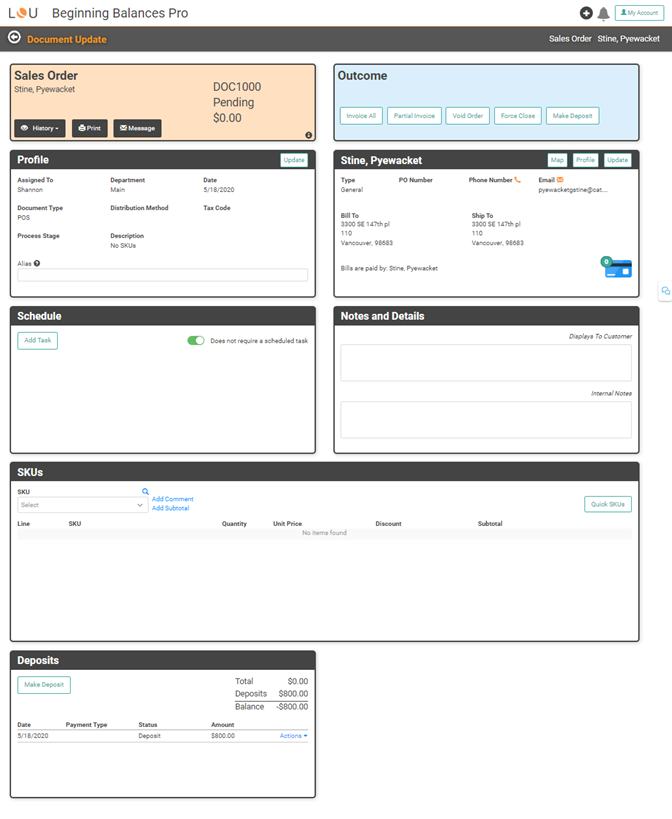
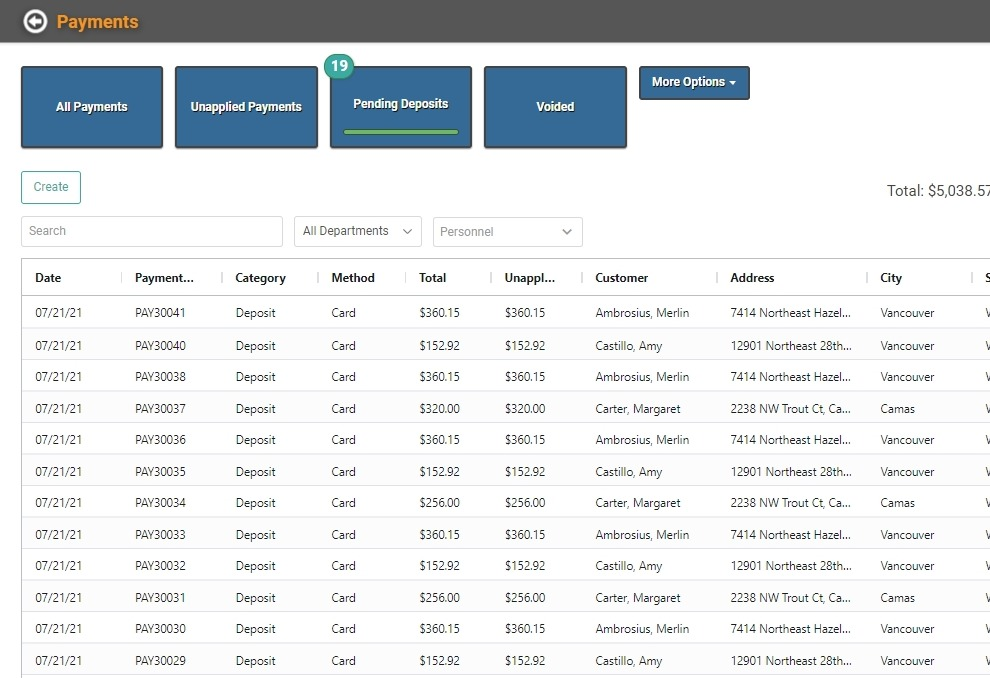
- A Deposit is created with a status of Pending and will display in the Customer Deposits tile under Pending Deposits.
You can edit the Sales Order and add SKUs and complete an Order. LOU will automatically apply Deposit to the Invoices created by the Orders to which they are associated.
The Unapplied Payment will remain Pending and Unapplied until you Apply the Payment. LOU will automatically apply Deposit Payments to the Orders to which they are associated. If you edit and complete this Sales Order, this Unapplied Payment will automatically be applied to it when you Invoice.