
Your business is thriving, you’ve got a large customer base, and those customers owe money for products and services, or you’ve given them a credit on their account for future use. You need to account for those balances in LOU!
While you’re in Product Setup Mode in Onboarding, you can manually create Beginning Balances or import these balances on your Customer Profiles.
IMPORTANT! Beginning Balances can only be created while you’re in Product Setup Mode. Once you go live, you cannot create Beginning Balances.
Once you are live, balances owed by your Customers will be added to their Customer Profiles when you Invoice Orders.
- Download Import Template
- Create File for Upload
- Upload Spreadsheets
- Rollback an Import
- Errors in the Import
- Validation Tips
- When You Go Live
- Customer Account Credit (Negative Invoices)
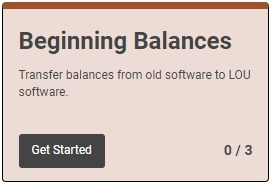
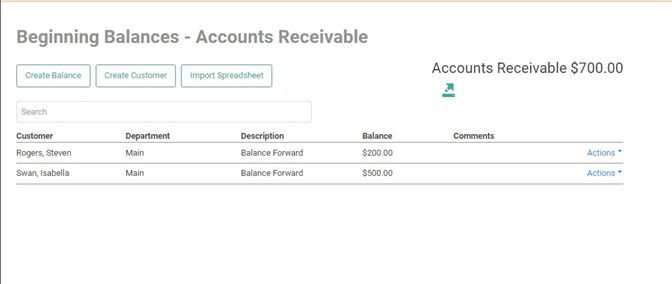
Go to Beginning Balances and click ![]()
Download Import Template
Click the ![]() button next to AR Balances.
button next to AR Balances. 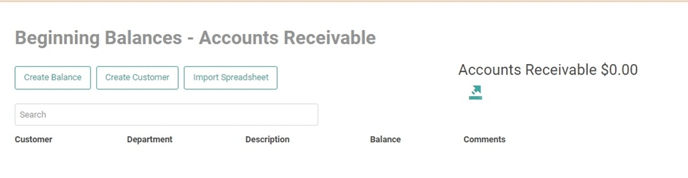
Click the ![]() button to head over to Spreadsheet Uploads.
button to head over to Spreadsheet Uploads.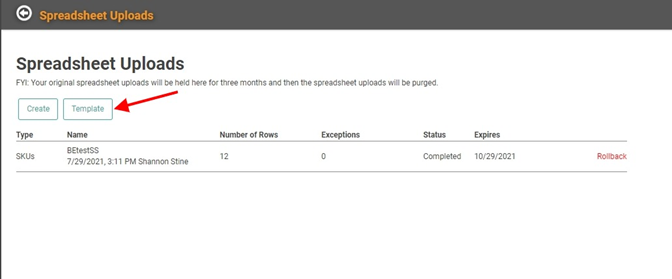
- Click

- Select AR Balance in the Spreadsheet Type dropdown and .xlsx in File Type.

- Click

- The Template will download and you will receive a confirmation message.
Create a File to Upload
The Template will download to the folder designated as the default on your browser settings. For most people, this will be the Downloads folder.
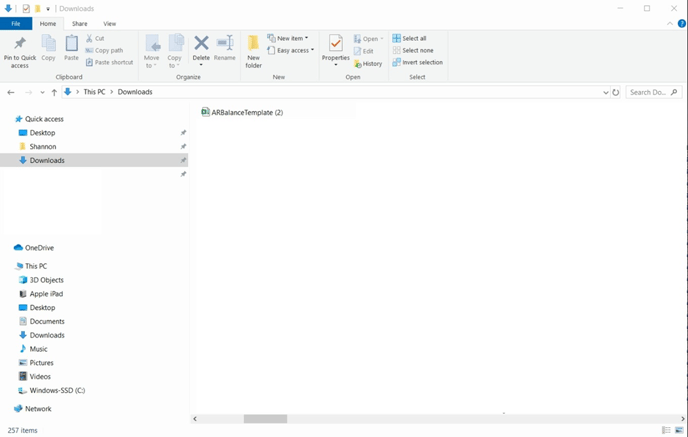
The file will be an .xlsx file which can be opened by Excel. If you are having trouble getting the file to open, you may need to change the default app used to open this file type in your Windows Settings. Find instructions on doing so here.
The Template contains every field available to create AR Beginning Balances. The fields which are required are highlighted. You cannot upload data without these fields correctly populated. All the non-highlighted fields are optional.
IMPORTANT! Do not change the formatting of the template. Excel may add characters or formatting that are not recognized by LOU.
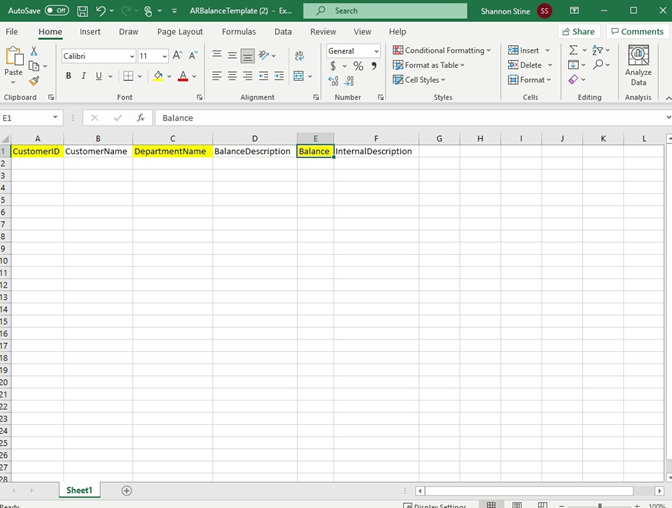
The fields included in the import are:
CustomerID: This is a required field. This field is the unique identifier required by LOU to indicate what Customer record to update.
Customer Name: This is not a required field and you do not need to include it. This field is included for your information, only.
Department Name: This is a required field. The Department which should receive credit for the Deposit.
Balance Description: If you do not enter a description, LOU will default it to Balance Forward. (Character limit is 200)
Balance: This is a required field. Amount due. (Limit 2 decimal places)
Internal Description: This is an internal description that will not be visible on Customer-facing documents. (Character limit is 200)
IMPORTANT! When uploading, there are a few things to keep in mind:
- Do not change formatting in fields.
- Do not add or change formatting in columns.
- Nothing should be bold, italicized, or underlined in the fields.
Do not add spaces to the beginning or end of data. Excel and LOU interpret spaces as characters and this will cause errors in LOU.
REMEMBER! Everything in LOU is case-sensitive, spelling matters, and spaces are considered characters. If you are referencing existing data in the import, you must make sure to enter it on the template exactly the same way it appears in LOU. If you spell or format the data differently by case, spacing, etc., LOU will not recognize it as existing data. This may result in errors while uploading or duplicated data.
Upload Spreadsheets
Imports are not intended to be a process you sit and watch. Once you click Upload and the file is processing, you can click out of imports and continue your work elsewhere in LOU. You will be notified via email when the import is complete.
Once you’ve used the Template to create the Spreadsheet, you can upload by clicking 
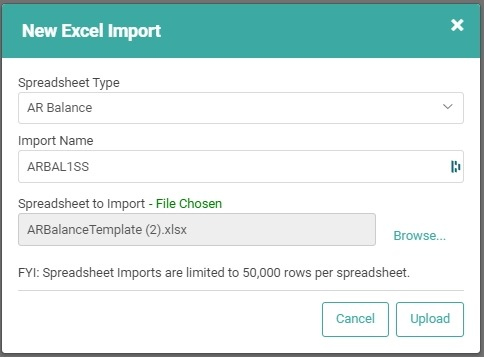
- Select your Spreadsheet Type
- Give your import a Name
- Select the file from your computer to upload
- Click

You should see the Status changing from Uploading to Queued or Validating, then Ready to Import.
IMPORTANT! Large import files (2501+ records) will take several minutes or more to upload. The system must go through the data line-byline and add it appropriately. We recommend performing large imports during off peak hours when there is less activity. Imports that are 5000 records or more will be queued for import after 4pm PST.
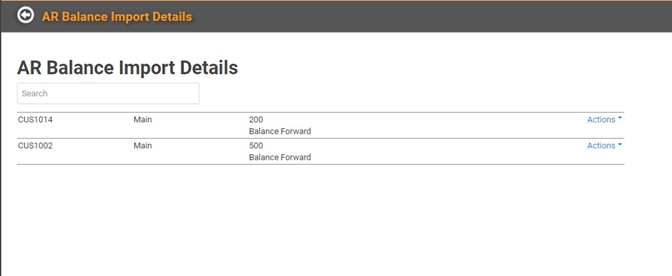
When you receive email confirmation that the upload is ready to import, you can return to the Import Data screen and View Details on the import to confirm the data is importing correctly.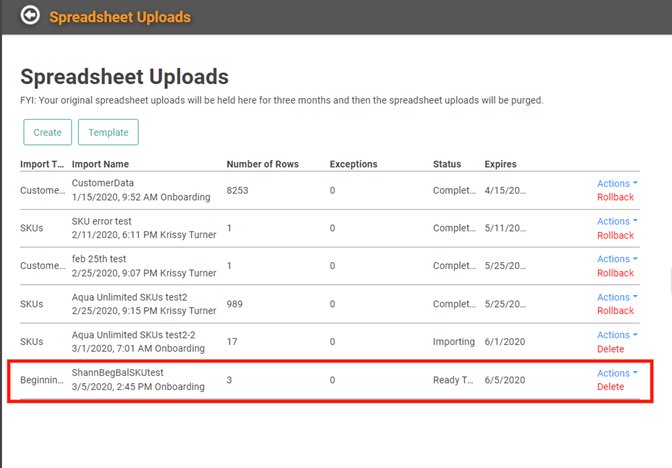
- Click the Actions link next to the import.
- Select View Details.

- The information in the spreadsheet has not been added to your database yet. Confirming the information here is an important step in preventing bad data uploads.
You can click Actions and Edit to make changes to a line item.
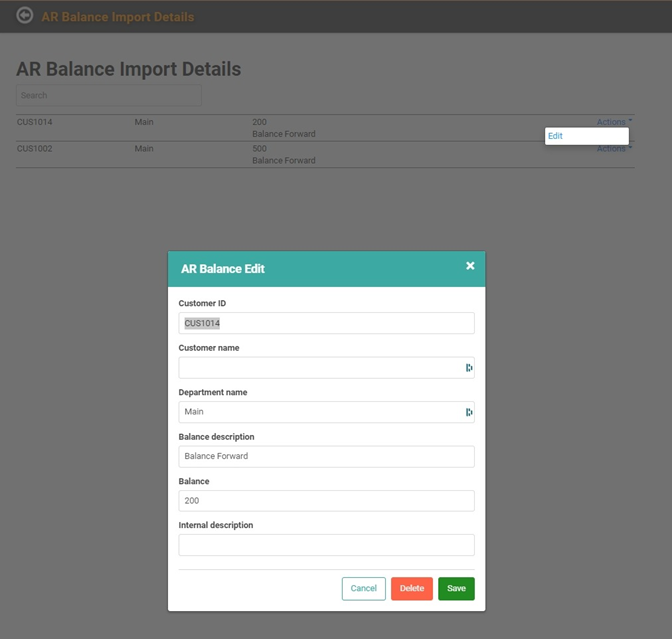
IMPORTANT! Do not remove data from required fields without replacing it. The upload will fail if you don’t have the required fields correctly populated.
You can update Beginning Balance information after it’s uploaded during Onboarding. Once you go live, you cannot update Beginning Balances. To update AR Balances after go-live, you will have to follow the standard Payment process.
Once you’ve confirmed the data is correct, you are ready to import! Go back to the Spreadsheet Uploads page and click the Actions link next to the line item for the import and select Import. 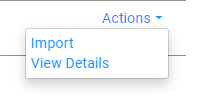
You will receive a confirmation message.
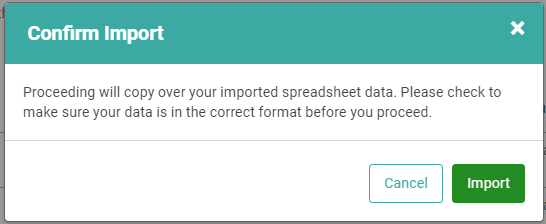
Click Import and the status should update from Ready to Import to Complete once the import finishes processing. As with the upload, once you click Import you can walk away. You will receive an email letting you know when the Import has completed.
IMPORTANT! Imports with 5000 or more records will be queued to complete after 4pm PST.
Once the Import has completed, you will see the Beginning Balances on the Customer Profiles as well as on the Beginning Balance screen where you can manually enter Beginning Balances. You can continue to make changes to these Beginning Balances on that screen, as well as manually add additional Beginning Balances and Export the balances out of LOU.
Rollback an Import
If you complete the Import and realize there’s a mistake, you can undo the Import under specific circumstances. The data must not have been manually updated, added to, or changed after the import.
BEWARE! A Rollback will essentially make it as if the data never existed, deleting all mention of them in the database.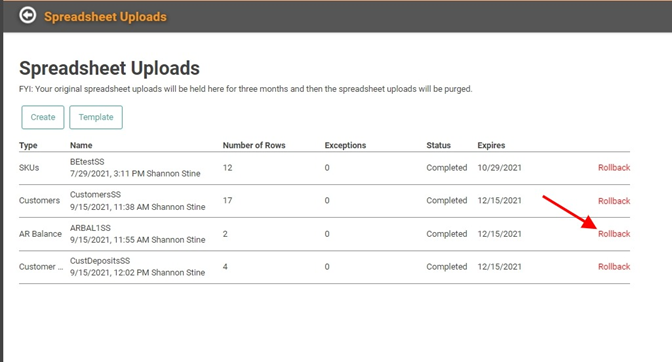
When you click the Rollback link, you’ll receive a message confirming you really want to roll back the data.
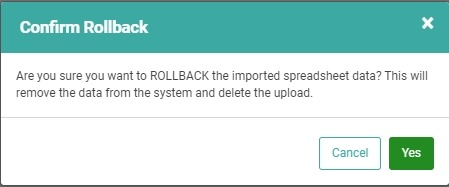
Once you click Yes, the import will be rolled back and the upload will be removed from the system. It will no longer appear on your Import Data page.

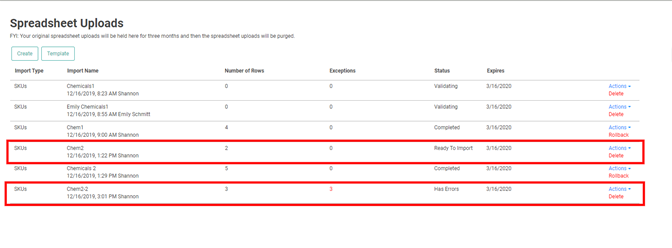
You may have errors in your file. Maybe you forgot a required field. Maybe you have a character in a field which doesn’t belong. Maybe you included data that is already in your database. When there is a problem with data in your upload, LOU will tell you. After you’ve completed the steps to upload above, you may see a number under the Exceptions column and the Status updated to Has Errors.
Click the Actions link next to this line item to see what actions you can take to view and correct the errors.
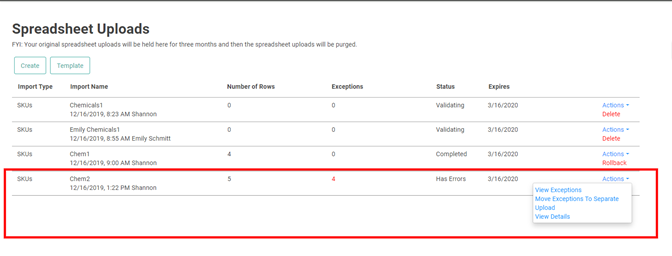
Click View Exceptions to see the errors. This will take you to a Details page with each item in the spreadsheet listed. The ones with errors will have a red bar with the error message in it.
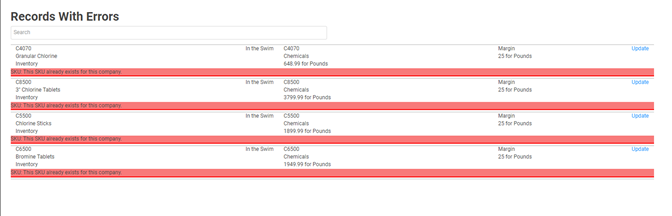
You can use the Update link to update the information in the SKU. However, some errors may require you to make updates to the spreadsheet and upload again.
If there are items in the upload which are good – free from errors, you can go back to the Spreadsheet Uploads page, click the Actions link for the import file you’re working with, and select Move Exceptions to Separate Upload. This will create a new line item with just the errors. The Status of the original file should update to Ready to Import as it now only contains the valid line items from your spreadsheet. You may complete the Import process outlined above on the line item which is Ready to Import.
For the line item which now contains only the errors, you can complete updating the items to correct them and finish the Import process, or you can click the Delete link to delete the line item with errors. Go back to your template and make the necessary changes and corrections, then process a new Import.
Validation Tips
These are some of the things that LOU looks for when it validates the data. This is not a comprehensive list. Instead, these are the more common issues that prevent data from validating.
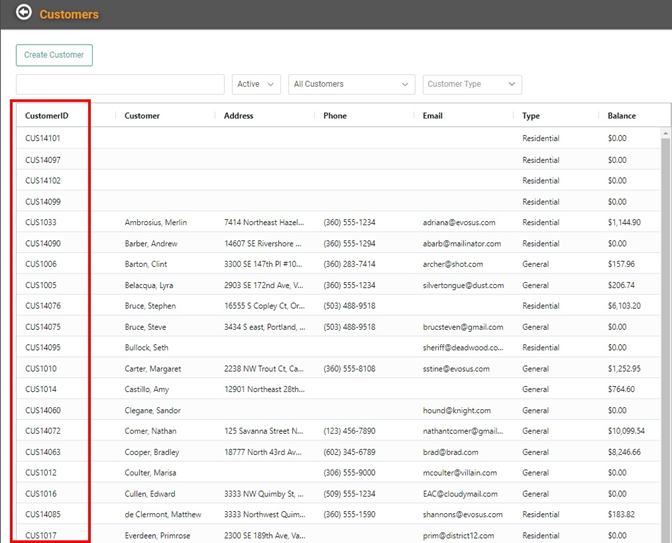
CustomerID: LOU will successfully validate a Customer ID that is entered exactly as it appears in LOU. These Customers must already exist in your database. You can locate the Customer ID on the Customer Search Page. It is the first column on the left. You can right-click anywhere in the data on this page to Export the data out and capture those Customer IDs.
Customer Name: This field is not used by LOU for the import. It is available in the import only for your information as you’re creating the spreadsheet.
Department Name: Since these Deposits are usually associated with pending Orders/projects, it’s important to add the correct Department associated with the transaction. This Department Name must already exist in LOU.
Balance Description: The character limit is 200. This is not a required field. If left blank, description will be Balance Forward.
When You Go Live
When you go live, these balances will have Invoices associated with them. They do not have Orders associated with them. The Invoices will be in Pending Status as they do not have Payments applied to them, since they are open balances. They will have all the same Actions to choose from as an Invoice created from an Order. This Beginning Balance process will not create GL entries.
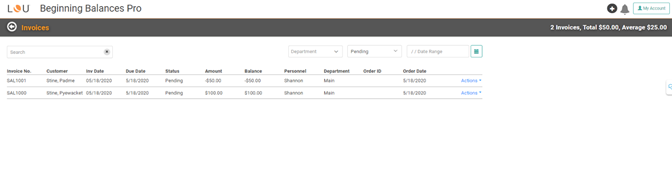
When you use the Actions link to select Update, the Invoice Update screen will show the Invoice just as any other Invoice generated from an Order. The Description will clearly identify it as a LOU Beginning Balance.
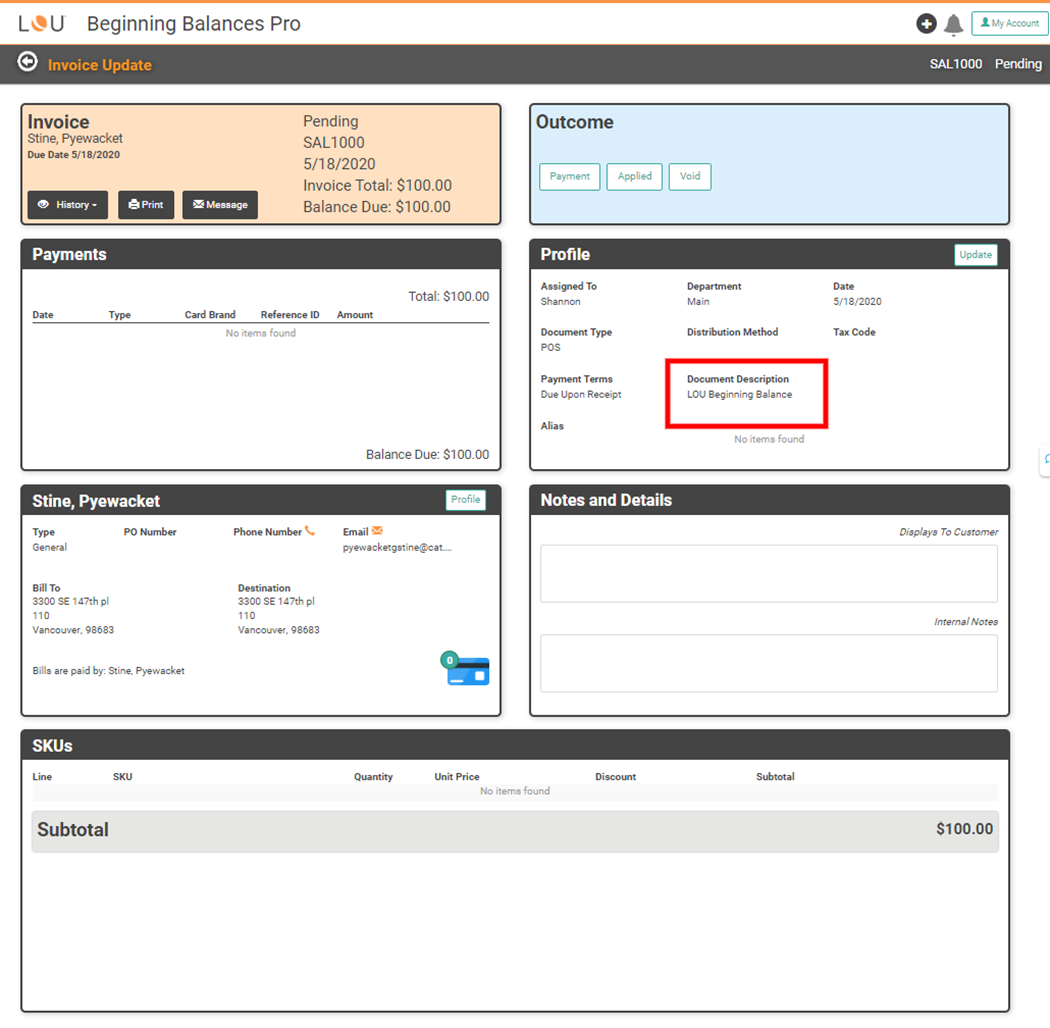
You can use the buttons on the top right to take a Payment, Apply this Invoice to another Invoice, or Void.
Customer Account Credits (Negative Invoices)
To create a Customer Account Credit, create the AR Balance as a negative amount. This will create a credit on the Customer Profile and the Invoice created will have a negative amount and function like a Refund Invoice.
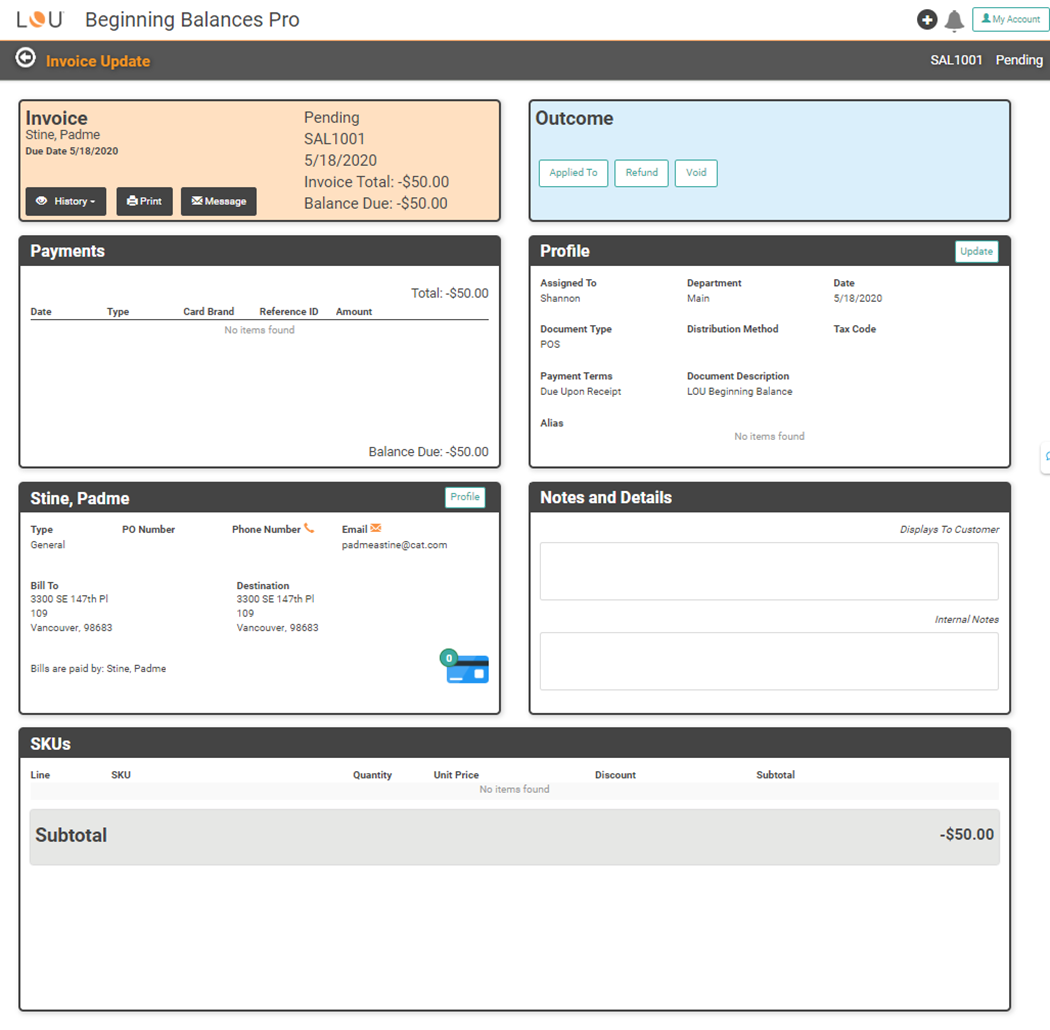
You can use the buttons on the top right to apply the credit an Invoice created in LOU after go live, you can process a Refund Payment to “cash out” the Customer, or you can Void the Invoice.
You can apply the credit to an Invoice that is less than the amount of the credit.
When you click ![]() a new window will pop-up, allowing you to select the Invoices to which you want to apply the credit. If the Invoice is less than the credit, LOU will pay off the Invoice and the Beginning Balance Invoice will remain open in a Pending status with the remainder of the credit available to apply to another Invoice for this customer.
a new window will pop-up, allowing you to select the Invoices to which you want to apply the credit. If the Invoice is less than the credit, LOU will pay off the Invoice and the Beginning Balance Invoice will remain open in a Pending status with the remainder of the credit available to apply to another Invoice for this customer.