Inventory SKUs are an important part of your business. They’re a big part of LOU, too! Almost everything you do in LOU will involve SKUs.
When you first get started with LOU, and when you have big additions or changes to the SKUs you carry, you will have many SKUs to add to the system and adding them one-by-one would be time-consuming.
That’s where Data Imports comes in. You can download a template, allowing you to create a spreadsheet of all your SKUs that can be imported to add them en masse.
Key Steps:
-
Download the Template: Go to Operations/Import Data and select "Select SKUs" as the Spreadsheet Type and ".xlsx" as the File Type. Click "Download" to save the template.
-
Create a File to Upload: Open the downloaded template using Excel. (DO NOT CHANGE THE TEMPLATE COLUMNS IN ANY WAY)
-
Enter SKU Information: Fill in fields such as SKU, Description, SKU Type, etc.
-
Save and Prepare the Spreadsheet: Save the completed template as an .xlsx file.
-
Upload the Spreadsheet: In LOU, click "Create" and select the Spreadsheet Type: SKUs, enter Import Name and spreadsheet from your computer. Click "Upload."
-
Verify the Data: Click the Actions link corresponding to your upload and select "View Details."
-
Complete the Import: Click the Actions link and select "Import."
-
Review and Confirm: After the import is complete, review the imported data in LOU to ensure accuracy.
|
|
Go to Operations / Import Data |
VERY IMPORTANT!
This import tool is for initial SKU creation only. This import tool will not create Beginning Balances (onboarding only -- Beginning Balances cannot be added once you are live in LOU) or update existing SKUs.
Do not change the template in any way. Populate data in the fields, but do NOT change formatting, add additional columns, or move columns around. Templates are intended to be a document with specific formatting and placement already configured. Making changes to these preconfigured fields will cause errors and prevent the data from importing correctly.
Download the Template
The first thing you need to do is download the Template you’ll use to create the file you upload.
- Click

- Select SKUs as the Spreadsheet Type and .xlsx as the File Type (.xlsx is currently the only supported file type)

- Click

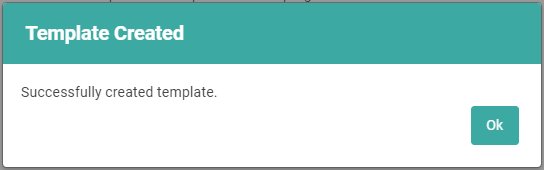
- The Template will download and you will receive a confirmation
Create a File to Upload
The Template will download to the folder designated as the default in your browser settings. For most people, this will be the Downloads folder.
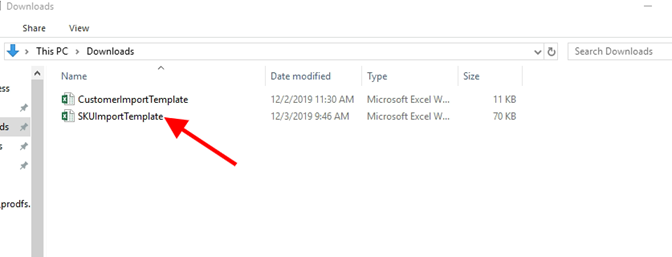
The file will be an .xlsx file which can be opened by Excel. If you are having trouble getting the file to open, you may need to change the default app used to open this file type in your Windows Settings. Find instructions on doing so here.
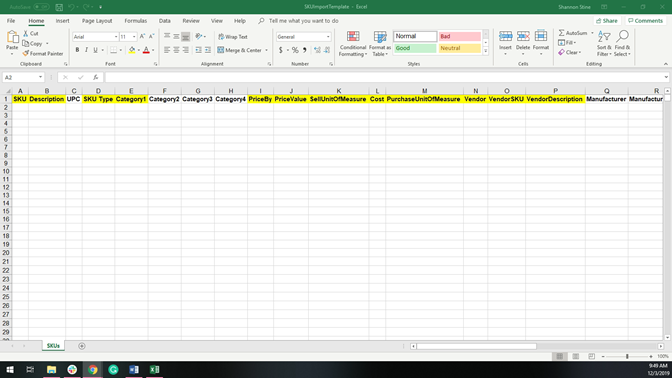
The Template contains every field available when you create a SKU. The fields which are required are highlighted. You cannot upload data without these fields correctly populated. All non-highlighted fields are optional.
IMPORTANT! There are a couple things you should remember when adding data to the template.
- Do not change the column locations. You must not move columns around, or LOU won't recognize the data.
- Do not change formatting in fields and columns.
- The UPC field is formatted as a General data type. This will convert some of your UPCs to scientific notation. That is ok. They will still import correctly.
- Do not add characters like the dollar sign ($) or percent sign (%).
These are the required fields. Please be aware some fields require specific data. Be mindful of character limitations and specific verbiage required:
- SKU: This is the SKU you will use to identify the item in LOU.
- Description: A brief description of the item. This should be short and sweet. (Character limit: 200.)
- SKU Type: Inventory, Non-Inventory, Services and Labor, Kit, Serialized, or Trade. (See InventorySKUs for additional details) IMPORTANT! Make sure you spell each type as listed here. Do not add additional words or formatting.
- Make sure you choose the correct SKU Type for each SKU. This Type cannot be changed once the SKU has been transacted. A transaction includes Beginning Balances, POs, Orders, and Sales.
- Category1: The SKU must be in at least one Category. IMPORTANT! LOU will automatically create the Category for you if you add a Category that doesn’t already exist in LOU. If the Category already exists, LOU will simply add the SKU to the existing Category.
- LOU will create all SKU Categories in uppercase. Whether you enter the SKU Category name in lowercase, or proper case, LOU will convert to uppercase.
STOP AND READ!
PriceBy and PriceValue are directly dependent on each other. The value you enter in PriceBy affects the value you place in PriceValue.
- PriceBy: Choose either Profit Margin or Fixed Price. This is the method by which you will determine the price you sell a product. Do you want to enter a fixed price (dollar amount) regardless of the profit margin or do you prefer to ensure a percentage return over your cost?
- WAIT! You can still copy/paste into this field, so be very careful that the verbiage is correct. Fixed Price or Profit Margin are the specific phrases this column requires.
- PriceValue: This is either a Dollar Amount or a Percentage over your Cost.
- If PriceBy is Fixed Price, you will enter a fixed Dollar ($) Amount.
- If PriceBy is Profit Margin, you will enter a Percentage (%).
- IMPORTANT! Do not use the dollar sign ($) or percentage sign (%) in the field. This is a numeric field. You may use a decimal (.), but no other symbols should be in this field.
- SellUnitofMeasure: The Unit of Measure by which you will sell the item.
- IMPORTANT! Make sure you enter the UOM exactly the way it exists in LOU. Otherwise, LOU will create an exception and won’t import the SKU.
- Cost: The amount your Vendor charges you for the item.
- PurchaseUnitofMeasure: The Unit of Measure by which you purchase the item.
- IMPORTANT! Make sure you enter the UOM exactly the way it exists in LOU. Otherwise, LOU will create an exception and won’t import the SKU.
- Vendor: Name of the Vendor from whom you get the item.
- VendorSKU: The Vendor’s SKU for the item
- VendorDescription: The Vendor’s Description of the item. (Character limit is 500)
REMEMBER! Everything in LOU is case-sensitive. Be mindful of case whenever you are entering data. When referencing existing data, you must use the same case. Changing case may result in duplicated data.
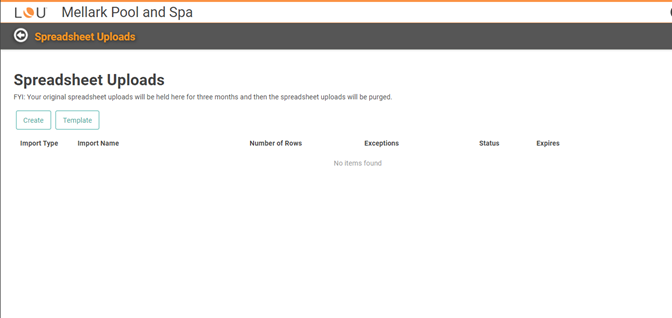
Upload Spreadsheets
Once you’ve used the Template to create the Spreadsheet, you can upload it by clicking

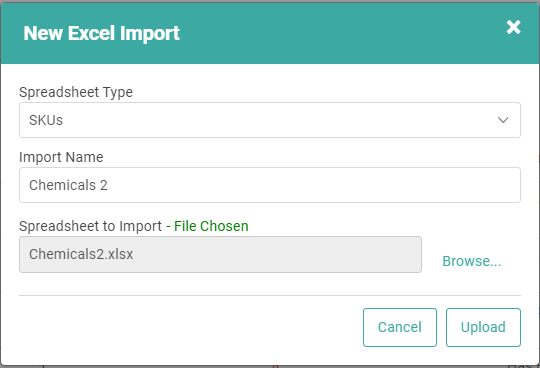
- Select your Spreadsheet Type
- Give your import a name
- Select the file from your computer to upload
- Click

You should see the Status changing from Uploading to Validating to Ready to Import.
IMPORTANT! Large import (2501+ records) files will take several minutes or more to upload. The system has to go through the data line-by-line and add it appropriately. Spreadsheets uploaded during business hours with 5000+ records will be Queued by LOU and will not import until after 4p PST.

IMPORTANT! Before You Import, Verify the Data
- Click the Actions link on the line corresponding to your upload.
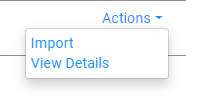
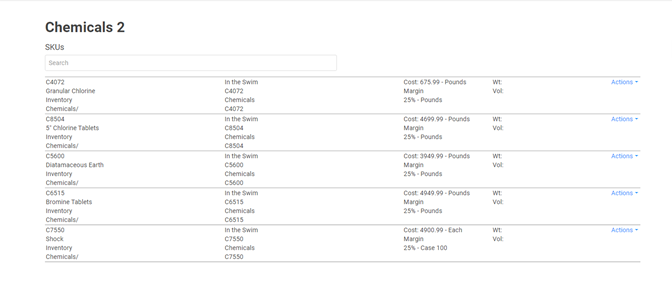
- Select View Details to confirm the information being uploaded. The information in the spreadsheet has not been added to your database yet. Confirming the information here is an important step in preventing bad data uploads. The Details Page will display the information from your spreadsheet as it will upload into LOU.
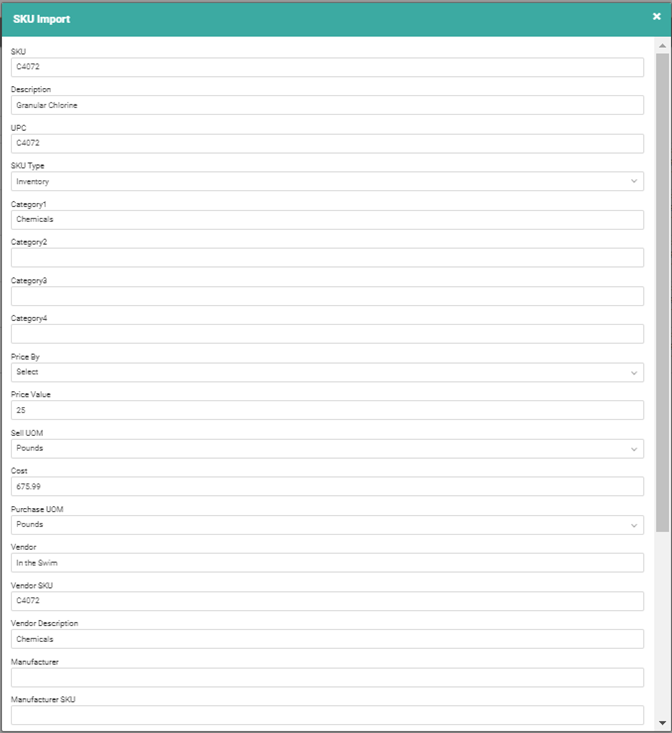
You can click the Action link and select Edit to make changes to any line item being uploaded. This will open a window with every field from the template for you to add, remove, or update information. IMPORTANT! Do not remove data from required fields without replacing it. The upload will fail if you don’t have the required fields correctly populated.
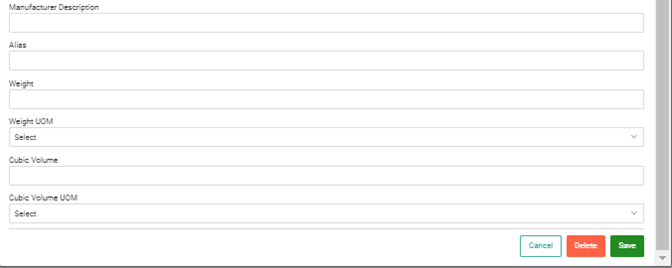 When you’re finished, click
  . To delete the line item entirely, click
  .
.
Ready to Import
Once you’ve confirmed what will be uploaded, and made any changes you wish to make, you are ready to complete the import.
- Click the Actions link and select Import.

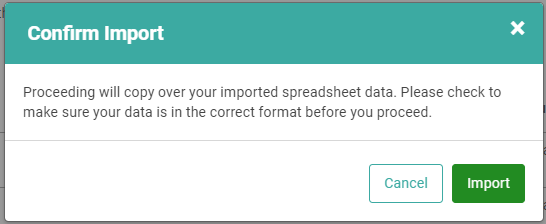
- The Confirm Import message will pop up, confirming that you are going to copy the data onto your database. Click Import.