
You may occasionally find yourself needing to update SKUs en masse. This export/import tool to mass update SKUs will not allow you to update every field in a SKU profile, but it does provide the ability to quickly and efficiently update some key SKU fields.
IMPORTANT! Make sure you are not attempting to create a Mass Update template by going to Import Data and selecting the SKU Mass Update type under Template. This will not work. You must go to the destination path below and follow this process to complete a SKU Mass Update.

Go to Operations / Inventory / SKU Mass Update

There are two steps to mass updating SKUs.
Step 1: Download the SKUs you want to update.
Step 2: Upload the spreadsheet you just updated.
Download SKU Change Spreadsheet
The first step in mass updating SKUs is to download (export) the data you want to change.
IMPORTANT! You must use this Template to import changes through this tool. You must not make changes to the template, including adding additional sheets. LOU will not appropriately import the file and apply changes if any formatting is changed.
- Select the SKU Category from the dropdown. IMPORTANT! You can only mass update SKUs one category at a time. You cannot combine Categories into one spreadsheet for import.
- Give your Export Spreadsheet a Name.
- Click Download SKU Change Spreadsheet to download the spreadsheet to your computer.

You will receive a pop-up asking you to confirm you want to perform this Export.

Once you click  , the file will download. Go to your Downloads folder on your computer and open the Export Spreadsheet.
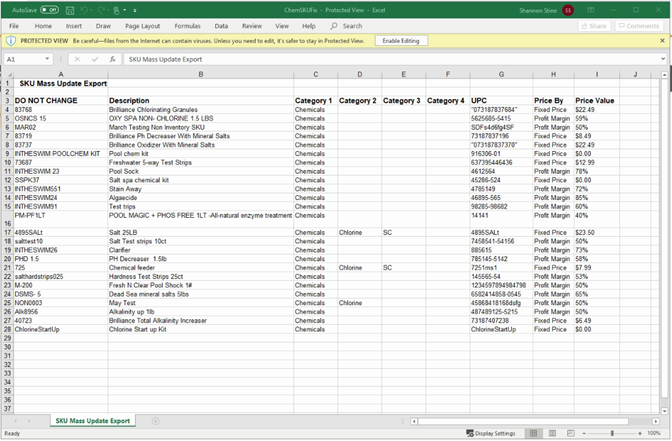
You can make the necessary changes here. You do not have to change every column of data and you should not delete any columns or data that you want to leave unchanged. Simply add or update the data in the field(s) you wish to update and save the spreadsheet. LOU will recognize all the existing data as existing and will not make changes or create duplicates. LOU will only update data you've changed or added in the spreadsheet.
REMEMBER! The main SKU Mass Update screen tells you what fields you can update and what the limitations are.
DO NOT CHANGE THE SKU CODE. SKU Code will be used to match and make the updates on the import. Changing the SKU code will result in matches not being made and updates not taking place. Worst case scenario, SKU code is changed and matches another existing SKU and that SKU is updated with incorrect information.
The Fields that you can update include:
REMEMBER! Everything in LOU is case-sensitive. When you change or enter data, you need to be mindful of the case you use.
- SKU Description (Character limit is 200)
- UPC (This field is in a General format. It may turn some of your UPCs into Scientific Notation. That's ok. It'll still import correctly.)
- SKU Categories (Levels 1-4; You must make sure you type the Category Name exactly as it appears in LOU)
- SKU Retail Price Method – You must enter it as “Fixed” or “Margin” only.
- SKU Retail Price – When Method is Fixed, enter a dollar amount with no dollar sign. When Method is Margin, enter a percentage between 0 and 99.99. No percentage sign.
- SKU Type - Inventory, Non-Inventory, Services and Labor, Kit, Serialized, Trade, and Special Order Item.
- You cannot update this field if the SKU has been transacted. Transactions include Beginning Balances, Stock Adjustments, Stock Transfers, Sales, etc.
- Manufacturer – The SKU Manufacturer Name
- Manufacturer SKU – The SKU Code used by the Manufacturer
- Manufacturer Description – The SKU description the manufacturer uses.
- Alias – SKU Aliases. These must start and end with a pipe (|).
- Example: |Jandy|
IMPORTANT! Do not change any formatting in the spreadsheet. Only change the data.
Once you have completed your changes, save the spreadsheet.
Upload SKU Change Spreadsheet
Now that you’ve made the changes to the SKUs, you are ready to upload the spreadsheet back into LOU and apply the changes.
- Click
 to begin the upload.
 - The Spreadsheet Type should be preselected for you from the dropdown.
- Enter your Import Name
- Select the spreadsheet file from your computer.
- Click
 .
.

You will be taken to the Spreadsheet Uploads page to complete the upload process.
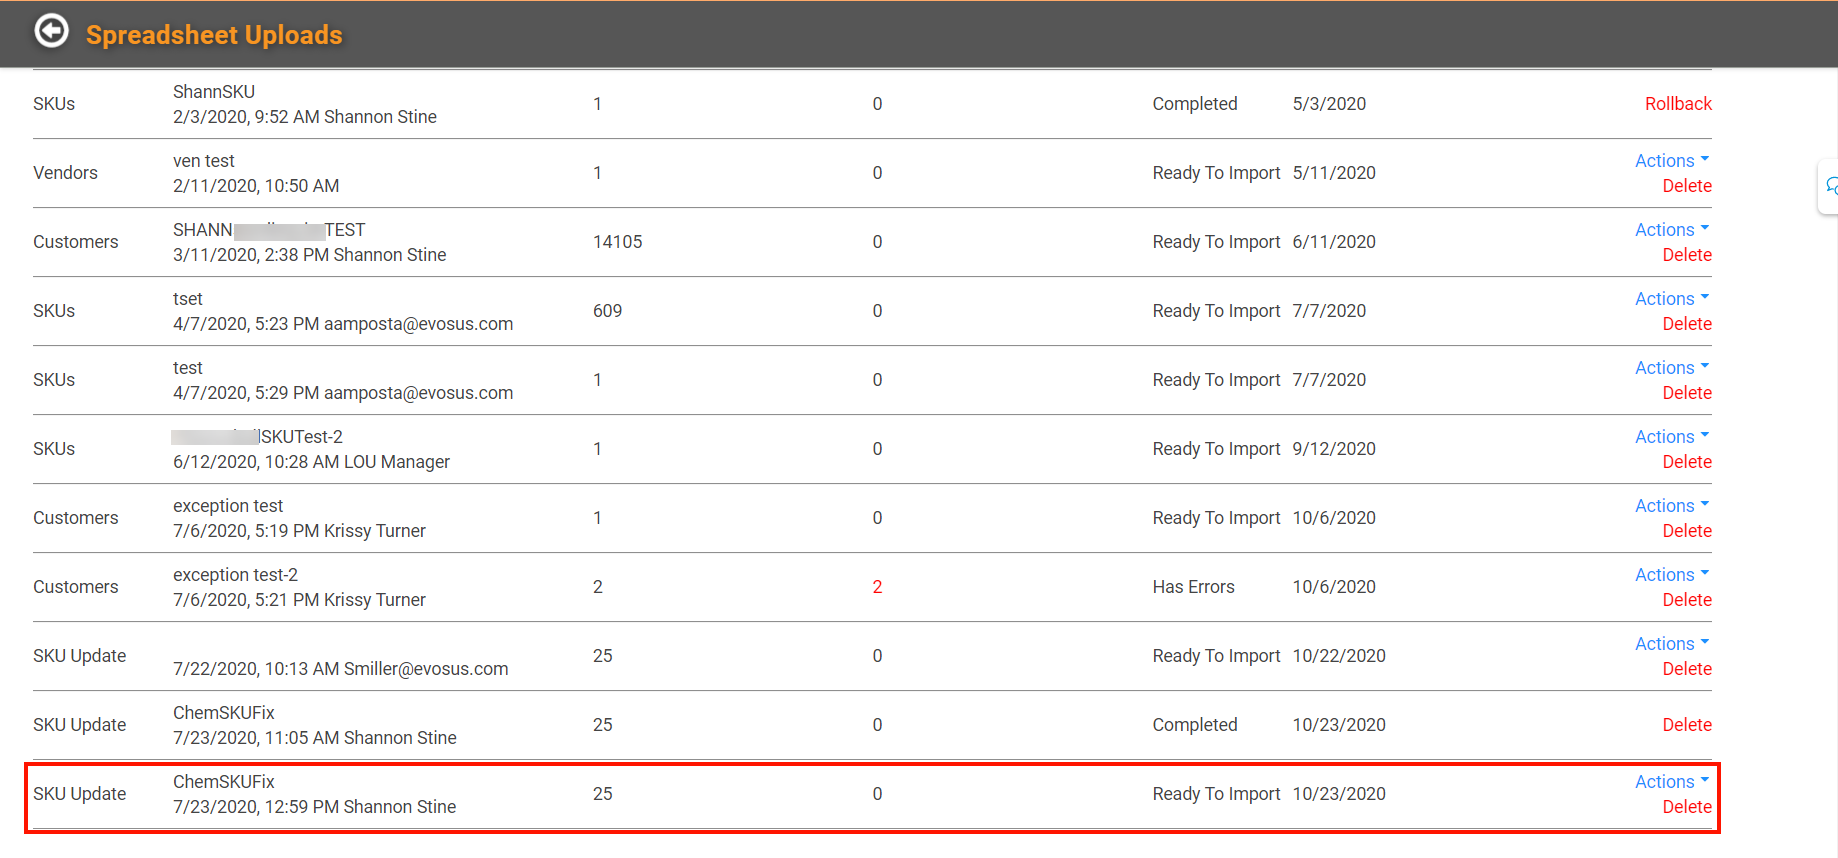
You should complete the import just as you would for a standard SKU Import.
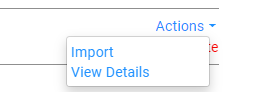
- Click the Actions link and select View Details.
- Review the details on the screen to double check that your corrections are accurate.

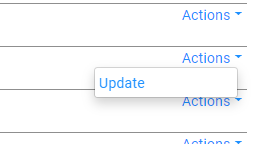
- Use the Actions link next to a line item to make corrections if necessary.
- Once you’re satisfied the data looks correct, use the Back Arrow next to the page title to go back to the Spreadsheet Upload page.

- Click the Actions link next to your SKU Mass Update Import file and select Import.

- Select Import on the Confirmation message.

You should see the status on your import line item change to Queued and then to Completed once it has finished importing. When the status is Completed, you can go to the Inventory Tile and look up a SKU you just updated. The updates should be there.