
There are times when you may need to process a return to one of your Vendors for a refund after you’ve paid the Invoice and the Vendor gives you a credit. How do you record the credit appropriately in LOU when you’re live on LOU Accounting? Let’s take a look!
REMEMBER! If you are not live on LOU Accounting , this process will not work for you. You should work with your accountant to process this information outside of LOU.
Key Steps:
Follow these key steps to correctly record vendor returns with a credit in LOU:
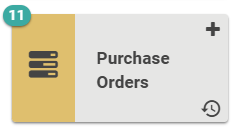
Go to Purchase Orders
The first step in returning an item to the Vendor is to create the Purchase Order for the return. To do this, follow the standard process for creating the Purchase and update the line items for the SKUs to mark them as Return or a negative quantity. You can follow the process here.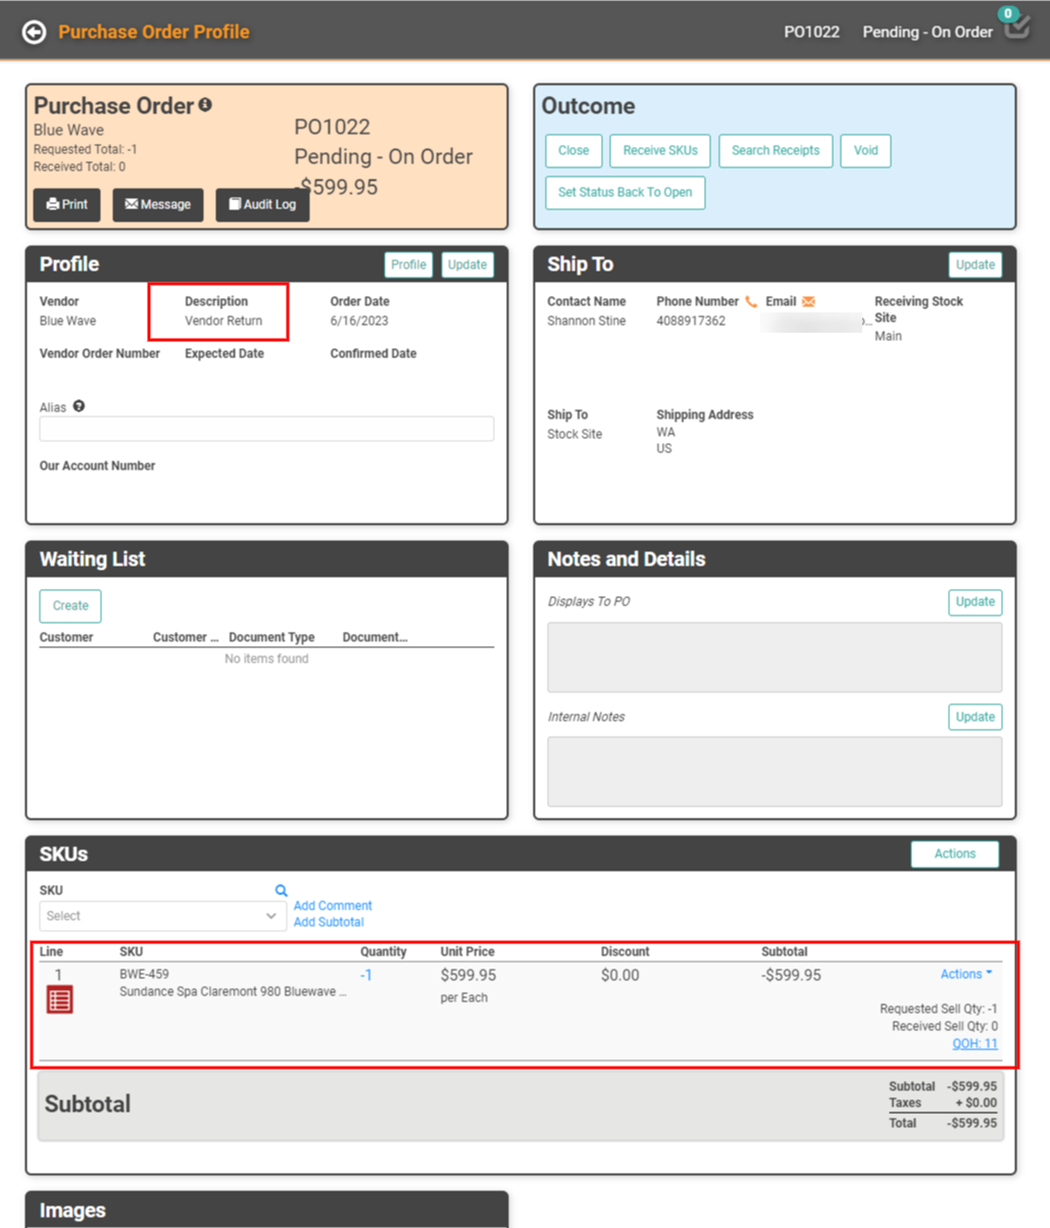
In this example, we’ve included a Description on the PO indicating it’s a Vendor Return. We’ve also updated the SKU to make it a negative quantity or return.
TIP! To create an audit trail, you may choose to add a Note to the PO, indicating the original PO ID and other information such as the date the SKU being returned was originally received. If you plan to print or email a copy of this PO to the Vendor for submission, we recommend using the Internal Notes for this information since it isn’t information the Vendor needs.
Receive the Purchase Order
Once you’ve followed your Vendor’s preferred method to submit the Purchase Order, and received the Credit from the Vendor, return to the Purchase Order profile and you must Receive the PO. This will automatically process removing the SKU from your inventory as a return, appropriately updating the FIFO Log and GL for this transaction.
In the event you’re returning a Serialized SKU, the Receive Inventory screen will ask you to select which Serial Number in your Inventory you are returning.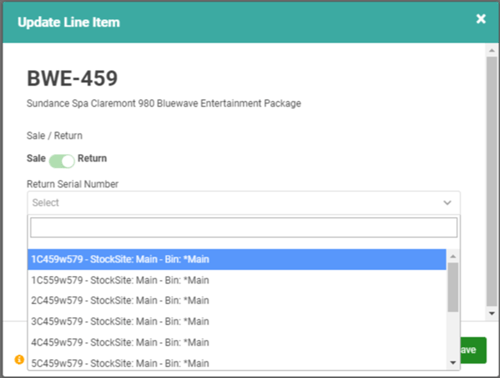
By clicking Receive and completing the Receive process, you will remove the SKU(s) from your Inventory.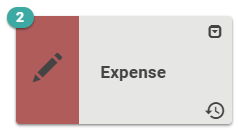
Go to Accounting / Expense
Once you’ve submitted the return PO to the Vendor, there are two common scenarios for how the refund will be processed: either you will receive a Vendor Credit to use on a future purchase or your Vendor Invoice will be reduced by the amount of the refund.
Record Vendor Credit
Now that you’ve processed the Purchase Order to correctly update your Inventory and receive the credit from the Vendor, you need to record the Credit.
IMPORTANT! This process is assuming you’ve already recorded and paid the original Vendor Invoice for the SKU you are now returning.
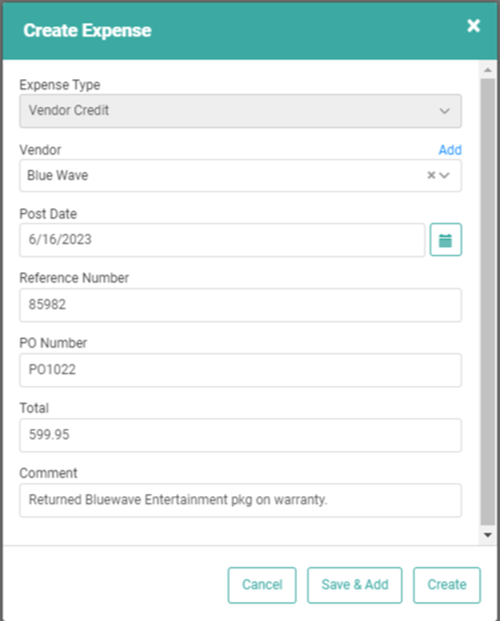
- Click Create / Vendor Credit
- Choose the Vendor from the dropdown and enter a Reference Number, the PO number, the Total credit received, and an optional Comment.
- Click Create
You will land on the Vendor Credit profile page where you can enter the appropriate account information.
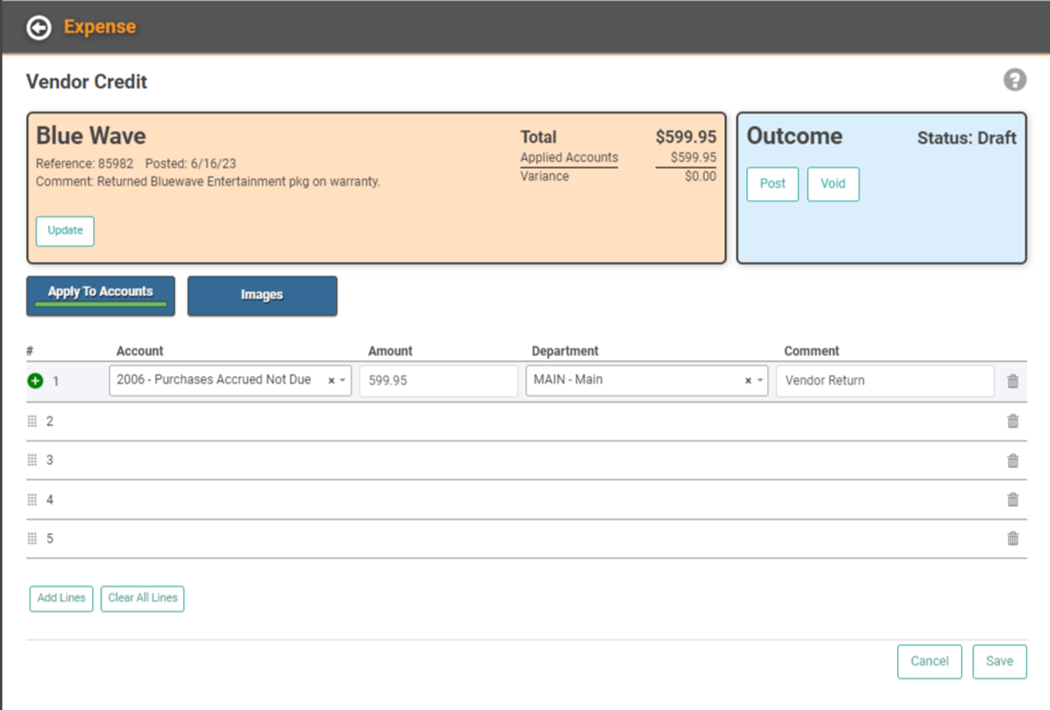
- Click the Account field and select the correct PAND account from your GL list.
- Enter the amount of the credit.
- Select the correct Department.
- Enter an option Comment.
- Click Save to save this as a Draft. If you’re satisfied with the entry, skip to the next step.
- Click Post in the Outcome box.
This will update the Vendor Credit to Pending and make it available for use when paying future bills associated with this Vendor. The credit can be applied through the Pay Bills feature.
Refund Reduces Vendor Invoice
If you process a return PO and you have not yet paid the Vendor Invoice, the Vendor may opt to reduce the amount due to satisfy your refund.
Vendor Invoices are entered in the Expense tile, often with a Type of Expense. You can create the Expense using the adjusted amount due, then Pay Bills as normal.
You already created the Expense, but haven’t yet paid it? No problem!
- Draft and Pending: Open the Expense and update the Total Amount and Applied Amounts before Posting.
- Posted: If you’ve posted the Expense (and haven’t paid it), on the Expense page go to All, locate the Expense, and Void the Expense. After that, create a new Expense with the adjusted amount due.