Accounting. It’s one of the most complicated and challenging parts of your business. It’s also one of the most important! We know you need to be able to track your accounting as efficiently as possible, so we’ve partnered with QuickBooks Online[1] to bring you an integration that makes Exporting your GL to QuickBooks Online seamless!
WAIT! Before you start setting up your QuickBooks Online Integration, make sure you read our Best Practices for the QuickBooks Online Integration article. There are steps to take before going live on the integration which will help set you up for success!
Already have your QuickBooks Online Integration set up? Great! Let’s jump straight to how to Export the General Ledger to QuickBooks Online.
WAIT! Before you can activate and use the QuickBooks Online integration, you need to make sure you have your Chart of Accounts created.

Go to LOU Account / LOU Integrations / QuickBooks Online
Before you can use the QuickBooks Online Integration, you need two things:
- An active QuickBooks Online account, which you can purchase on their official site. LOU is compatible with all QuickBooks Online plans, so pick the plan that works best for you.
- And you need to activate your QuickBooks Online Integration in LOU!
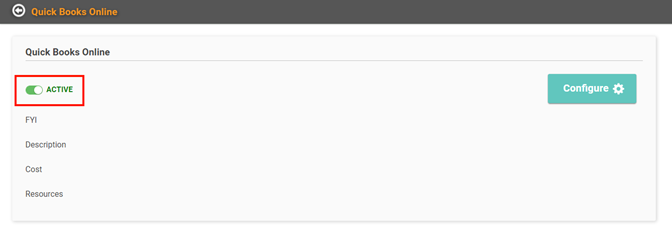
Toggle the Active button on. You will get a confirmation message letting you know that activating the integration may change your monthly billing. GOOD NEWS! The QuickBooks Online Integration is currently included free with your LOU subscription!
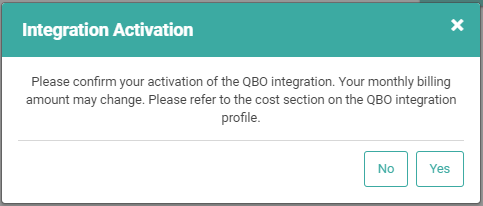
Click Yes.
Click
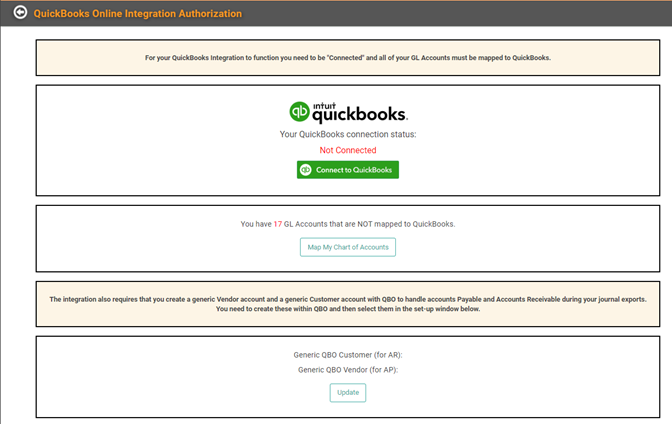
- Click Connect to QuickBooks. This will open a new tab in your browser and take you to the Intuit website to log into your QuickBooks Online account.

- Once you’ve logged in, you’ll be returned to LOU. Time to click Map My Chart of Accounts.

- Your LOU GL Accounts will be listed. For LOU to communicate the correct information to QuickBooks Online, a link between your LOU GL Accounts and your QuickBooks Online GL Accounts must be created. To link them, click the Actions link and select Update.


- A box will pop up, allowing you to select the QuickBooks Online GL Account from a dropdown.

- Click Save once you’ve selected the correct QuickBooks Online GL Account to link to the LOU GL Account.
Repeat these steps for every GL Account in LOU. 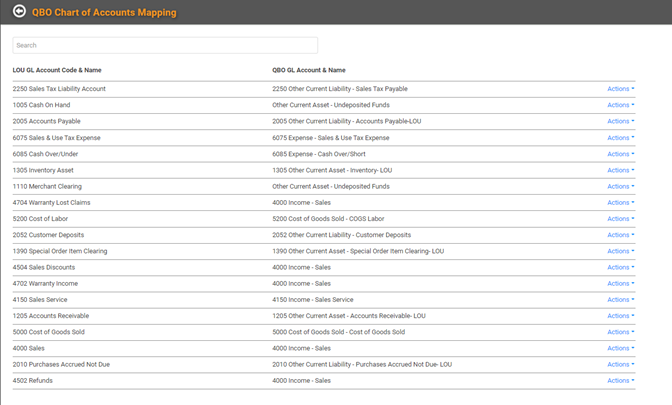
Once you’ve completed the GL Account Mapping, use the back arrow next to QuickBooks Online Chart of Accounts Mapping to return to the QuickBooks Online Configure page.
If you need to update or change the linked accounts, you can go to the Actions link and select Unlink Accounts to remove the connection. Then you can click Actions and Update and create a new link. 
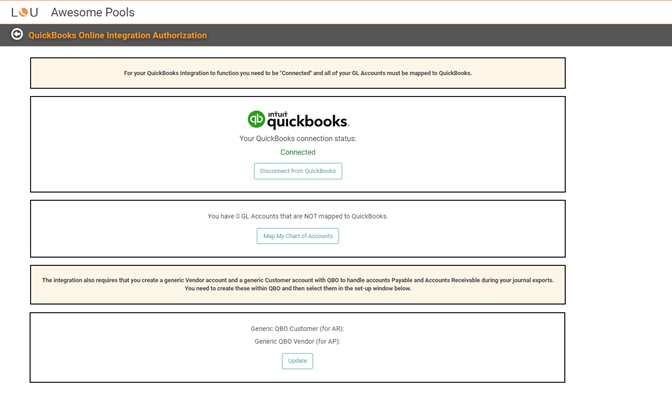
The final step in configuring the QuickBooks Online Integration is to create a generic Customer account with QuickBooks Online to handle the Accounts Payable and Accounts Receivable during your journal exports. The first step is to create them in QuickBooks Online. After that, you need to come here and set them up by clicking the Update button here. 
A box will pop up with dropdowns for the QuickBooks Online Generic Customer and the QuickBooks Online Generic Vendor. 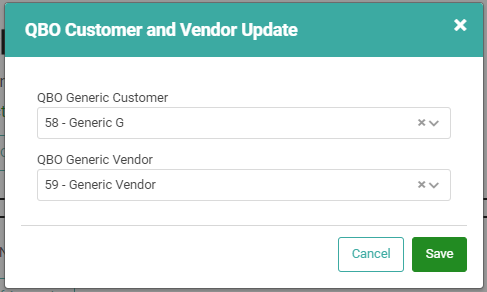
Select the correct Customer and Vendor and click Save.
You have completed setting up your QuickBooks Online Integration. If you are an admin in your QuickBooks Online instance, you can confirm LOU is integrated with QuickBooks Online on the QuickBooks Online side by going to Apps and selecting My Apps. You should see Lou by Evosus, Inc. 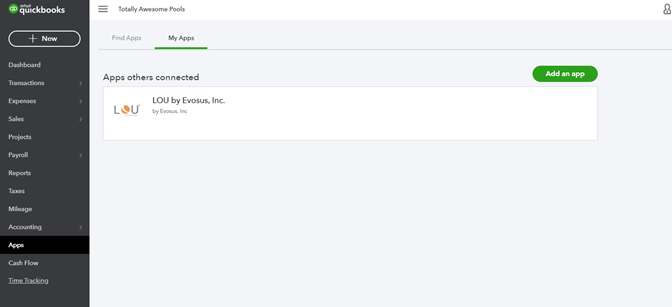
TIP! Occasionally QuickBooks Online will disconnect from LOU. This is something on the QuickBooks Online that we cannot control. However, if you notice that you’re not connected to QuickBooks Online through LOU, all you have to do is go back to the Setup page and click Connect to sign back into QuickBooks Online and quickly reconnect. 
Go to Operations / Accounting / Export General Ledger
When exporting the General Ledger, you’ll follow the same process to create a Batch found in How to Export General Ledger. However, instead of exporting to a spreadsheet, you’ll select Export Journal Entry to QuickBooks Online in the Actions menu next to the Batch you create.
TIP! To help keep your Export Batches straight, we recommend including “LOU to QuickBooks Online Export” or another phrase that tells you this batch was exported to QuickBooks Online in the name of your batch. 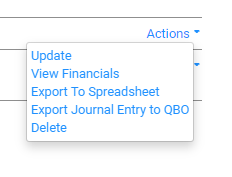
Once the process completes (it’s very fast), you will receive a confirmation message letting you know the Journal Entry was successfully exported. 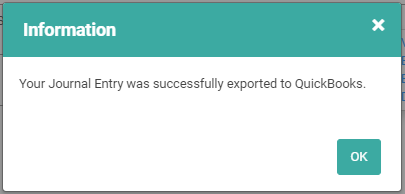
The name you give your Batch in LOU will become the Description when you look at the Journal Entry in QuickBooks Online.
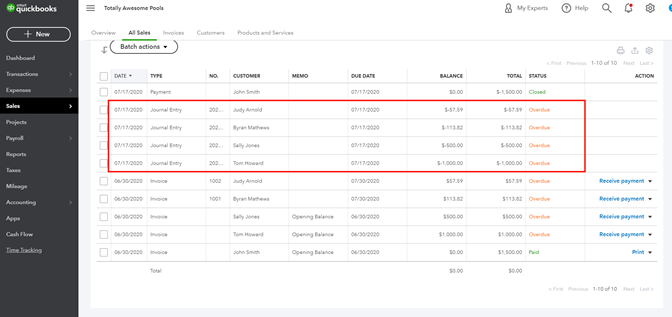
That’s it! When you log into your QuickBooks Online account, you will see the Journal Entries from your exported Batch under Sales / Overview.
REMEMBER! QuickBooks Online will not allow you to import the same single date range twice from your LOU GL export. We wouldn’t want you to overstate your balances!