
You’re bringing in all that money and you need to keep it somewhere better than a mattress!
While making bank deposits daily or weekly - whatever your schedule may be - you need a way to track this information in LOU for your records.
Bank Deposits provide a record of the money you’ve put in the bank. This feature allows you to create a record for each bank deposit you make and includes amounts and Payment Types. These amounts and Payment Types are quickly generated by LOU through their source transactions. 

Go to Accounting > Bank Deposits
As with other screens for Accounting features, when you arrive at the Bank Deposit page, you default to the Drafts page. 
These are Deposits you’ve created but have not posted yet. Creating Drafts allows you to Update and Add data by coming back to the record multiple times if needed. When you’re satisfied the Deposit is complete, you can Post the Draft and it will move from Drafts to Completed.
Create Bank Deposit
To create a new Bank Deposit, click the Create button. A pop-up will open, allowing you to complete the information. 
Bank Account: Choose from the bank Payment Accounts you’ve created here.
Reference Number: You can create or enter a Reference Number.
Post Date: Choose the date the Deposit was made. If you’re creating the Deposit after you’ve deposited the money in the bank, this may be a past date. If you’re planning to deposit in the future, it may be a future date.
Type: There are different types of Deposits made into your bank account. You can create a record in LOU for each type -- ACH, Cash and Checks, Merchant Deposit, or Vendor Deposit.
Total: Total Amount of the Deposit.
Comment: You can leave a Comment if you like.
Once you’ve added the data, click Create.
Bank Deposit Profile
This page allows you to review details of the Bank Deposit and to add Payments and details before Posting.
The orange box gives details about what kind of Deposit it is and the Totals. This is the information you created in the Create Bank Deposit pop-up. Below that box are buttons/filters that allow you to see the different parts of the Deposit: Cash, Checks, Other, Adjustment, Images.
Cash
This is where you’ll add and view the Cash you want to include in the Deposit. These do not represent individual transactions. Instead, you’ll add Amounts from POS Stations. When you close a Cash Drawer, LOU records the cash received during that session. Cash not listed as remaining in the drawer for the next session will need to be deposited. To include that cash in a Deposit, navigate to the Cash page of the Profile and click Search POS Station History.
REMEMBER! Only POS Stations that have accepted cash payments will display here.
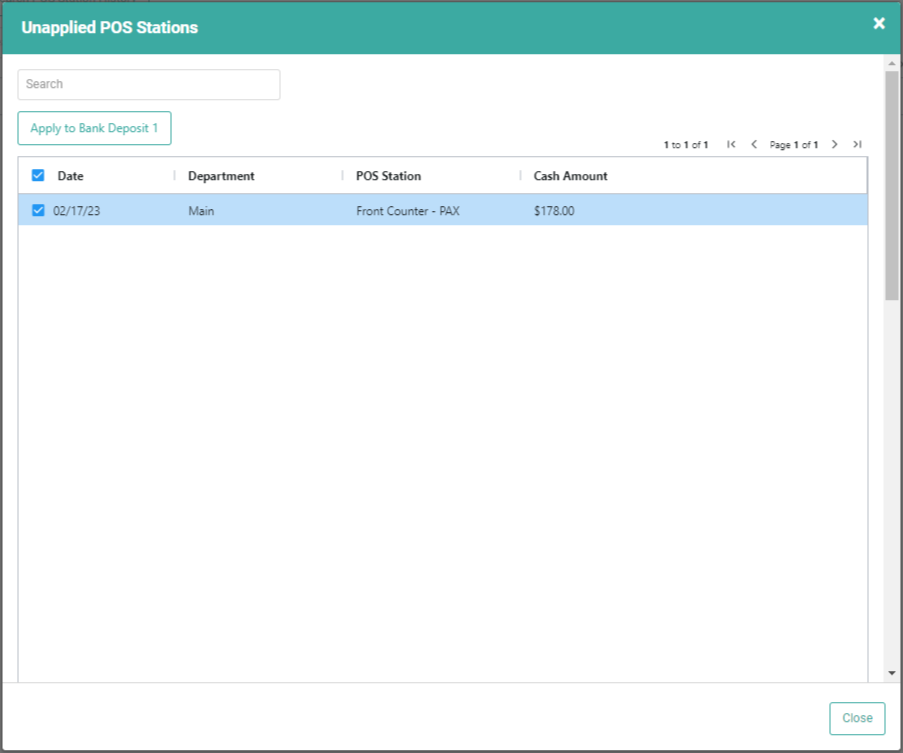
POS Station Closing Receipts (History) that have not been applied to other Bank Deposits will appear here.
- On the Cash page of the Bank Deposit Profile, click the box next to the POS Station History you want to include in the Deposit. You can click the box next to the Date to select All.
- Click Apply to Bank Deposit.
- Click OK to confirm you want to apply these to the Bank Deposit.
You will return to the Bank Deposit profile. The POS Cash History will be listed on the page and reflected in the Applied Amount on the Deposit.
Checks
This is where you’ll add and view the Checks being included in the Deposit. To include Checks in the Deposit, click Search Check Payment History. 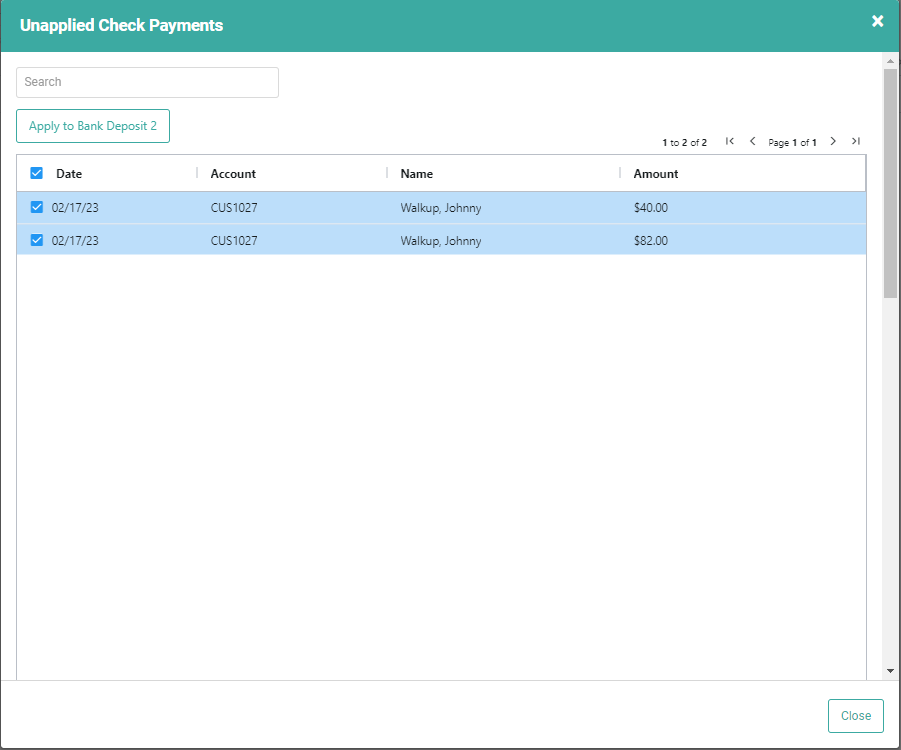
- Click the box next to the checks you want to be included in the Bank Deposit.
- Click Apply to Bank Deposit.
- Click Ok to confirm you want to apply these to the Bank Deposit.
You’ll return to the Bank Deposit profile. The Checks will be listed on the page and reflected in the Applied Amount on the Deposit.
Other
Any other Payment Types will appear here. Other Payment Types are things like digital payments (Venmo, PayPal, Cash App, Square, etc.) or other non-ACH monies you receive that need to be reflected on the Bank Deposit. Click Search Other Payments History. 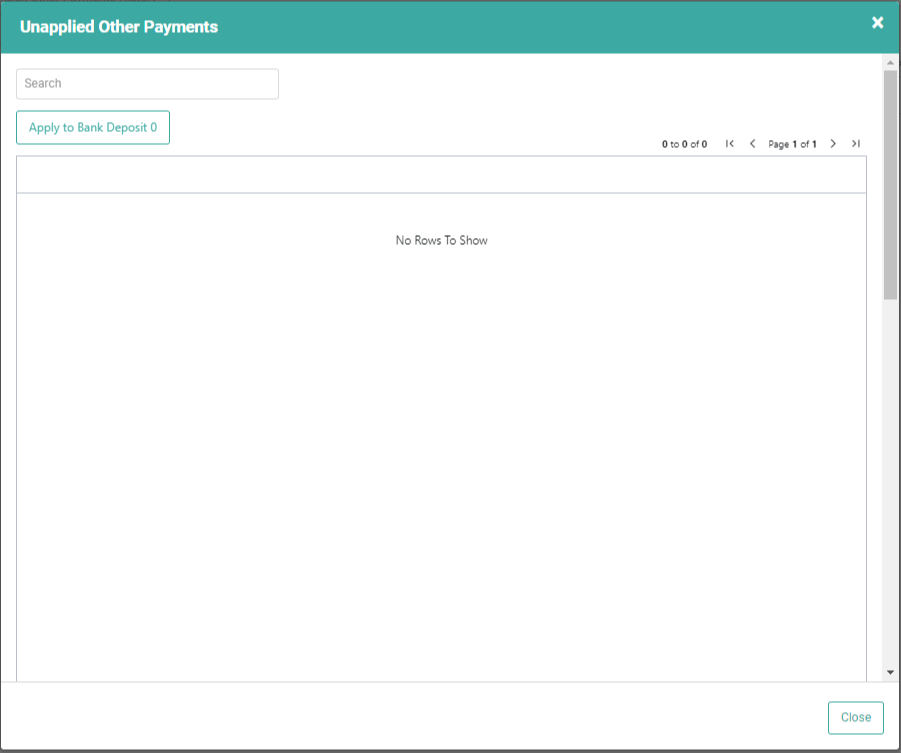
- Click the box next to the Other Payments you want to be included in the Bank Deposit.
- Click Apply to Bank Deposit.
- Click Ok to confirm you want to apply these to the Bank Deposit.
You’ll return to the Bank Deposit profile. The Other Payments will be listed on the page and reflected in the Applied Amount on the Deposit.
Adjustment
The Adjustment page allows you to create a Journal Entry to post an adjustment as necessary for the amounts reflected on the Bank Deposit. This will help correct any variances that may occur. 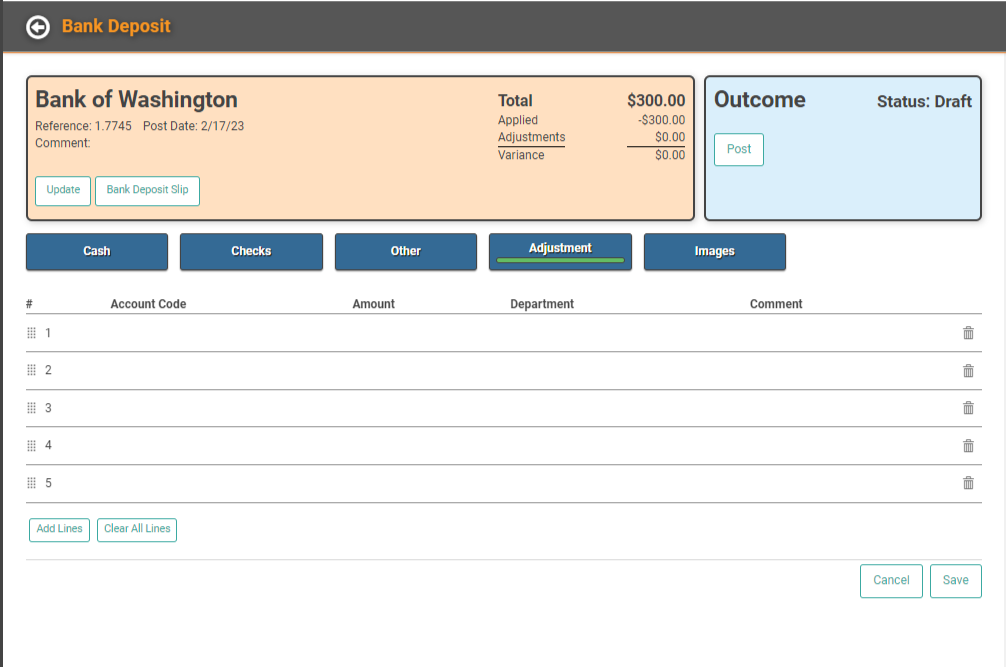
Images
You can attach images and files to the Bank Deposit record. These cannot be printed on the Bank Deposit Slip.
See Images and Files for information on accepted file types.
IMPORTANT! Pictures and video must be less than 8mb. All other file types must be under 10mb. File sizes in excess will not be uploaded.

Bank Deposit Slip
Once you’ve created a Bank Deposit, you can print a Bank Deposit Slip for your Bank Deposit. Since banks will not accept a deposit slip that is not their own, these Deposit Slips are intended as a way for you to print a record of the Bank Deposit for your records. This is an optional feature for those who want to take advantage.
When you click the Bank Deposit Slip button, a print preview tab will open. You can use your browser’s printer controls to print to a printer or save as a pdf. 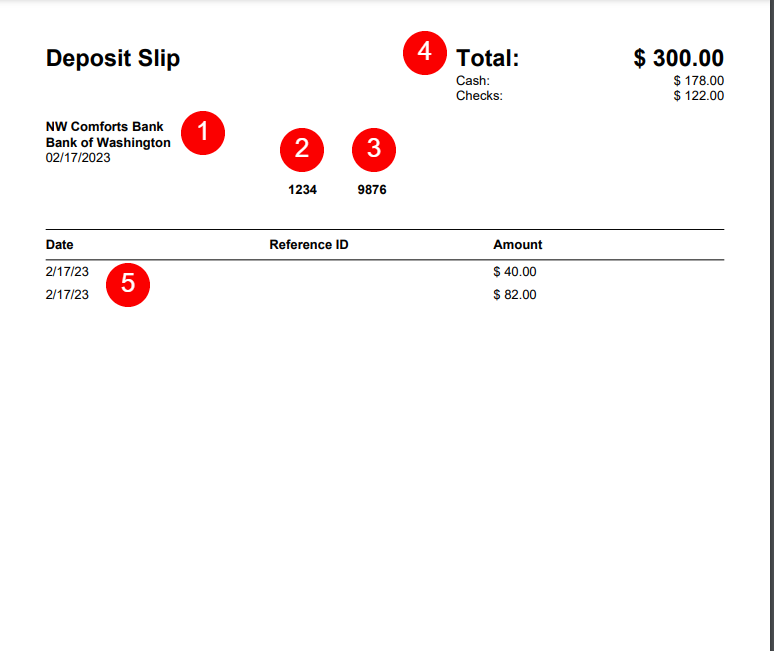
- Your Company Name, Bank Name, and the Date.
- Account Number
- Routing Number
- Total with broken out totals for Cash and Checks
- A list of your Checks with the Date, Reference ID, and Amounts.
Complete Bank Deposit
Once you’re satisfied with the information on the Bank Deposit, you can click Post to post and complete the Bank Deposit. This will move the Bank Deposit from Drafts to Completed, remove the transactions from selection in new Bank Deposits, and appropriately update the GL with any adjustments included in the Deposit.

You can review the Bank Deposit by going to Completed and double-clicking the Bank Deposit or by clicking the Actions link and selecting Profile. From the Completed Profile, you can view or perform the following:
- Click Update to view the summary of the Bank Deposit. The fields are grayed out and cannot be updated once the Deposit is complete. Click Bank Deposit Slip to print the Bank Deposit Slip.
- Click each button to view the information included on the Bank Deposit for Cash, Check, Other, Adjustment, and Images.
- Void the Bank Deposit (more on that below). Click the Financial Posting link to view the financial transactions associated with the Bank Deposit.
Void Bank Deposit
If you post a Bank Deposit and determine it was in error, you can Void the Bank Deposit.
IMPORTANT! Bank Deposits can only be voided as of the original Post Date. You cannot select a different date for the Void.
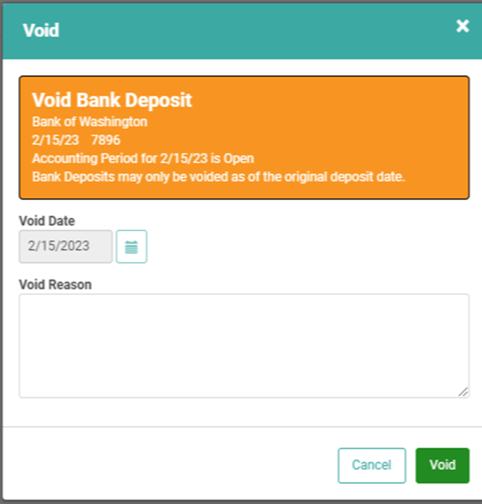
- Click Void
- Enter a reason for the Void
- Click Void again
This will undo everything that was done when you posted the Bank Deposit. It will move the Bank Deposit from Completed to Void, make the transactions included available for selection on future Bank Deposits again, and reverse any GL transactions posted by the Bank Deposit.