
Security and user permissions are a necessary part of any software application. As a business, you need to be able to control what areas of the software your users can see, use, update, and change.
Group Security allows you to create groups of users and assign permissions based on a variety of checkpoints. This allows you to get very specific about who gets access to every aspect of LOU.
REMEMBER! This feature is for non-admin users. Admin users will not be impacted by Group Security Permissions. This feature is also not related to Bundle Access. See Manage Users for information granting Admin access and access to your bundles.
Right now, LOU allows you to create permissions around the following categories (Additional Categories and Permissions will be added in future releases):
- Accounting
- Customers
- Inventory
- Invoices
- Marketing
- Orders & Estimates
- Payments
- Recurring Orders
- Scheduling
- Warehouse
- Tags
Key Steps:
1. Create a Group
2. Add non-admin users to the Group
3. Update Permissions for the Group
4. Determine what permissions to Allow/Deny
5. If done during business hours, make sure affected users log out and back in for new permissions to take effect.

Go to Product Setup / Foundation / Group Security Set-Up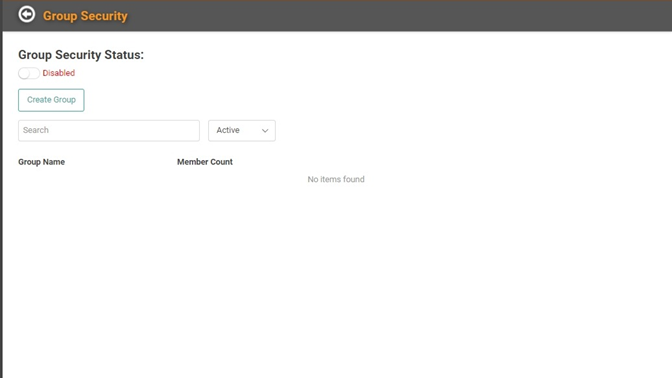
This feature is defaulted to OFF. You must create Groups, Add Members to the Groups, Toggle Permissions, and Enable the Group Security feature before it will be active.
IMPORTANT! If you do nothing, no users will be impacted by the Security Permissions in this feature. This feature is not a required part of setup or functionality for most of LOU. If you want non-admin users to access features in the Warehouse tile, including Physical Count, you will need to set up Group Security and allow or restrict those permissions.
The first step in configuring Group Permissions is to create your Groups. To do this, your users must be active members of your LOU company. You cannot add users to Groups if they have not accepted invites and set up their passwords.
Create a Group
To create a Group, click  .
. 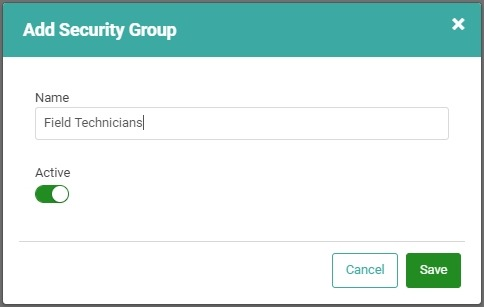
Enter the name of your Group and click Save.
TIP! Groups should be a collection of users who all perform similar duties and tasks for your business. There is no minimum or maximum to the number of users you add to a Group. 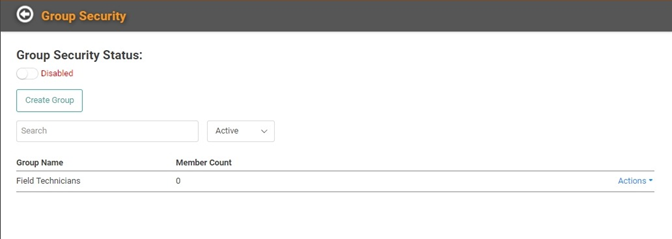
The Actions link on your new Group will allow you further configure the Group and Group Security. 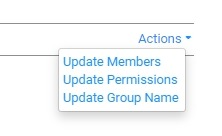
Add Members
To Add Members, click Update Members. 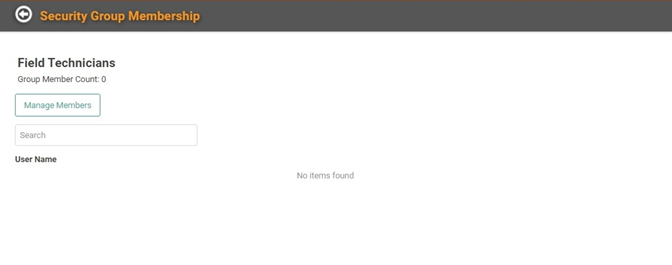
To manage members, click  .
. 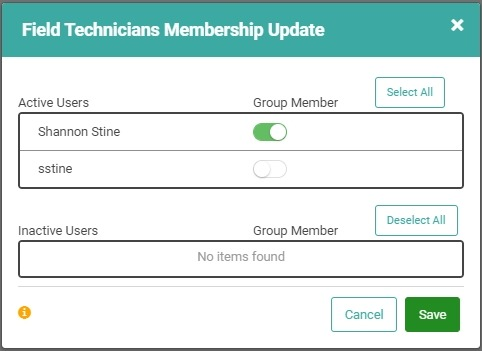
A pop-up will display all your Active Users and allow you to Toggle the button on or off to add them to the Group. There is a second box that will show all your Inactive Users as well.
Once you’ve toggled the Group Member button on for everyone you want to add to this Group, click Save. 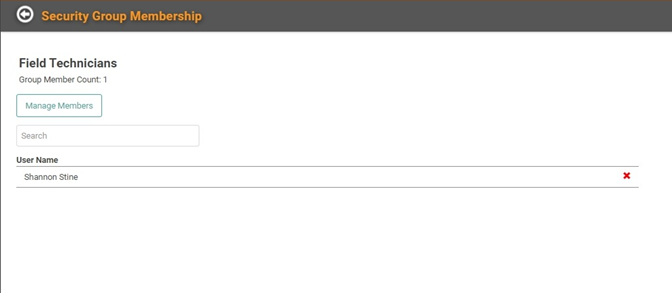
On the Security Group Membership page, you will see the members you just added and a total Group Member Count. If you want to delete members from the Group, you can use the red X next to their name.
IMPORTANT! Deleting a member from a Group does not remove the user from your LOU company or change their User/Admin status or Bundle access. It only removes them from this Group. When a user is removed from a Group, those Group Security Permissions will no longer apply to the User. They will be able to access everything in LOU, according to User and Admin rules. 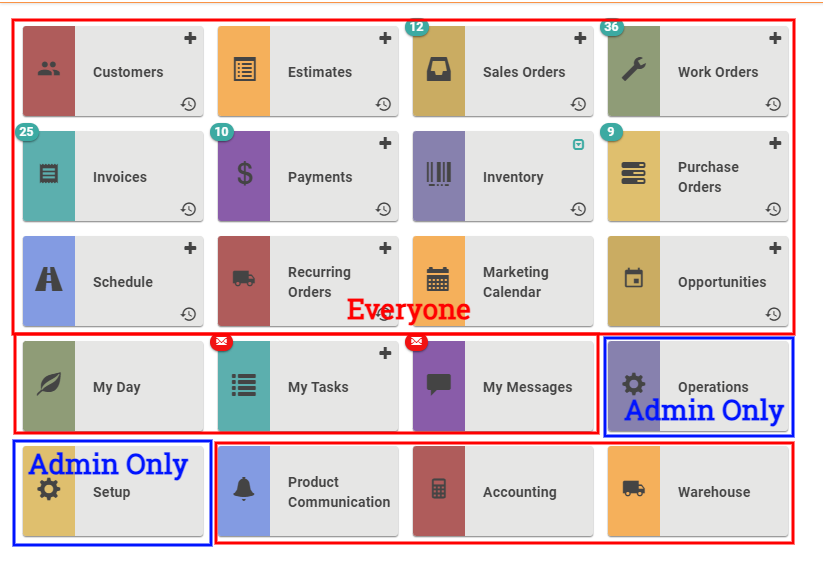
Once you’ve added everyone you want to the Group, you can configure Permissions.
Update Permissions
On the Actions menu for the Group, select Update Permissions. 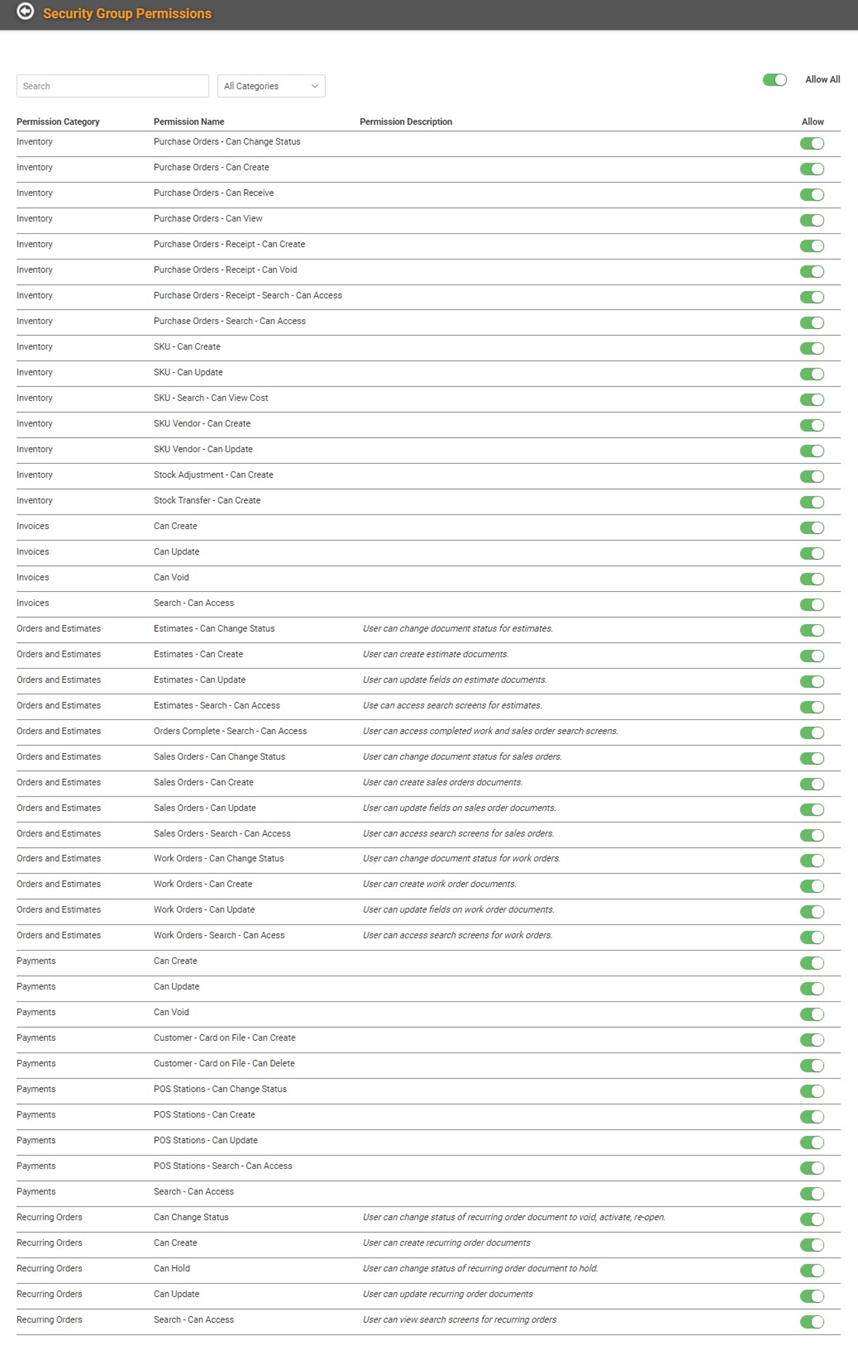
Every Group defaults to ALL Permissions toggled on. You can deny Permissions to the Group by toggling the Allow button off next to the Permission you wish to deny.
You can use the dropdown at the top of the page to filter by Permissions Category to see just those Permissions related to the Category you wish to Allow or Deny. 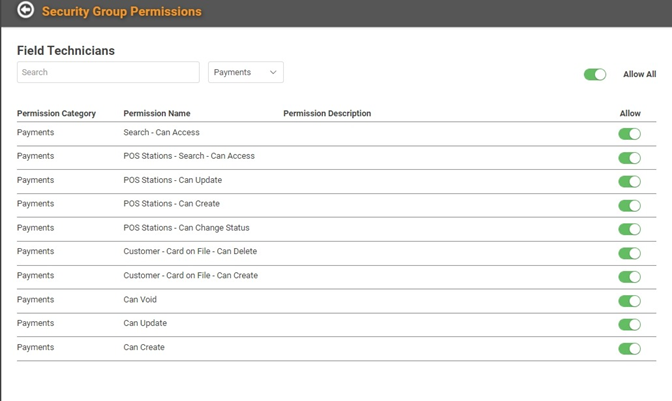
If you want to Deny All, you can toggle the Allow All button off. You can toggle each individual button off, as well. When you toggle the Allow All button, you will get a warning alert letting you know that you are switching all permissions for this Category. 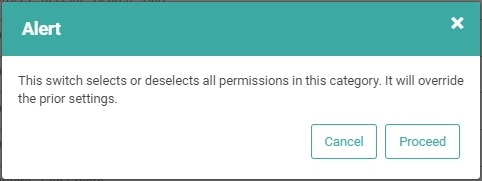
There is no limit on the number of Permissions within a given Category that you can Allow or Deny. You have control here. 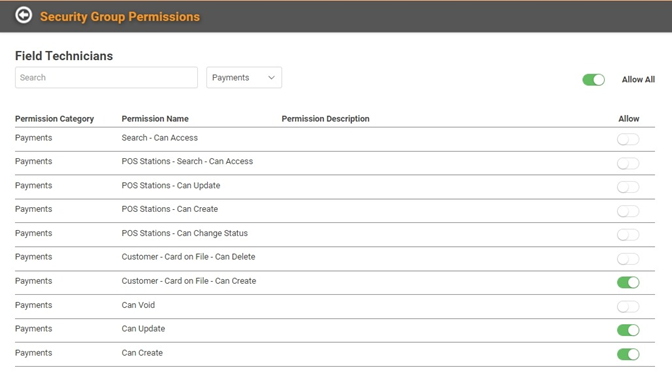
Once you’ve gone through all the Permissions and determines whether to Allow or Deny, you can use the Back Arrow next to Security Group Permissions to return to the main Group Security Page.
IMPORTANT! If users in the Group are already signed into LOU, they will have to sign out and back in for the changes to take effect.
Enable Group Security
Once you’ve created your Groups, added members, and allowed or denied permissions, you need to enable the Group Security feature. 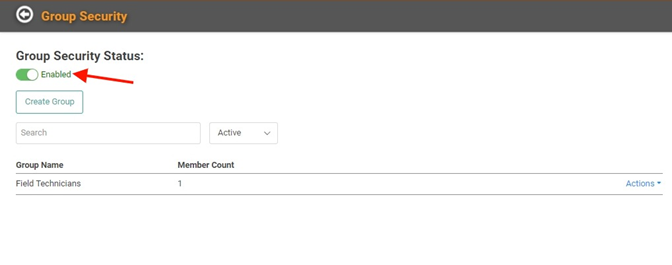
Toggle the Group Security Status button to Enabled. You will receive an alert reminding you you’re enabling the feature. 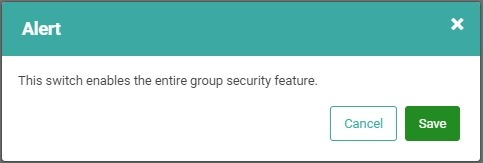
Toggling the button back to Disabled will turn OFF all Group Security in LOU.
User Request Access
When a user does not have Permission to access or perform a certain feature in LOU, they can request temporary access. 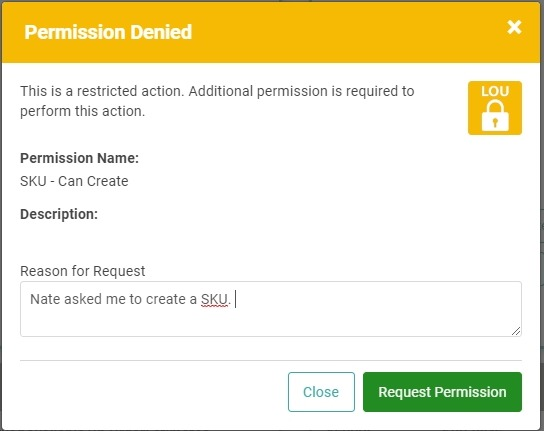
When the user requests permission, they will receive a confirmation message letting them know the request has been sent and they will be notified when it’s granted. 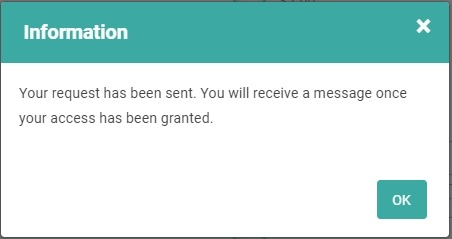
That request gets added to the Security Override Requests and Admins get notified with a banner on the bottom of their LOU screen, as well as a Text Message if they have a Phone Number on their Personnel Profile.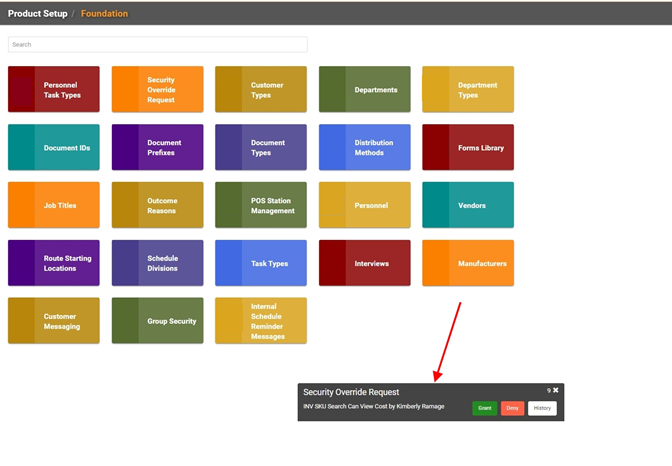

Once the Admin has Granted or Denied access to the Checkpoint, the User will see a banner on the bottom of their LOU screen which will tell them whether the request was Granted or Denied, as well as what Checkpoint. If granted, it will also indicate when the temporary access to the Checkpoint will expire. 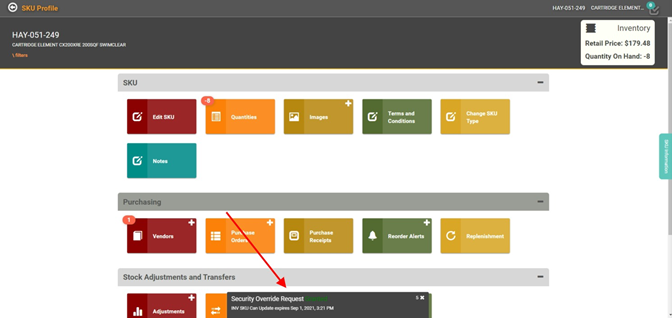
Head over to Security Override Requests for additional information.