
Payment Terms are rules imposed to ensure you receive a payment within a reasonable amount of time.
LOU allows you to create Payment Terms with specific Due Dates, Discounts, and Terms & Conditions.
For example, you might say that Commercial sales have a due date of 30 days after the Invoice, and they get a 5% discount for submitting payment within ten days of Invoice. A customer with an account with you may have Payment Terms that indicate they must pay by the 10th of the month and there is no discount available.
REMEMBER! We’ve created the Payment Term Due Upon Receipt for you. All you need to do is create any additional Payment Terms you need. 
Go to Product Setup / Accounting / Payment Terms
- To create a new Payment Term, click

- Enter the necessary information.
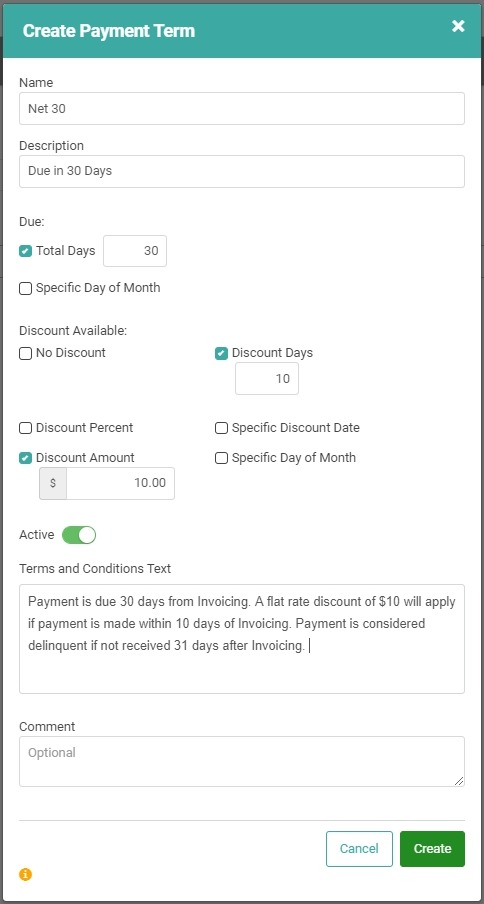
- Click

Repeat these steps for every Payment Term you wish to create.
LOU Accounting
If you are using LOU Accounting, you can create Payment Terms that your Vendors impose on you as well. You can use the same Payment Terms for your Expenses and your Customers. No need to create two Net30 Payment Terms. If your Vendor has Payment Terms you don't offer to your Customers, you should add them here so they can be included on Expenses.
Test Payment Terms
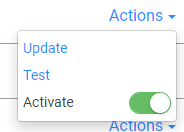
You can test your Payment Terms to ensure accuracy. Click the Actions link and select Test. 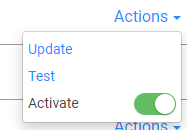
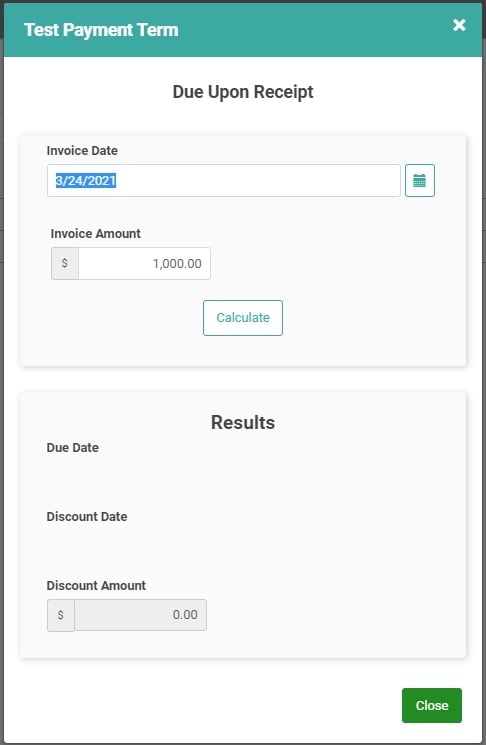
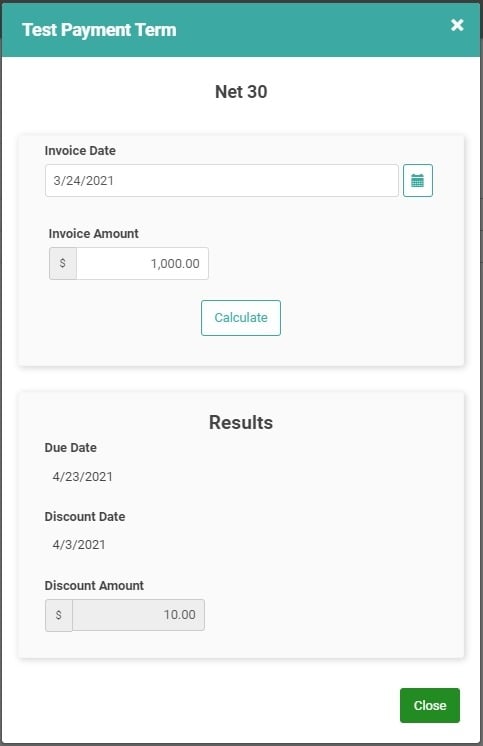
A Test Payment Term window will pop up, allowing you to enter an Invoice Date and Invoice Amount, then Calculate the Payment.
Here are some examples:
- Payment Terms: Payment due immediately, Total Days: 0. No Discount available.
- Payment Terms: Net30 with a $10 discount if payment is received within 10 days.
These Payment Terms will appear on invoices and reporting.
Delete Payment Terms
You cannot delete Payment Terms. However, you can Inactivate them by clicking the Actions link and toggling the Activate button off.
Alternately, you can Inactivate the Payment Term in the Update window. Click the Actions link, select Update, toggle the Active Status button off, and click Save.
