
Checklists can be used to simply check off a list of items that must be completed during a Schedule Task. They can also be configured to require responses as they are checked off, allowing them to track information on the Schedule Task.
LOU allows you to configure Checklists for specific Task Types or as more generic lists that can be used for various Tasks. 
Go to Product Setup / Service / Checklist Templates 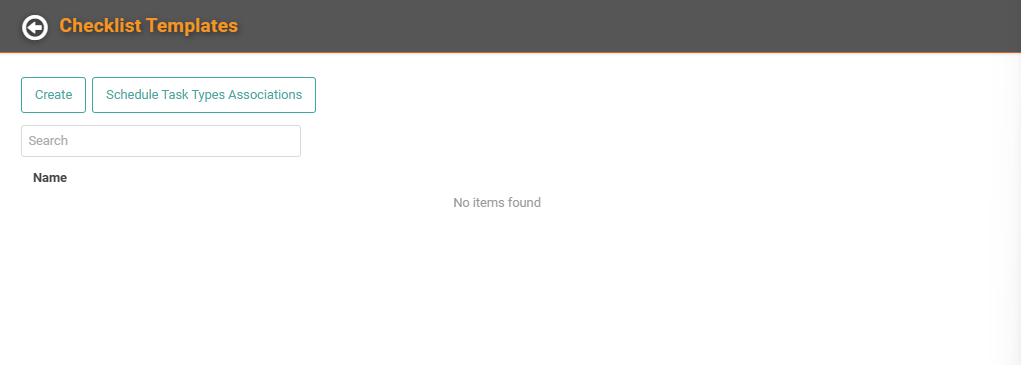
On the main Checklist Templates screen, you can create a new Checklist by clicking Create. 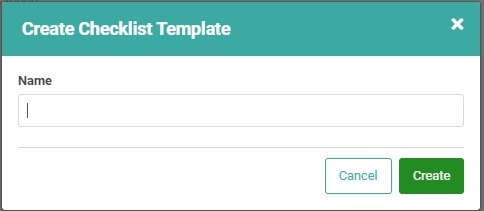
Give your new Checklist Template a name and click Create. 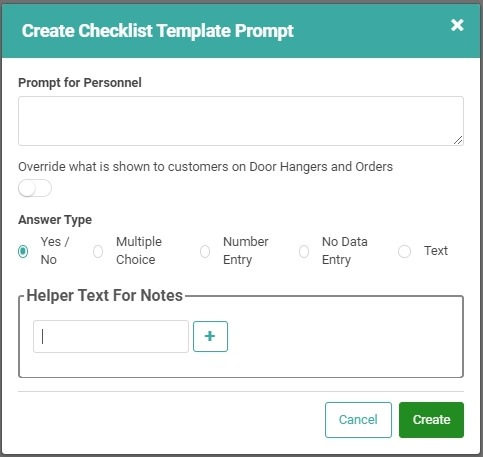
Now you can begin creating your checklist Prompts. These are the checklist items that service techs will see when you include them on the Schedule Task.
The Prompt for Personnel is what you want the service tech to do. This can be a request for information they’ll provide as the answer to the Prompt OR it might be something of which they need to be aware and it requires no answer. 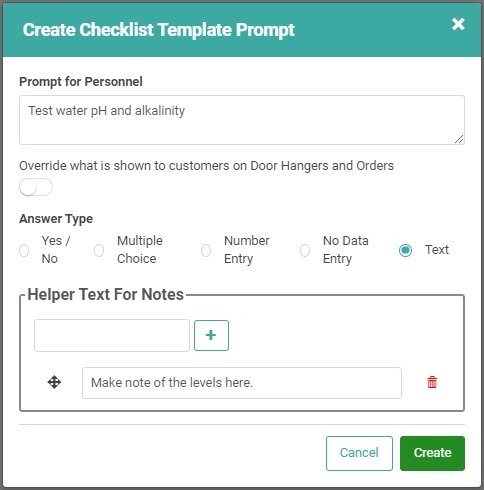
There are several Answer Types you can select. The tech will be required to enter an answer before moving on. If no answer is required because the Prompt is informational only, you can select No Data Entry.
You can add Helper Text for the Notes, for the Text fields, to guide the Tech in what they’re supposed to write in the Notes.
IMPORTANT! All Prompts and Answers will be visible on Customer documents like Door Hangers and Orders. This would not be a place to enter internal notes or comments.
Override what is shown to Customers on Door Hangers and Orders: Toggle this on if you want to create a Customer-facing Prompt for Customer documents. Personnel will see the Prompt for Personnel and the Answer options while Customers will see the Prompt for Customers and the Answer entered by the Personnel. 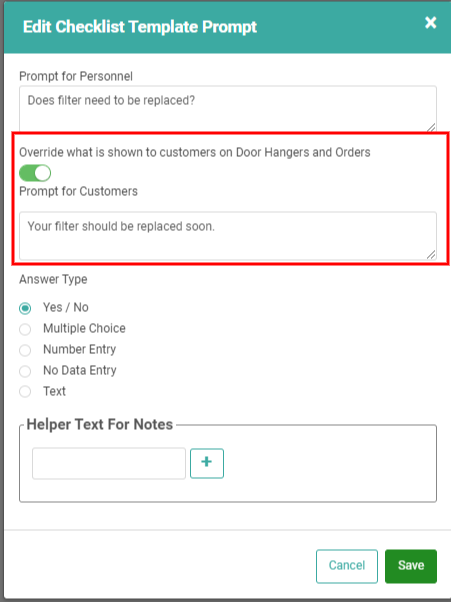
Once you are satisfied with the Prompt, click Create. You will return to the Checklist screen for the Checklist you are creating. 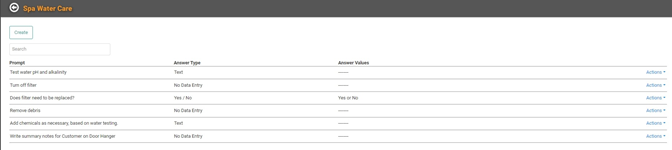
There is an Actions link on each Prompt line item. This link will allow you to either Update the Prompt or delete it.
IMPORTANT! Once you delete a Prompt, you cannot undo it. You will have to create the Prompt again.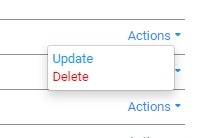
Once you’ve created all the Prompts you want to include in the Checklist, you can click the Back button next to the Name of the Checklist to return to the main Checklist Templates page. 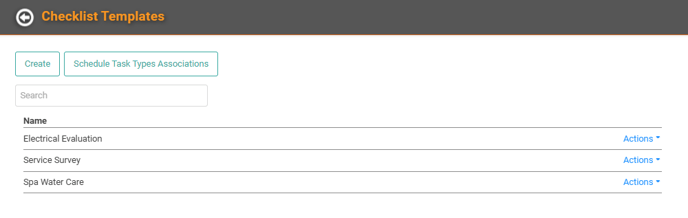
The Checklist you’ve created is listed on the main Checklist Templates page. You can use the Actions link to Update the name of the Checklist, Update the Prompts for that checklist, Copy the checklist, or Delete it.
REMEMBER! Once you’ve deleted a Checklist, it cannot be recovered. 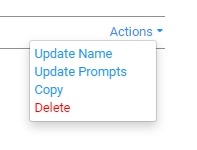
Schedule Task Types Associations
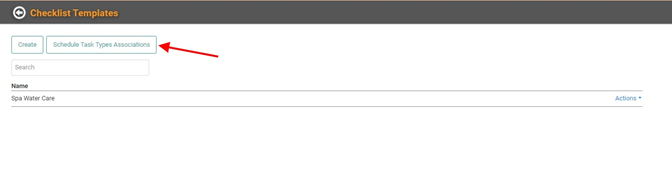
You can associate Checklists with specific Task Types. This will ensure the Checklist is included on all Schedule Tasks of that Type automatically instead of requiring you to manually select it during Schedule Task creation. On the main Checklist Template page, click the Schedule Task Types Associations button.
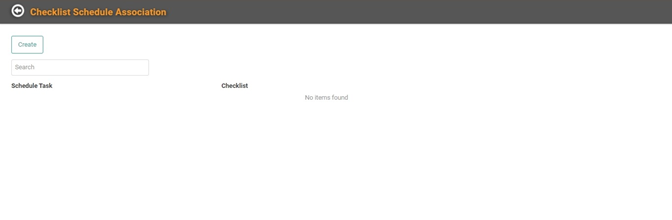
On this page, you can click Create to create an association between a Checklist and a Schedule Task Type. 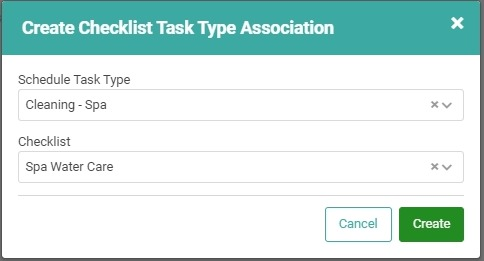
Select the Schedule Task Type from the dropdown, select the Checklist you want to associate from the dropdown, click Create. 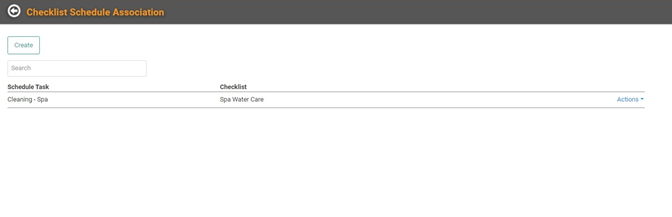
The Checklist will now be associated with the Schedule Task Type you selected. If your Checklist is appropriate for more than one Schedule Task Type, you can create another association.
The Actions link on the Association allows you to Update the Association or Delete it.
REMEMBER! You cannot recover something once you’ve deleted it. You will have to recreate the Association if you delete it by mistake.