
The most common process you’ll perform on LOU Retail POS is posting transactions! This is your “cash register” after all!
Before you start posting transactions, make sure you’ve set up your POS Stations in Product Setup.
A Few Things About Payment Methods
Before we look at posting a transaction through LOU Retail POS, let’s discuss some details about the POS devices and Payment Methods.
The POS devices are equipped to handle cash drawers allowing you accept cash and checks, and a credit card reader that allows you to accept credit cards either by dipping or swiping the card. Additionally, the POS devices are equipped to accept contactless pay methods. This functionality is not created or maintained by LOU Retail POS. These are native functions to the PAX machine. LOU can process/accept payments made via these contactless options. These icons appear on your POS device’s customer-facing screen:


Tap to Pay*, Apple Pay, Google Pay, and Samsung Pay are all accepted through the POS devices.
*IMPORTANT! When using Tap to Pay credit cards, the transaction limit is $9999.99. This means any transaction $10,000.00 or higher must be completed with a dip or swipe of the credit card. This limit does not exist for the other contactless methods.
Receipt Settings
When you post a transaction in LOU Retail POS, you can give your Customers options for how they’d like to receive their receipt – it can print right from the POS device’s printer, they can receive an email, or they can skip the receipt all together. There is also an option for you! If you prefer to print a merchant copy of the receipt, you can configure your LOU Retail POS to do just that.
- Tap the hamburger menu (those three horizontal lines in the upper left)
- Select Settings
- Toggle Print merchant copy of receipt
The merchant receipt will print out no matter which Customer Receipt option you choose and will include a signature capture.
IMPORTANT! This is a setting which must be configured on each of your POS Station machines.
Jump Ahead:
- Post a Sales Transaction
- Use Split Pay to process multiple payments on a single transaction
- Take Payment on Account
- Apply Account Credit
- Bill Me Later
- Take Deposit on Order
- Receive Payment (Shortcut for accepting Payment on Account or Deposit on Order without starting a sales transaction first.)
Post a Transaction on LOU Retail POS
Posting transactions through LOU Retail POS is easy!
- PIN in using your My App PIN.
- Tap the big green Sale button.
- Search for, or Create, the Customer.
- IMPORTANT! Best Practice is to create a default “Walk In” Customer for your POS Stations. If you’ve done this, that Customer will be selected upon tapping the Sale button.
- Begin scanning items or tap Inventory to search Inventory and manually add items to the Transaction.
- You must have the UPC of the barcode you are scanning on the SKU Profile as either the UPC or Alternate UPC in order for LOU to read the barcode.

- Once all the items are added, tap the Pay button.
- Tap the Payment Type - we chose Cash - and choose the Tender amount.

- Your Customer just asked if they could add one more thing on? No problem! Tap the Scan Barcodes button to go back to the Sales Transaction page and add more SKUs or make changes.
- Your Customer just asked if they could add one more thing on? No problem! Tap the Scan Barcodes button to go back to the Sales Transaction page and add more SKUs or make changes.
- With Payment Method and Tender Amount selected, tap Apply to complete the Transaction.

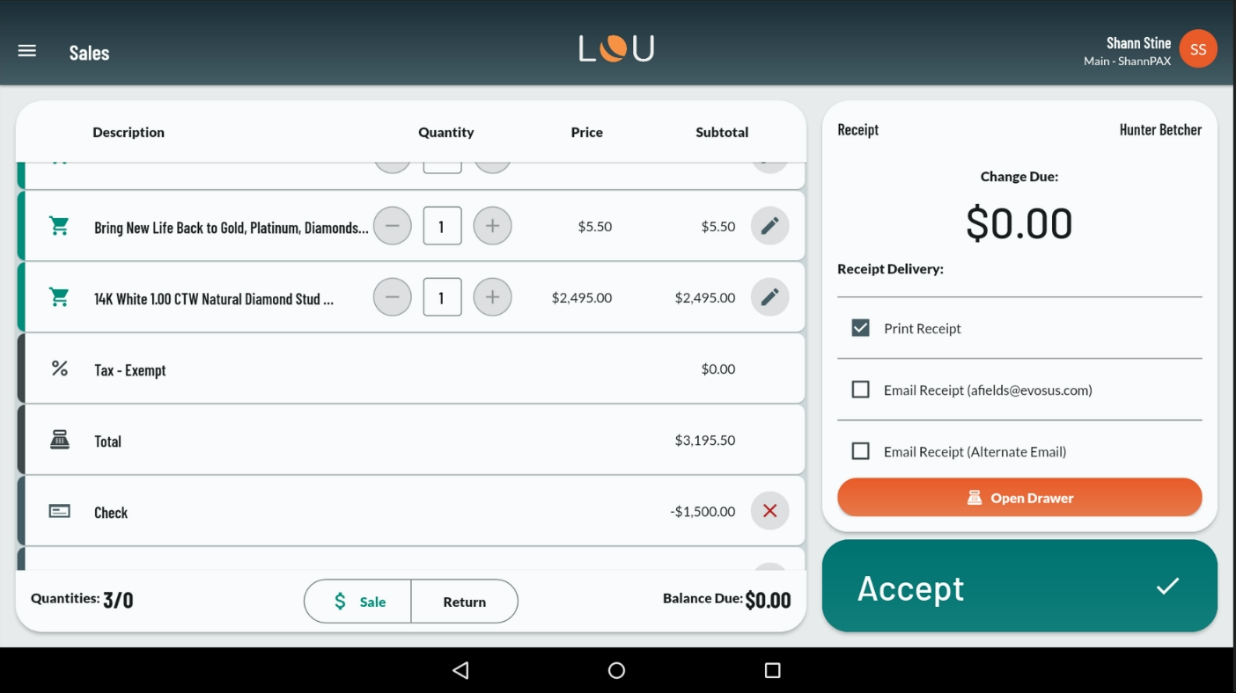
- The Transaction is now Complete and cannot be edited. Select the Receipt option – Print Receipt, Email Receipt, Email to an Alternate Contact, or No Receipt. Tap Accept.

Once you tap Accept, the Receipt will print or be emailed and you will be returned to the main Dashboard, ready to begin a new Transaction.
REMEMBER! If you are using LOU Retail POS for Windows, you must have a Star Printer in order to control the cash drawer. Standard "document" printers will print a receipt, but will not open the cash drawer.
Credit Card Types – Debit or Credit
You can determine whether to take a credit or debit card by selecting Card as the Tender Method and then selecting Credit or Debit. LOU defaults to Credit.

When you choose Debit, your Customer will be prompted to enter their PIN when they insert or tap their card. If they insert or tap a Credit Card, LOU will decline the transaction as the incorrect Tender Type and ask you to select a different method.
IMPORTANT! Your card processor charges different rates for credit and PIN debit transactions. For information on those rates, log into your TSYS Merchant Center or contact Evosus Financial Services.
Printed Receipt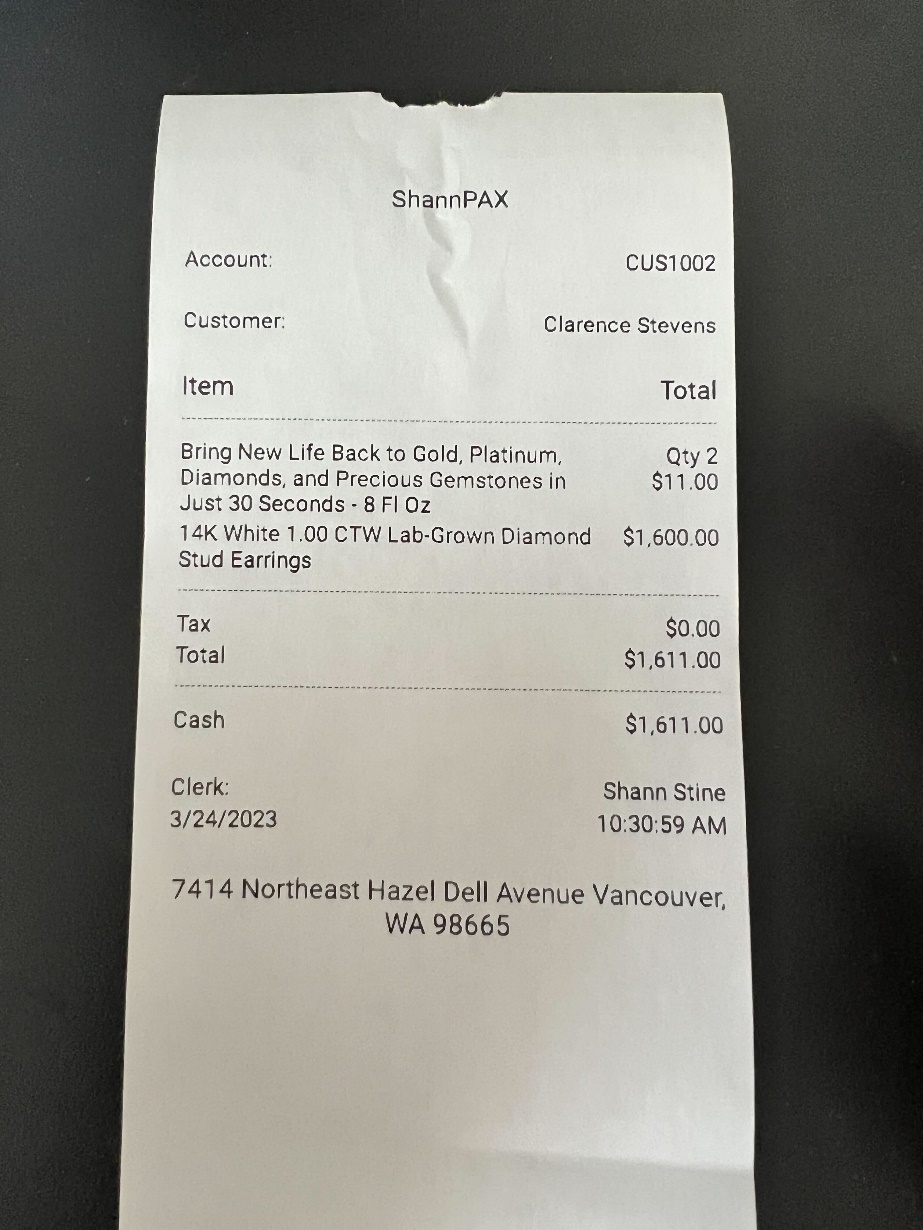
Split Payments
You can split payments on a single transaction. Simply follow the steps to create a Transaction above. When you get to Step 5, tap Pay, you can split the transaction.
- Select the first Payment Method you want to use.
- Instead of tapping Exact Amount, tap Enter Custom Amount.
- Tap Apply for the Amount and Payment Method entered.

- The Payment Method and Amount will be added to the Transaction line items and LOU will show the remaining Balance Due.

- Select your next Payment Method.
- If you want to pay the remaining balance, tap Exact Amount. Otherwise, tap Enter Custom Amount.
- Tap Apply for this Amount and Payment Method entered.
- Select your Receipt options and tap Accept.
The receipt will all Payments taken on this Transaction as their own line item.
Printed Receipt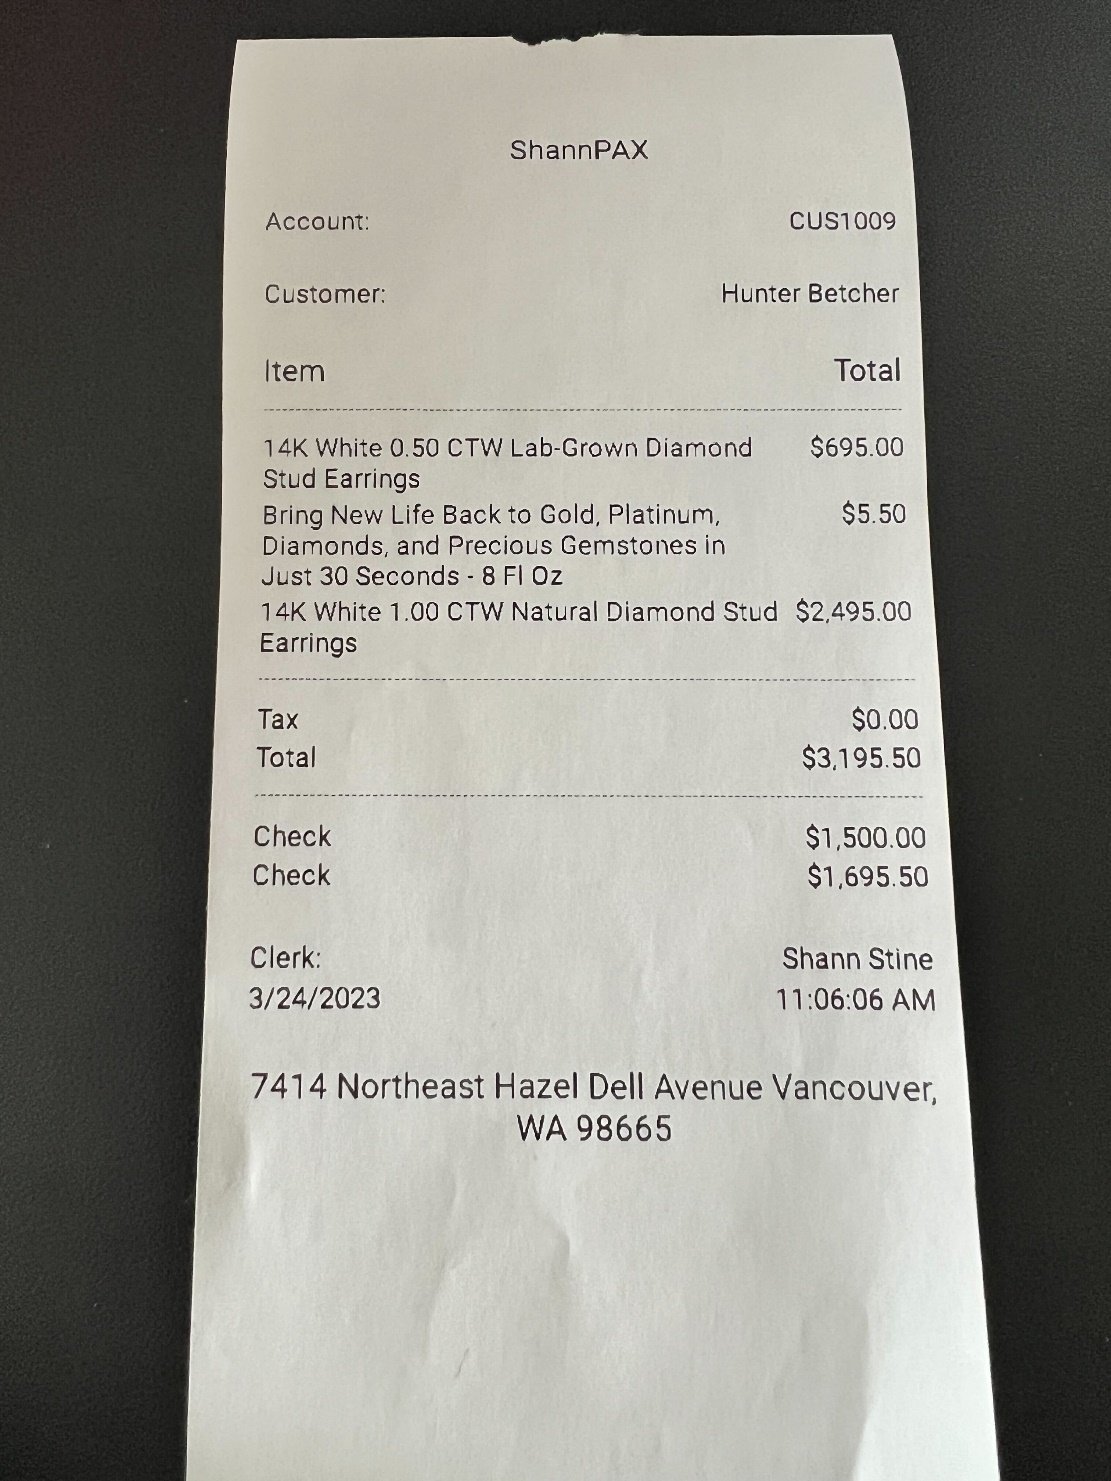
Take Payment On Account
If your Customers want to come into your stores and make a payment towards the balance on their account, they can do that right at the POS Station!
- Begin a Sale Transaction.
- Select the Customer.
- The Account Balance will be listed under the Customer ID.
- Tap the Orange plus sign.
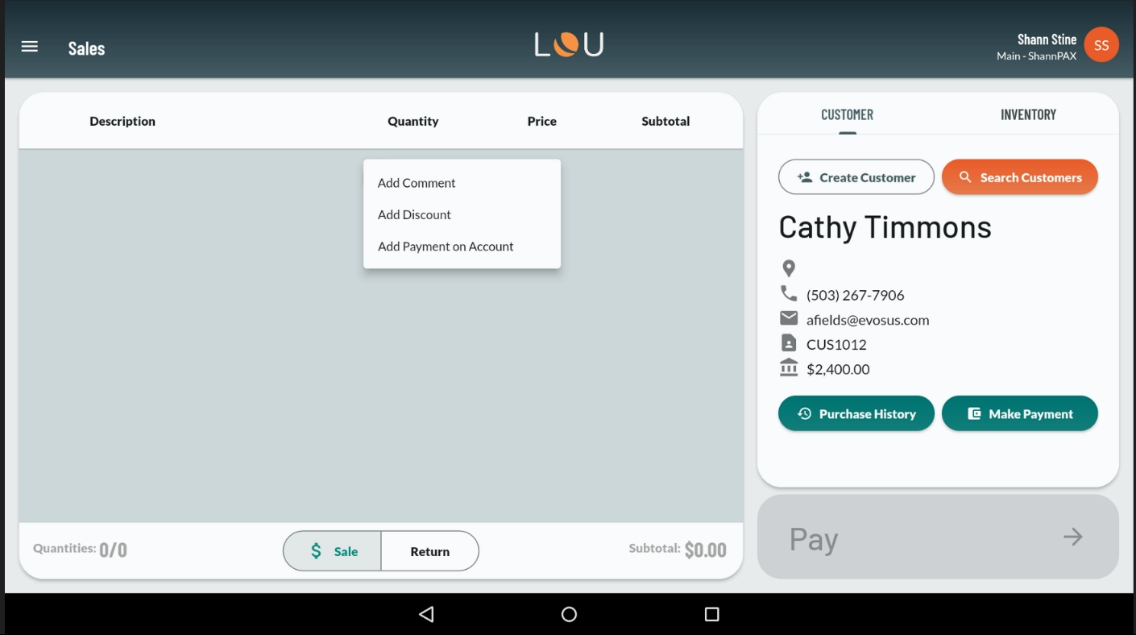
- Select Add Payment on Account.
- Enter the Amount for the Payment.
- If they want to buy something in the store as well, you can scan or enter the SKUs.
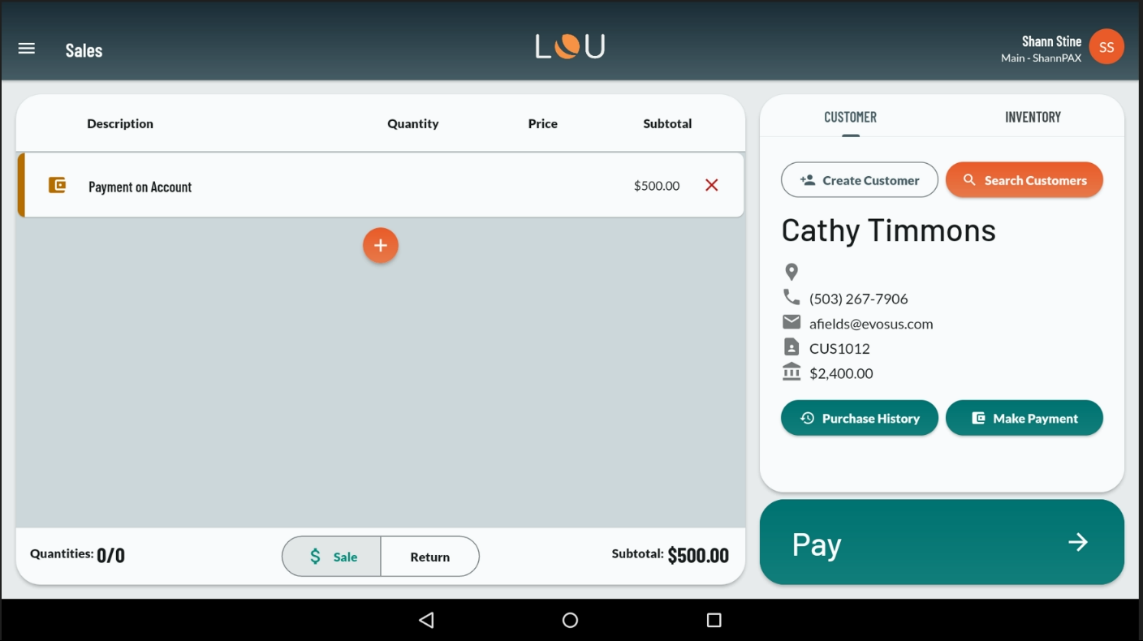
- Tap Pay and complete the Transaction as above.
The Payment on Account will apply to the Customer’s Account Balance. You can apply the credit to an Invoice in LOU Web.
Apply Account Credit
When a Customer has a credit on their account that can be applied to future purchases, they can choose to use that credit on a LOU Retail POS transaction. Once you've started a sales transaction for your Customer and you're ready to take payment, do the following:
1. Tap Pay
2. Select Account
3. Select Account Credit
4. Tap the amount you want to apply -- full transaction amount, Custom amount, or Custom Percentage of the amount.
5. Tap Apply $XX
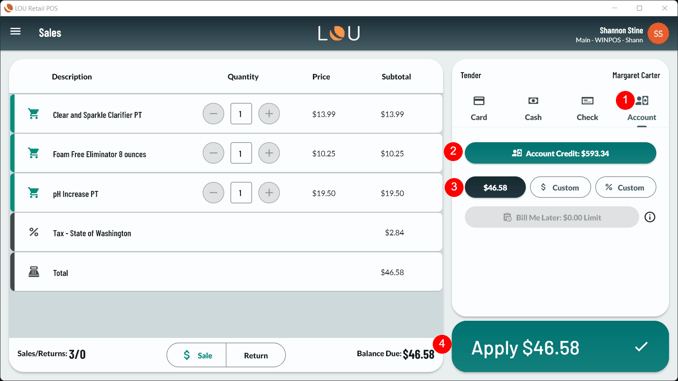
If the amount satisfies the transaction, you'll be asked to select Receipt options and confirm as with a cash or card transaction. If a balance remains due, you'll have the opportunity to do a split payment and accept another method at that time.
Bill Me Later
If you allow clients to make purchases you bill later, you can use that feature when processing a transaction through LOU Retail POS. You must configure the Customer Profile to allow Bill Me Later in LOU Web before you can use this feature.
Follow the same process to create a sales transaction for the Customer as described above. If the Customer has been set up to allow Bill Me Later and is below their Credit Limit, the transaction can be proceed.
1. Select Account
2. Select Bill Me Later
3. Acknowledge the Bill Me Later message by clicking the box to check it.
4. Tap the amount you want to apply -- full transaction amount, Custom amount, or Custom Percentage of the amount.
5. Tap Apply $XX
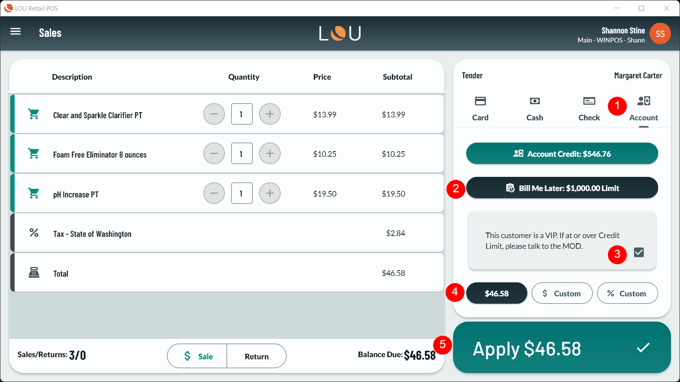
If the amount satisfies the transaction, you'll be asked to select Receipt options and confirm as with a cash or card transaction. If a balance remains due, you'll have the opportunity to do a split payment and accept another method at that time.
Once the transaction is complete a Pending Invoice will be created in LOU Web and you can process that Invoice according your business practices to collect Payment from your Customer. The available Credit Limit on future Bill Me Later transactions will be reduce by the amount of the Pending Invoice. Once the Invoice is paid, the Credit Limit will be available again.
Take Deposit on Account
If the Customer wants to make a Deposit on an Order in LOU Web with you at a LOU Retail POS station, you can do that.
- Begin a Sale transaction.
- Select the Customer
- Click the orange plus sign.
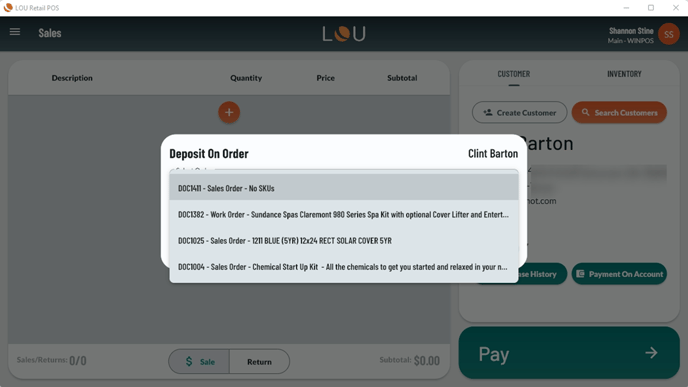
- Select Add Deposit On Order.
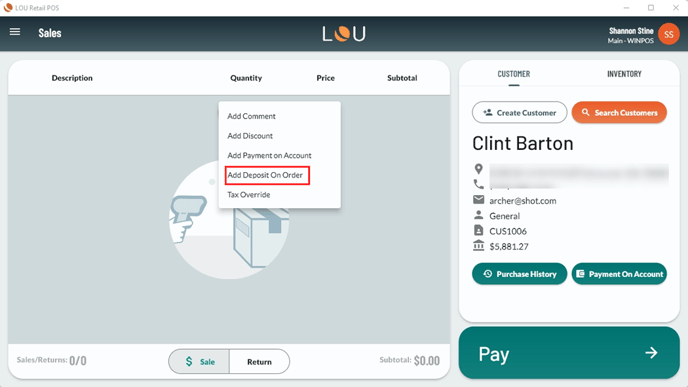
- Select the Order on which you want to accept the Deposit.
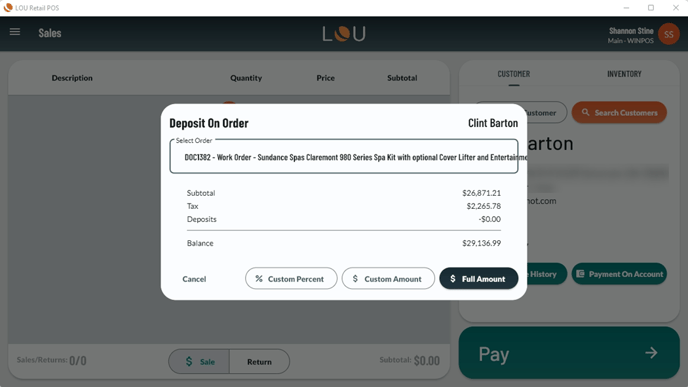
- Enter the Amount. Choose a Customer Percent, Customer Amount, or Full Amount.
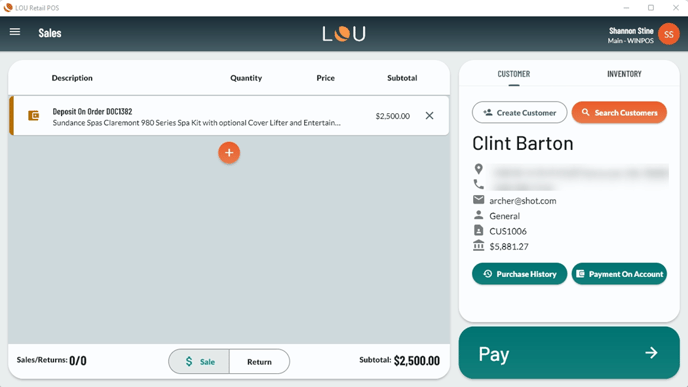
- On the Sales Transaction screen, process the transaction as usual. You can add additional SKUs or click Pay to process Payment and complete the transaction.
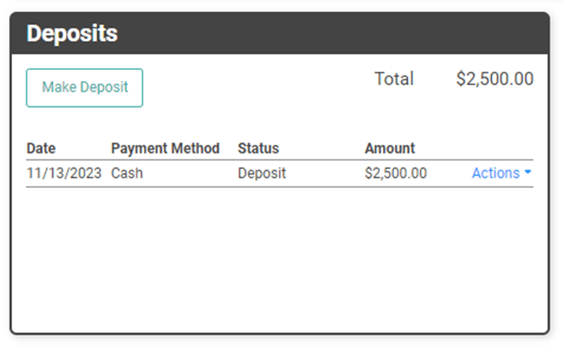
Once you complete the transaction, the Deposit will appear on the Order in the Deposits box just like Deposits taken through LOU Web. The Deposit will function on the Order in the same way. When the Order is Invoiced, the Deposit will automatically be applied to the Invoice.
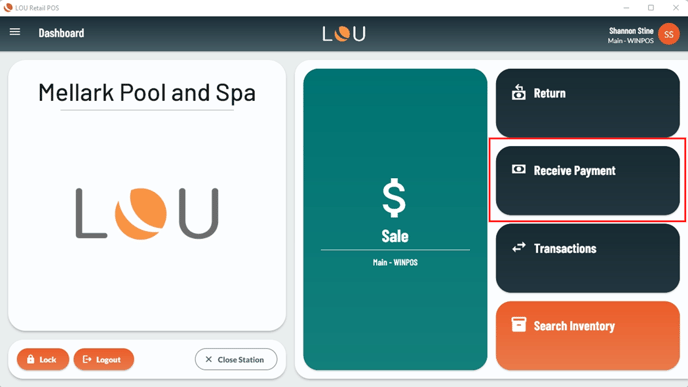
Receive Payment
If you are not adding additional SKUs to a transaction and you just want to accept a Payment on Account or Deposit on Order, from the main Dashboard, select Receive Payment.
- Select the Customer
- Select whether to receive Payment on Account or Deposit on Order.
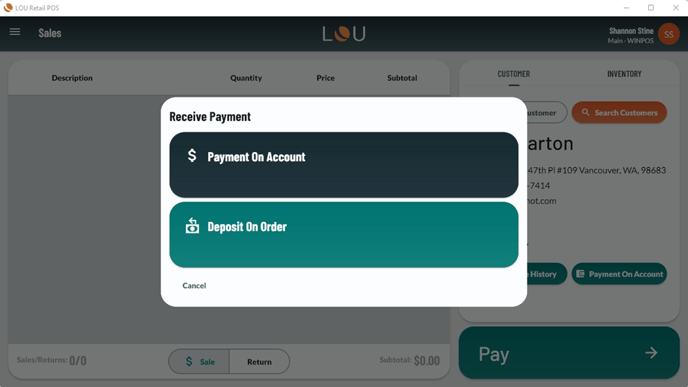
- Process the transaction as described above.