When you have a new POS device, it needs to be linked in order to begin using LOU Retail POS and process transactions. Most of the time, you will take care of this during Onboarding, but the process is the same if you add additional POS device after go-live.
REMEMBER! Before you begin, you will need the Serial Numbers for each of your POS devices. These can be located on the box or on the machine. On a barcode, you will see “S/N” followed by a 10-digit number. This is the Serial Number.
Go to LOU Account / Integrations / Evosus Card Services
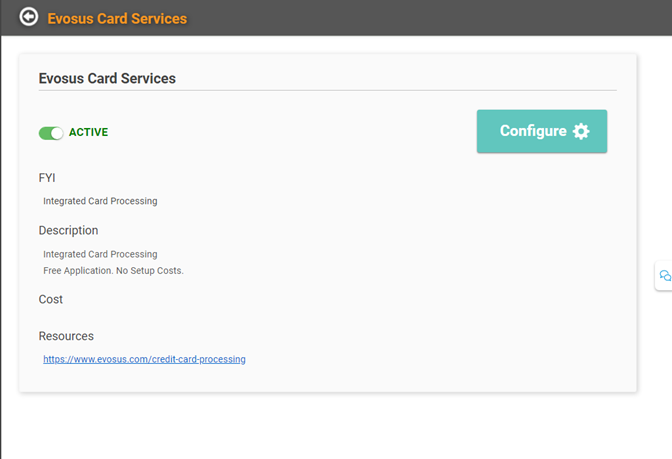
Click ![]() to enter TSYS Configuration.
to enter TSYS Configuration.
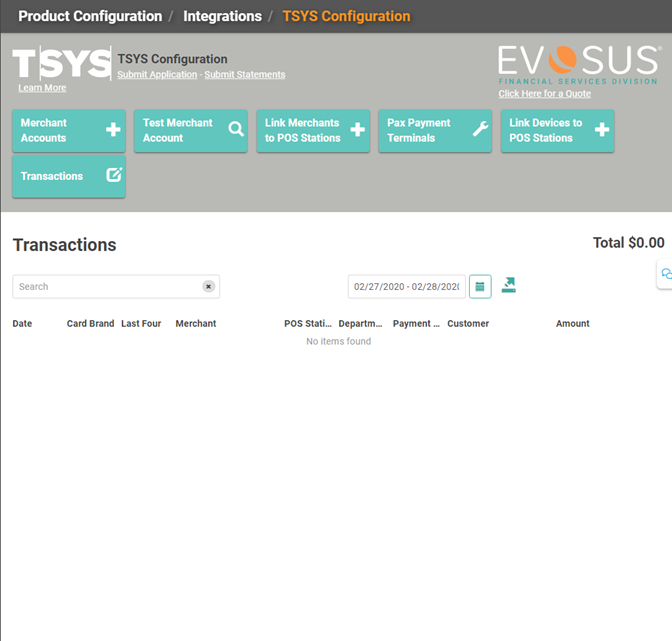
Click on 
To add a new terminal, click  .
. 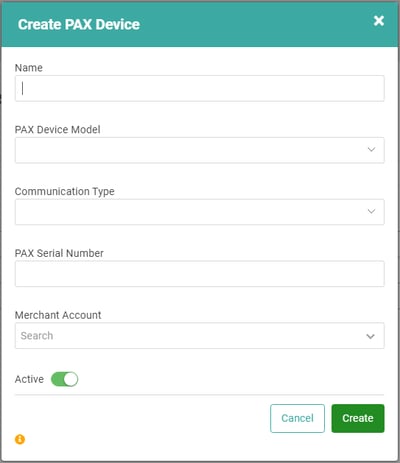
· You will need to give the terminal a name. We recommend something that denotes its location, something more unique than “POS 1”. Example: “Vancouver Retail Counter 1”.
· Select the PAX Device Model.
· Communication Type will most commonly be USB.
· PAX Serial Number is where you’ll enter that Serial Number you located on the barcode of the box or machine.
· Select your Merchant Account from the dropdown. This should’ve been entered by EFS prior to PAX Payment Terminal setup during Onboarding.
When you’ve entered all the necessary information, click  . The PAX machine will show in the list on the PAX Payment Terminal Screen.
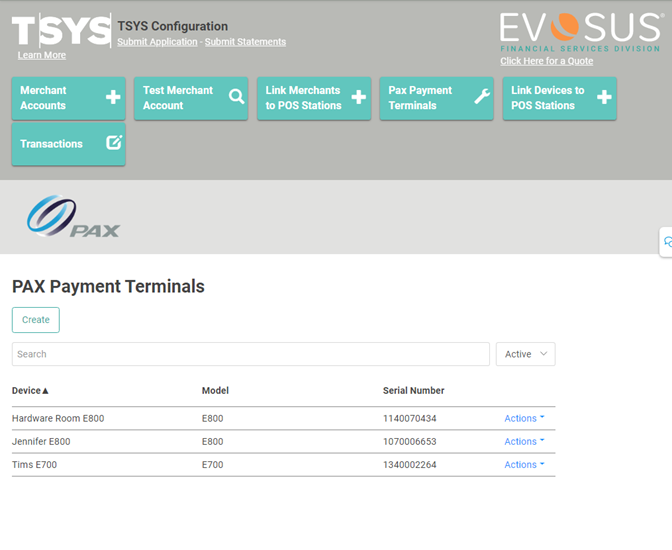
You will repeat these steps for each POS device you have.
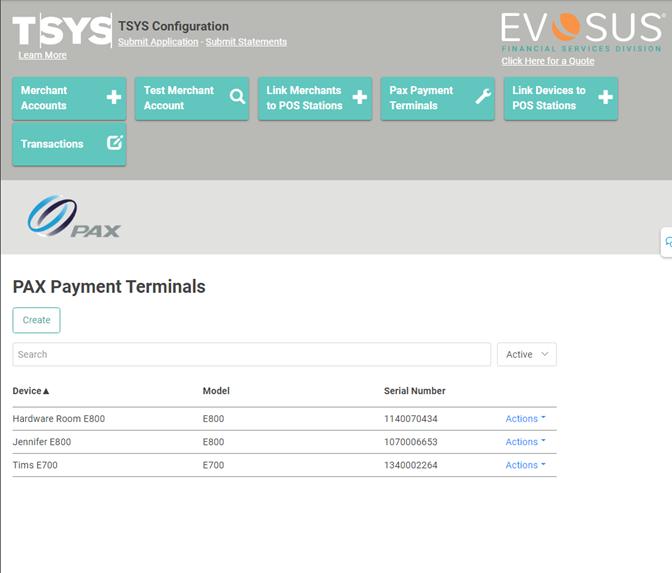
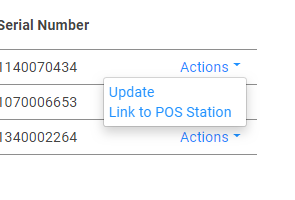
Update Existing PAX Machine
You can update your existing POS devices. Click the Actions link and select Update.
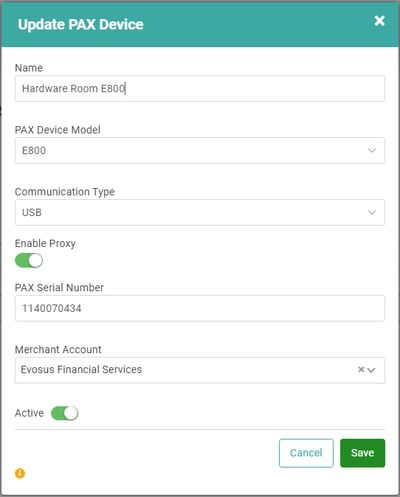
This is where you would deactivate the machine as well. Toggle the Active button off.
Make sure after you make changes, you click  or your changes will not take effect.
IMPORTANT! You cannot delete PAX Payment Terminals, but you can deactivate them so they cannot be used anymore.