Identifying Routes is a key component of any service business. Routes help you organize your techs and create service schedules that maximize your techs’ ability to complete service calls while minimizing time on the road between jobs.
LOU’s Routes tool allows you to draw on a map and configure your routes. TIP! Have your routes mapped out offline before sitting down to configure your Routes in LOU. You can quickly and easily configure your Routes if you’ve already given some thought to them.
WAIT! Before you set up your Routes, make sure you’ve set up your Schedule Division .
Go to Product Setup / Service / Routes
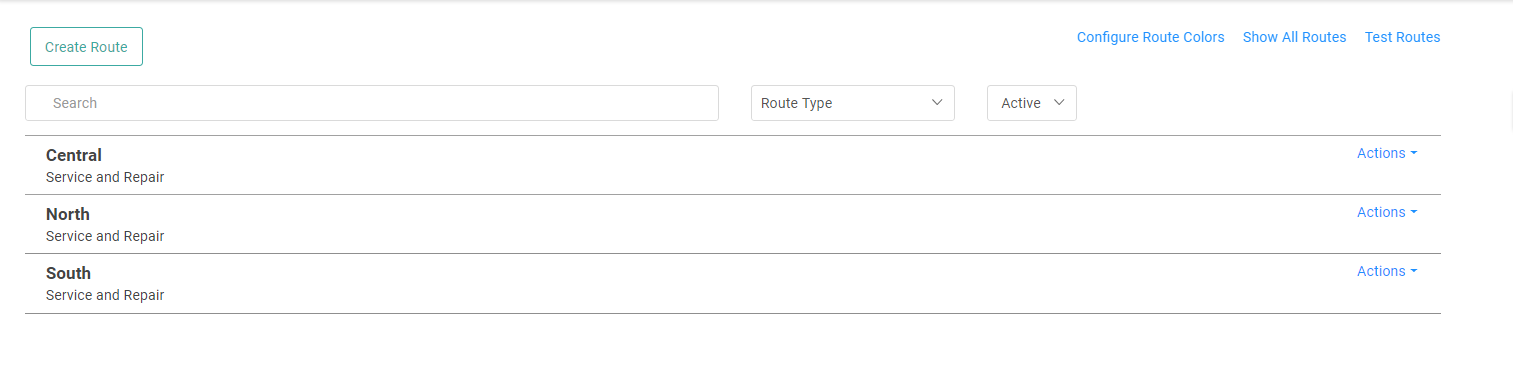
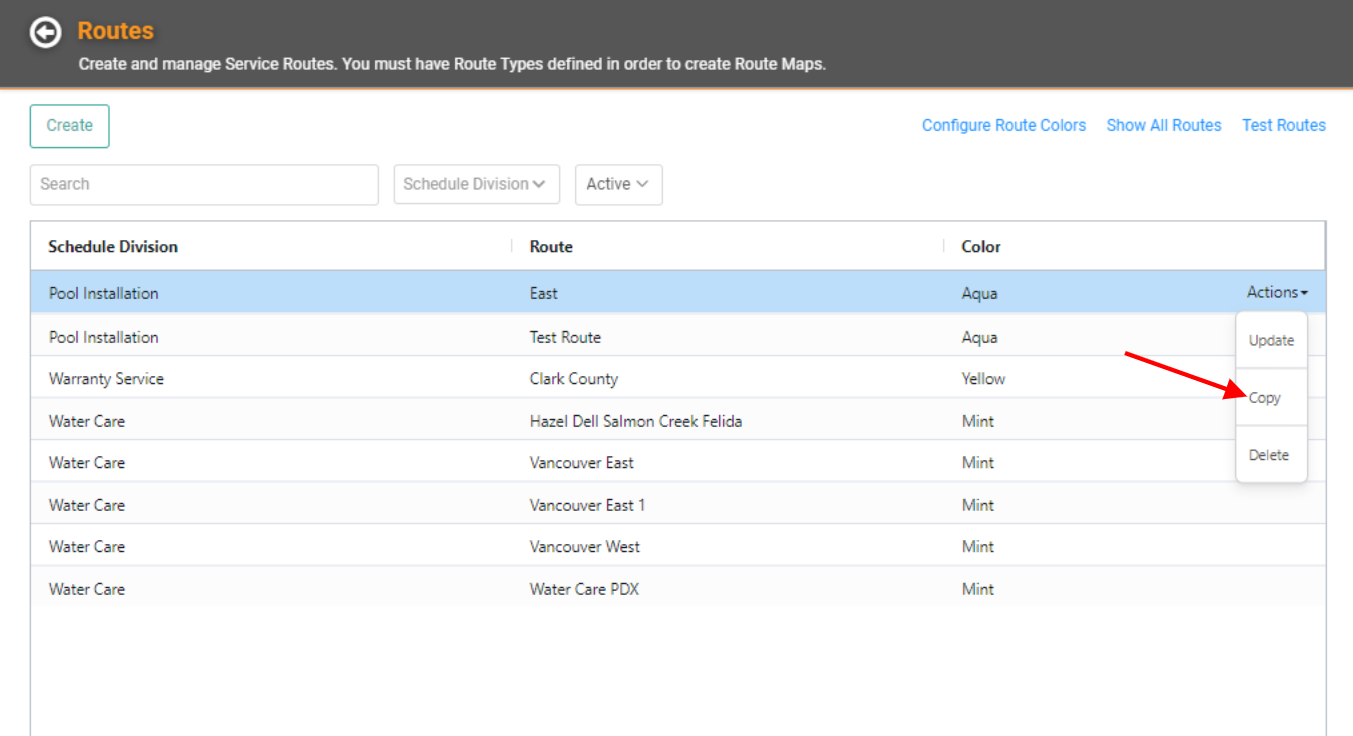
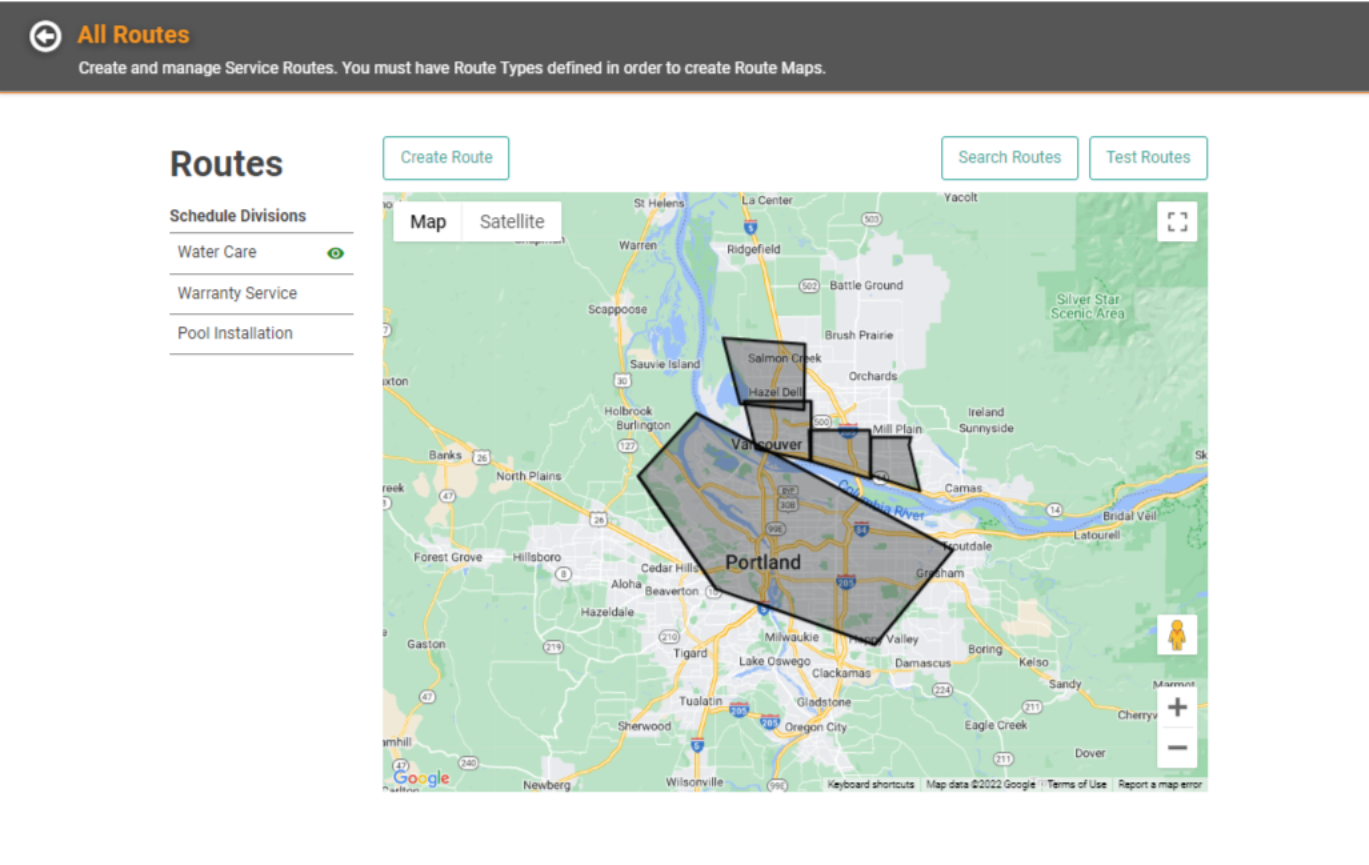
From the Routes screen, you can create new Routes, Configure the Route Colors, see your Routes on a map, and Test Routes. You can also Update and Delete existing Routes through the Actions link next to each Route.
Create a Route
- To create a new Route, click
 .
. - The Create Route window pops up as a zoomed-out map of North America.
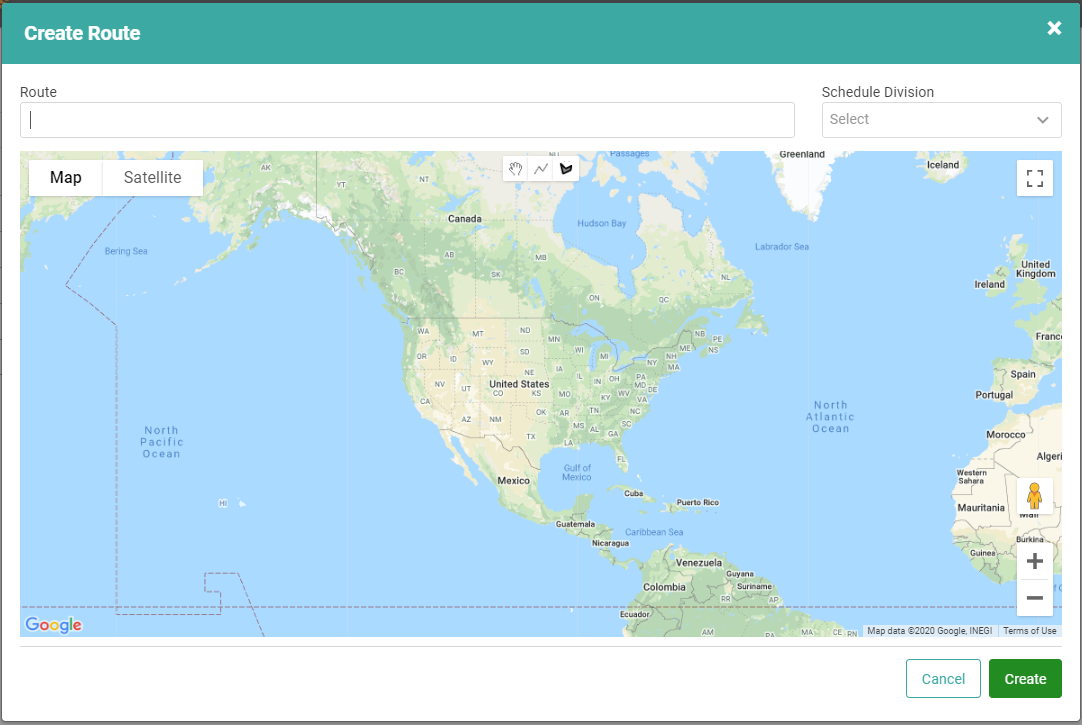
- Enter a name in the Route field and choose the Schedule Division from the dropdown.
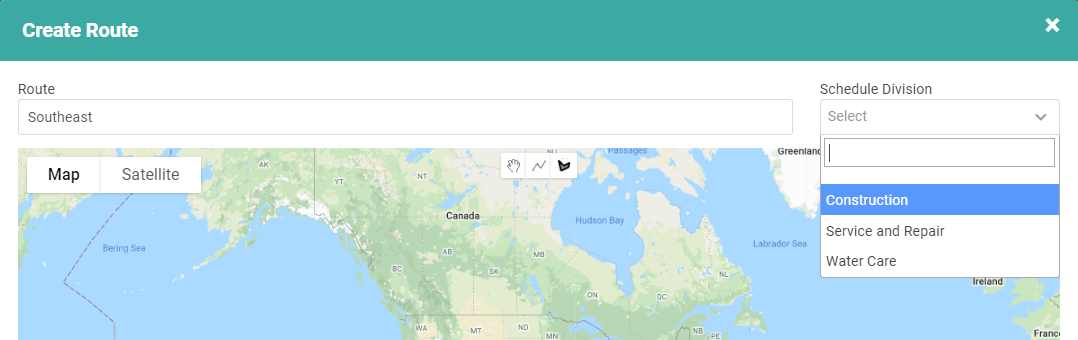
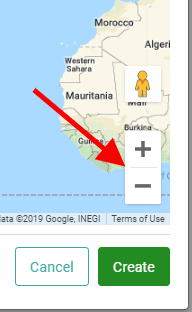
- Use the plus and minus signs on the lower right to zoom into your general service area.
- Select the drawing tools on the top center of the map and go to an edge of your first route on the map. Click to place a marker and draw a line to the next edge. Repeat this to create the shape of your Route.
- Once you’ve drawn your Route where you want it, click
 .
.
Copy Route
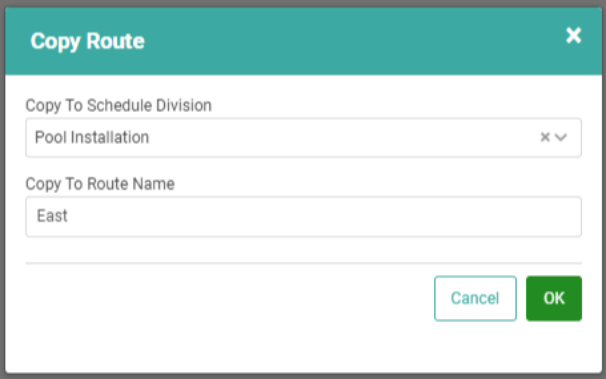
Do you have Routes that belong in multiple Divisions? Of course you do! You can create a Route for one Schedule Division and then use the Actions link on that Route line item to select Copy. This allows you to copy the Route to another Schedule Division and even rename the Route for that Schedule Division if you want. All without having to recreate the Route over and over!
Configure Route Colors
You can configure route colors for each Schedule Division.
- Click
 in the upper right corner.
 - In the pop-up, type the desired color in each Schedule Division box. TIP! LOU can display several colors of the rainbow! Get creative!
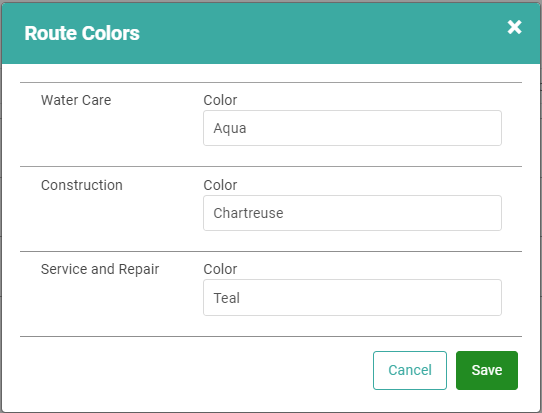
- Once you’ve got colors filled in, click
 .
.
Show All Routes
You can look at your existing Routes on a map, by Schedule Division. Go to
 .
.
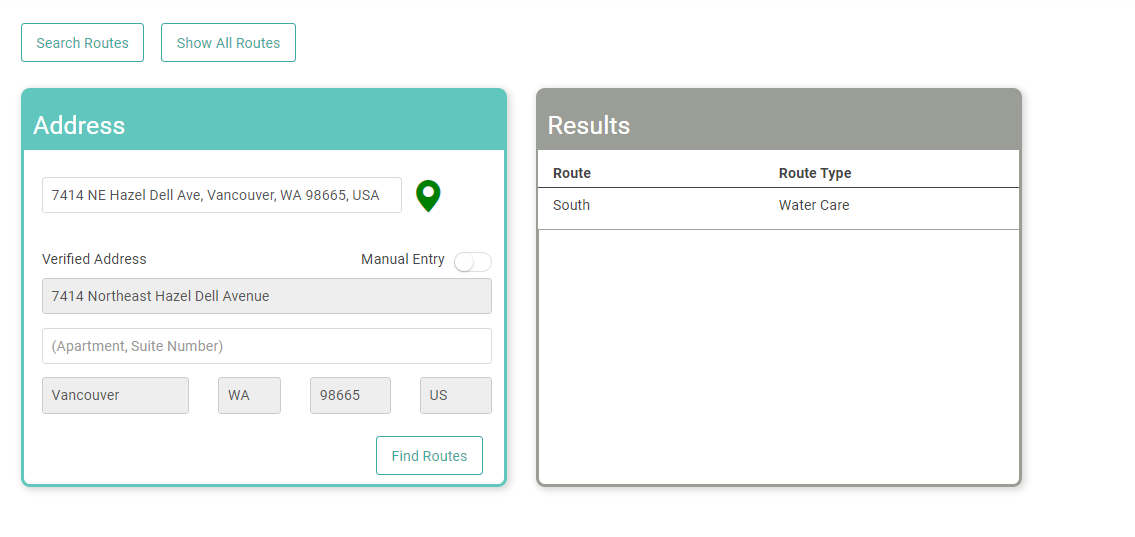
Test Routes
You can test your Routes to find an Address within the Route by clicking
 . Enter the Address in the box on the left and click
  . The Results box should display what Route that Address is in.
REMEMBER! Ship To Addresses for your Customers must fall within a Route to be auto-populated on Tasks. However, if a Ship To Address does not fall within one of these Routes, you will be able to manually select one for that specific Task. This will not permanently add the Address to the selected Route. You will still need to come back here to configure a Route to include the Ship To Address.