WAIT! Before you can pay the Bills, you need two things:
- Create/enter your bills on the Expense page.
- Payment Accounts that will be used to pay the bills.

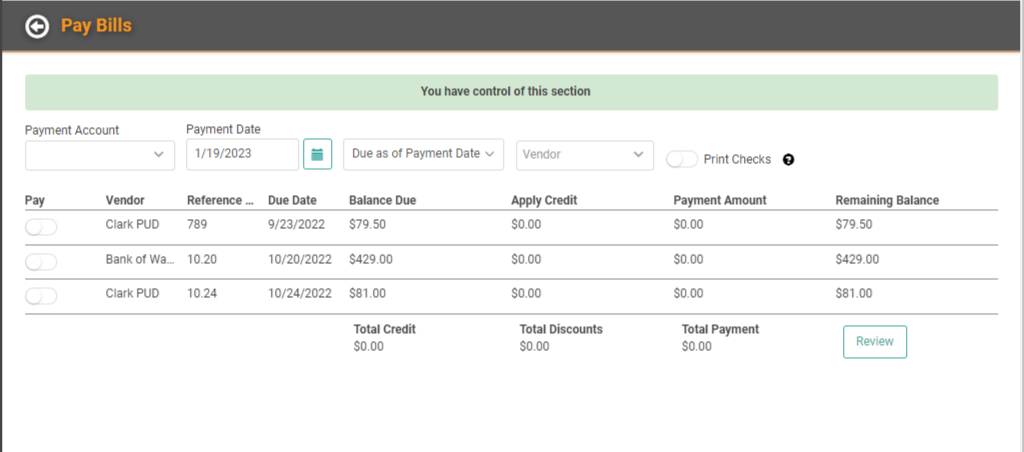
Go to Accounting / Pay Bills 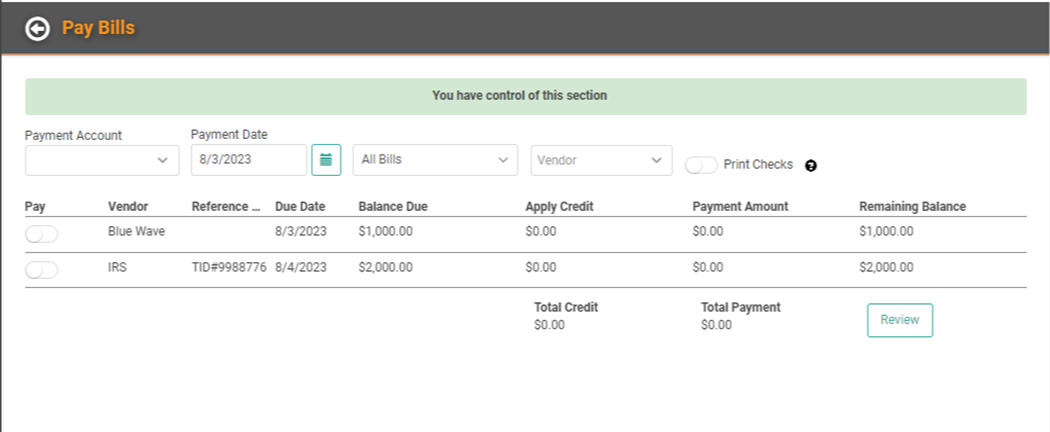
REMEMBER! You can reach this page from the Expense page by clicking Create / Pay Bills or by looking at Pending Expense Profiles and selecting Pay.
- Payment Account Determine which Payment Account you want to use to pay the bill(s).
- Payment Date This will default to Today, but you can select a different Date.
- Due as of Payment Date Determine if you want to view/pay the bills Due as of Payment Date or All Bills.
- Vendor You can filter by Vendor to view/pay bills for just that Vendor.
- Print Checks If you select a Payment Account already configured to use checks, this will automatically toggle on. You can toggle this on or off as appropriate.
Once you’ve selected the correct options and filters, you can determine which bills on the list you want to pay by toggling the Pay button. 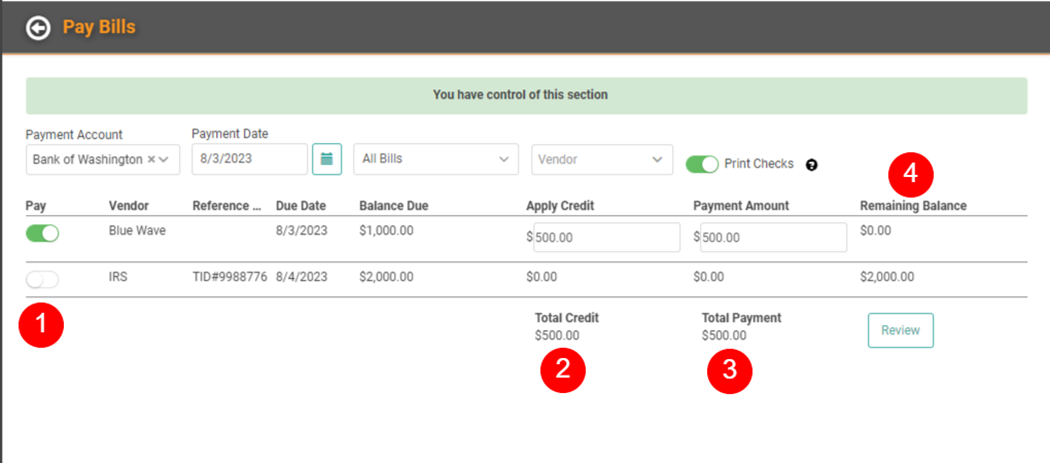
- Pay Button: Toggle on to Pay this Bill.
- Credit: Once you toggle Pay on, a link appears, allowing you to apply any Vendor Credits you have to reduce the Amount Due. Skip to Apply Vendor Credits for more information.
- Payment Amount: With Pay toggled on, a field opens on Payment Amount, allowing you to enter the amount you want to pay on this Bill at this time.
- REMEMBER! The amount you enter here is what you’re paying the Vendor even if it doesn’t fully satisfy the Bill.
- Remaining Balance: The remaining balance due after the Credit and Payment Amount will appear here.
Once you’ve selected the bills and entered the amounts, you can click Review. A confirmation message will ask if you want to pay the selected bills. 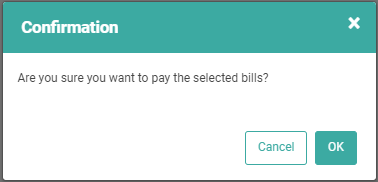
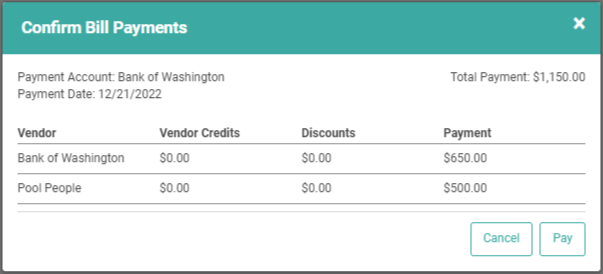
A summary will pop up, showing you exactly what bills you are going to pay and the Payment amounts. If everything looks good, click Pay. One final message will pop up, asking you to confirm the amount you’re paying with the selected Payment Account. 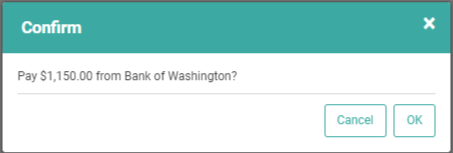
Once you click OK, the bills will move from the Pay Bills page and you will get a confirmation the bills have been paid. 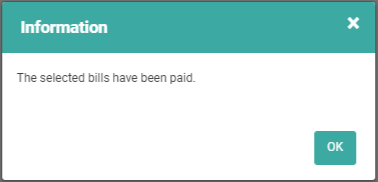
If you chose a Payment Account that prints checks, you’ll be taken to the Print Checks page where you’ll be able to complete the print checks process.
Apply Vendor Credits
When you have Vendor Credits to apply to a Bill, there are a couple ways you can apply them. While here, on the Pay Bills screen, if you have Vendor Credits available there will be a link to Apply Credit.

Click this link to open a pop-up to select Vendor Credits.
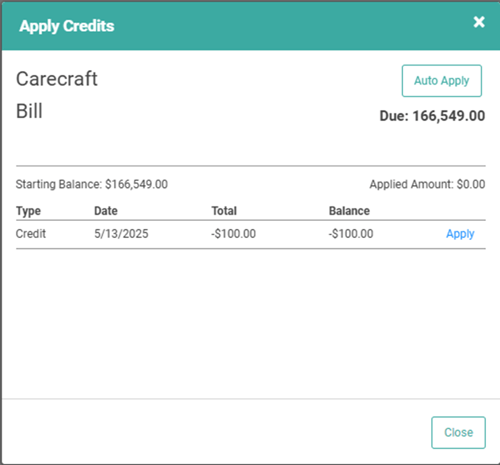
All credits available for the Vendor will appear here. You can click Apply next to each line item or use the Auto Apply at the top right. Auto Apply will apply the oldest credit first until all available credits have been applied or the Amount Due is zero.
REMEMEBER! You do not have to use the Auto Apply or apply all available credits. You can use the Apply link on each line item to apply only the credits you choose.
Once you’ve applied all the credits you can/want to, click close to return to the Pay Bills screen and finish processing the payment.
Security Overrides
When one user is in the Pay Bills page, that page is locked for updates from any other user. Users can still access the page, but it will be read only. A message will appear on the top of the page indicating that the page is locked by the user and offering a Challenge button.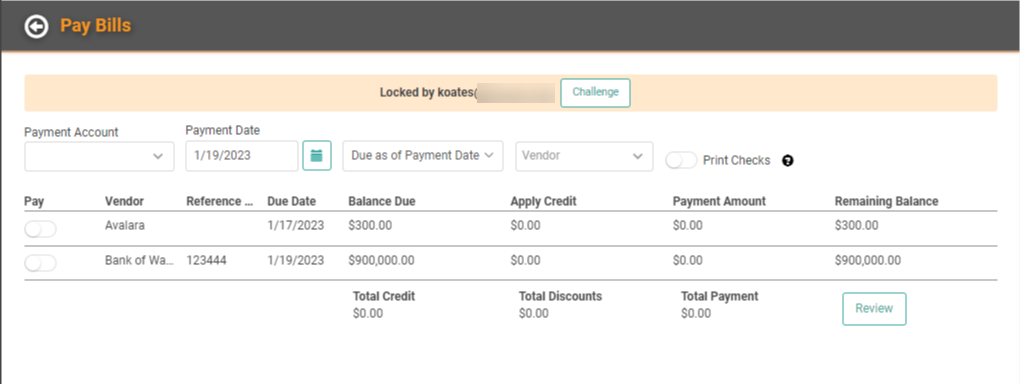
When you click the Challenge button, it pops up an alert on that user’s screen, offering them the change to relinquish control to the user requesting access.
IMPORTANT! The user who has control must use the back button to leave the page to free the lock. Simply logging out will not free the lock.
The user with control of the page will have a green banner across the top indicating they have control.