Schedule Timeframes allow you to provide your Service Customers with an approximate window during which the Service Tech will arrive.
These time frames are set up specific to your Schedule Divisions. When you create Timeframes, you will be able to select that Timeframe/Beginning Time when you create a Task. This allows you to tell LOU to book the Task within that Timeframe.
“Your service tech should arrive in the morning, sometime between 8a and noon.” 
Go to Product Setup / Service / Schedule Timeframes

On this page, you can create and manage Schedule Timeframes. The dropdown allows you to filter to the correct Schedule Division.

To create a Timeframe, you will create two Start Times. These will create the time frame. For example, create a Start Time of 8:00a called Morning and create a second Start Time for 12:01p called Afternoon. With those two Start Times in place, selecting Morning as the Timeframe on your Task creates the window of 8:00a-12:00:59p. The Timeframe will end 1 second before the next Start Time begins.
You can create Timeframes in any increment you want, but they must be created in order of time. You cannot create overlapping times. If you create a Morning Timeframe of 8:00a-12:00:59, you cannot also create an 11:00a Start Time as it’s already part of the Morning Timeframe created by creating two Start Times of 8:00a and 12:01p. You would need to create the 11:00a Start Time before creating the 12:01 Start Time.
To get started, select the Schedule Division for which you want to create the Timeframe and click  .
. 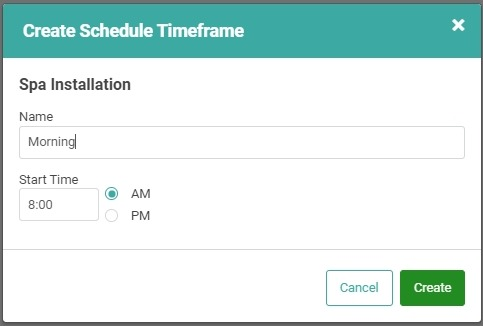
This will be the beginning of the Timeframe. To close the loop, create a second Start Time after this one. 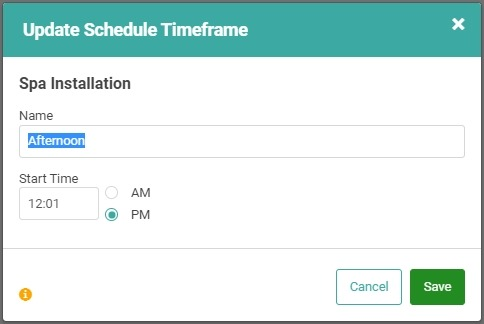
With these two Start Times created, selecting “Morning” when scheduling a Task would effectively schedule the Task somewhere between 8:00a and 12:00:59p.
Create a third Start time to close the loop on the Afternoon Timeframe. 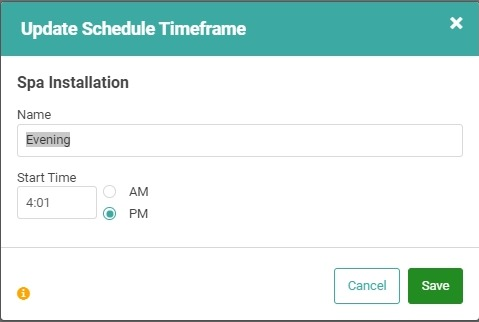
This creates an Afternoon Timeframe of 12:01p to 4:00:59p. 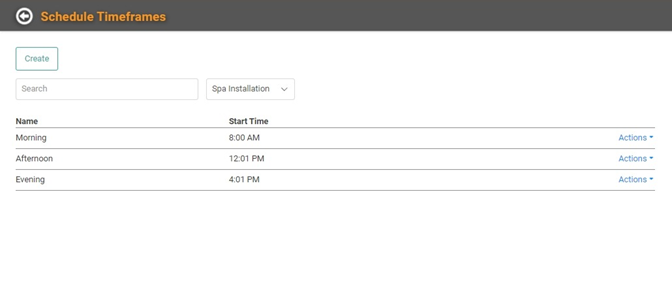
As you create your Timeframe Start Times, they will appear in a List. To see other Schedule Division’s Timeframes, use the dropdown to change the Division.
You must create Timeframes for each Division individually. They can be the same as other Divisions or unique to that Division. The Start Times and Timeframes are entirely up to you!
REMEMBER! A Timeframe’s end time is one second prior to the start of the next Timeframe.
Use Timeframes on a Task
To use Timeframes on a Task, you’ll select the Timeframe when creating the Task.

Go to Schedule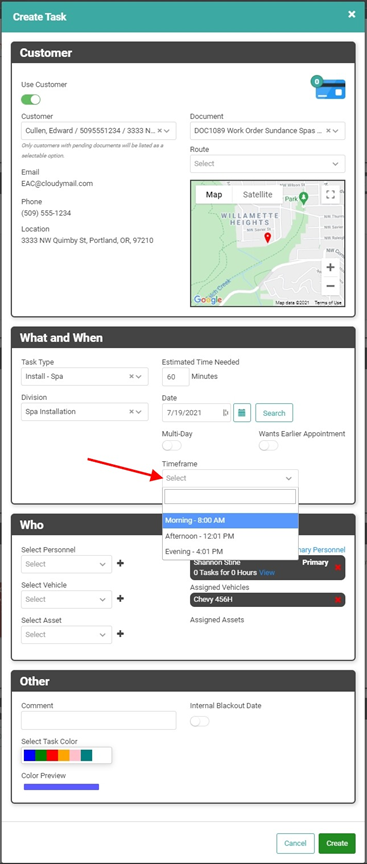
LOU will try to schedule the Task for the earliest available time during the selected Timeframe.
The Task will appear on the Order with the Start time within the Timeframe and the end time according to the Estimated Minutes. In our example, we selected the Afternoon Timeframe for a Task that will take 5 hours. 
When you have multiple tasks within the same Timeframe, LOU will do its best to schedule the first available time within that Timeframe. If all available Appts are booked for that Timeframe, LOU will notify you that the Personnel is double-booked and give you the option to book anyway or choose a different Timeframe.
No matter what, you can always manually drag and drop the Tasks to a specific Time on the Calendar View of the Schedule Dashboard.
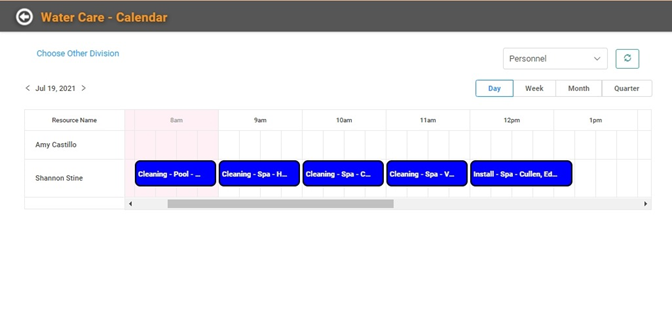
Calendar (New)

Calendar (Classic)