Bins are a way to organize your inventory in one location or Stock Site. Bins are not required, but they create a more organized, easy-to-learn environment for users to help customers quickly.
Have you ever shopped at Ikea? After walking around a world of furnished tiny homes and expanding your shopping list beyond that which you originally planned, you end up in the Ikea warehouse. Customers are able to grab their own boxed merchandise by referencing the Aisle and Bin #’s for the products.
Stock Sites and Bins in LOU work just like Aisles and Bins at Ikea. 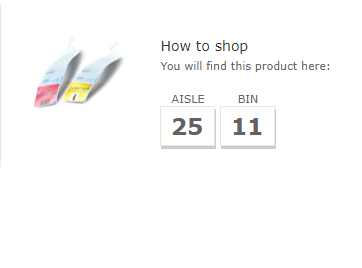
Take this for example: the item above is in the Ikea warehouse on Aisle 25, Bin 11. Bins in LOU are the same concept. Now think about how this might look in your warehouse and how quickly less seasoned staff would be able to track down product on their own.
LOU comes preconfigured with one Stock Site which contains one Bin, but you’ll likely want to add additional Stock Sites and Bins to make the most of this feature.
REMEMBER! Pro Plans are limited to one Stock Site. Enterprise Plans have unlimited Stock Sites.
Go to Product Setup / Inventory / Bin Management 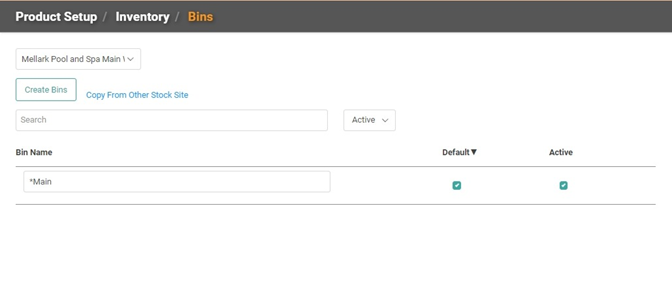
To view Bins, and create a new Bin, for a particular Stock Site, select the Stock Site using the dropdown on the upper left.

To create a new Bin, click  and enter a name for your new Bin. Depending on the size of your warehouse you may want to use Aisles, Shelves, etc. as your bin name. If you press <Enter> or click out of the field after entering the Name of the Bin, it will be added to the list and allow you to create additional Bins before clicking Create.
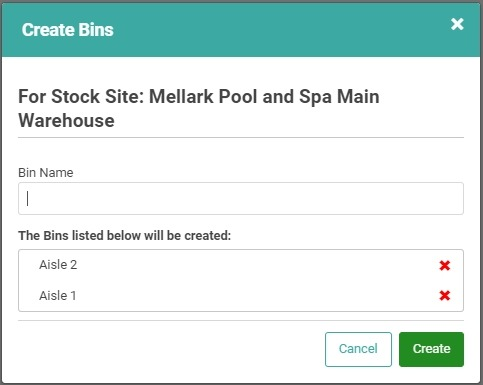
Click  .
.
Your new Bin(s) will appear at the bottom of the list. You can designate one Bin as the default for that Stock Site. The Default Bin will be the first Bin from which LOU pulls SKUs whenever this Stock Site is selected. 
Repeat these steps if you need to create additional Bins.
REMEMBER! Every Stock Site must have one Bin. We automatically create one called *Main for each Stock Site. You can change that name or keep it.
Copy from Other Stock Site
Don’t want to manually type in Bins all day? We don’t blame you! You can copy Bins from other Stock Sites to make this setup go faster.
Click the link, Copy From Other Stock Site, at the top of the page. 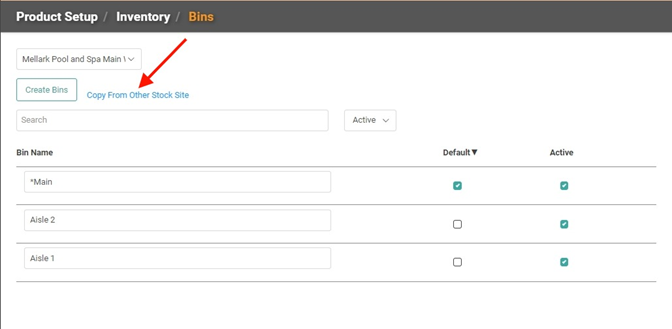
- Select the Stock Site from which you wish to copy the Bin
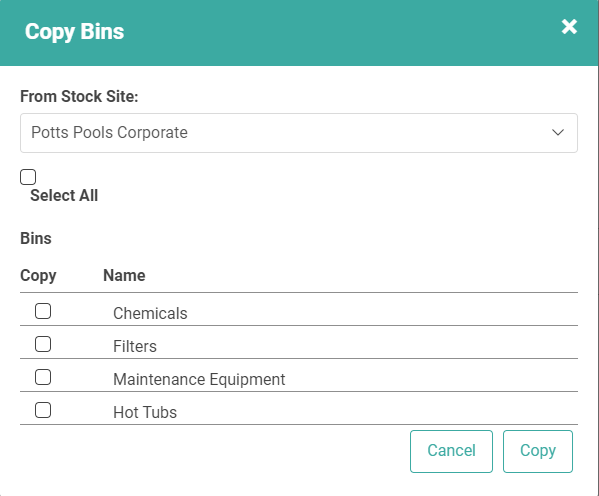
- Check the box next to the Bin from the selected Stock Site you want to copy or check Select All
- Click
 to copy the Bin to the current Stock Site.
Delete Bins
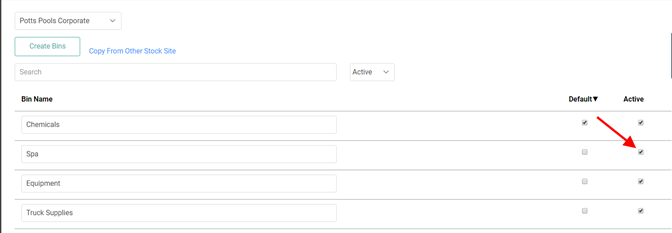
You cannot delete a Bin. However, you can deactivate it by unchecking the box under Active. To see your inactive Bins, change the status dropdown to All.